If you’re just getting into photography, you’ve probably come across the terms ISO, aperture, and shutter speed. These three elements make up what’s known as the exposure triangle, and together, they control how your photo looks — whether it’s bright or dark, sharp or blurry, grainy or crystal clear.
At first glance, they might seem overly technical or intimidating. But trust me, once you understand how each one works — and more importantly, how they work together — photography becomes a whole lot more creative and fun.
In this guide, we’ll break down ISO, aperture, and shutter speed in the simplest way possible. No jargon. No tech-heavy explanations. Just real talk and examples you can understand and apply right away.
Why the Exposure Triangle Matters
The exposure triangle is made up of three settings:
- ISO – Controls your camera’s sensitivity to light
- Aperture (f-stop) – Controls how much light enters through the lens
- Shutter Speed – Controls how long the sensor is exposed to light
Together, they determine the exposure of your image — how bright or dark it appears. But they also affect depth of field, motion blur, and image quality.
Knowing how to balance these three is essential if you want to take full creative control of your photos. Whether you’re shooting portraits, landscapes, night scenes, or fast-moving subjects — it all starts with this triangle.
Let’s dive into each one.
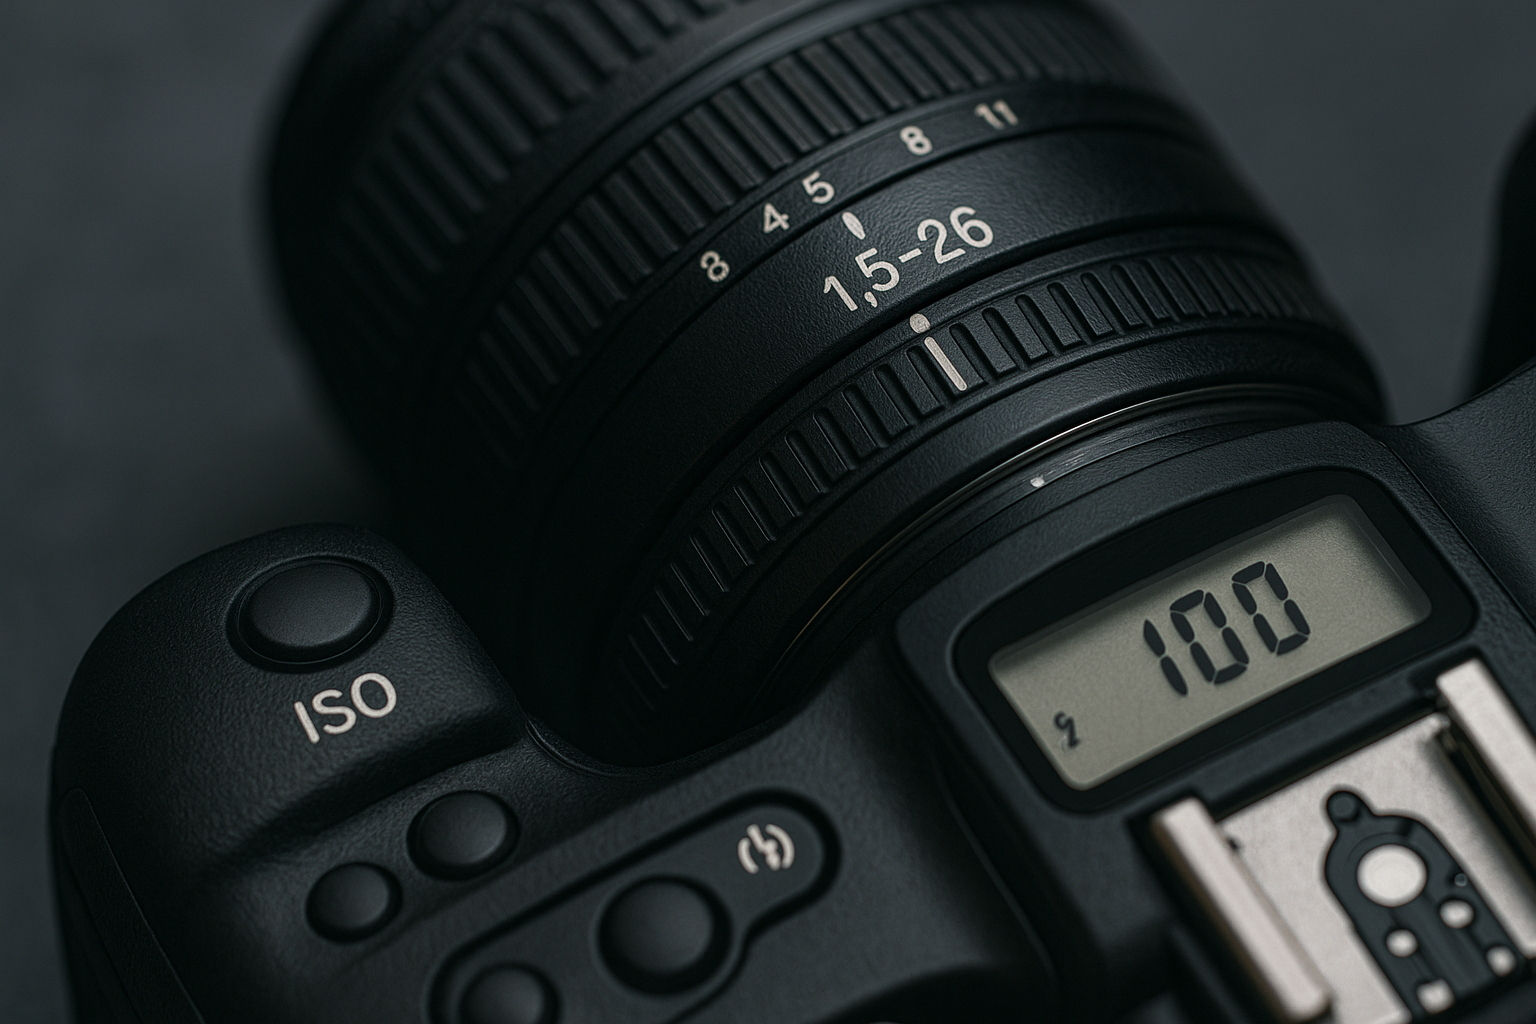
What Is ISO?
ISO refers to how sensitive your camera’s sensor is to light. A low ISO means less sensitivity (best for bright scenes), and a high ISO increases sensitivity (ideal for dark conditions).
Common ISO Settings:
- ISO 100–200: Ideal for sunny days and studio lighting
- ISO 400–800: Good for indoor shots or cloudy conditions
- ISO 1600+: Used in low light, night photography, concerts, etc.
Example:
You’re shooting indoors without a flash. Your photo comes out too dark. You raise the ISO from 200 to 800, and now the image is brighter.
But there’s a catch.
The Trade-Off: Noise
Higher ISO can introduce digital noise — that grainy look, especially noticeable in shadows. That’s why most photographers try to use the lowest ISO possible for a clean image.
Real-Life Tip:
If your photo is too dark and you can’t slow your shutter or widen your aperture any further, raising your ISO is better than getting a blurry shot.
What Is Aperture?
Aperture is the opening inside your lens that lets light in. It’s measured in f-stops, like f/1.8, f/2.8, f/4, f/8, f/11, f/16, and so on.
A lower f-number means a wider opening (more light comes in). A higher f-number means a narrower opening (less light).
But aperture doesn’t just affect brightness — it also controls depth of field, which is how much of your image appears in focus.
Example:
- f/1.8: Subject’s face in sharp focus, background beautifully blurred (great for portraits)
- f/8: Everything in focus from front to back (perfect for landscapes)
The Trade-Off: Depth of Field
A wider aperture (like f/1.8) gives you a shallow depth of field — great for isolating your subject but tricky to focus precisely.
A narrow aperture (like f/11) gives you deep depth of field, but lets in less light, requiring slower shutter speed or higher ISO.
Real-Life Tip:
For portraits, use f/1.8 to f/2.8. For group shots or landscapes, f/5.6 to f/11 is often ideal.
What Is Shutter Speed?
Shutter speed controls how long your camera’s sensor is exposed to light. It’s measured in fractions of a second or seconds, like:
- 1/1000 (very fast)
- 1/250
- 1/60
- 1/10
- 1” (1 second)
- 5” (5 seconds)
A faster shutter speed freezes motion. A slower shutter speed creates motion blur or allows more light in during low-light scenes.
Example:
- 1/1000: Freezes a fast-moving cyclist
- 1/60: Good for portraits and general handheld photography
- 1/2 or longer: Used for night shots, light trails, waterfalls, or intentional blur
The Trade-Off: Motion Blur
Too slow a shutter speed while hand-holding your camera will cause camera shake, making the image blurry.
A fast shutter speed avoids blur but lets in less light — so you’ll need a wider aperture or higher ISO to compensate.
Real-Life Tip:
Use 1 over your focal length as a rule. If you’re shooting at 50mm, use at least 1/50 shutter speed for a sharp handheld image.
How These Three Settings Work Together
Now here’s where things get fun. ISO, aperture, and shutter speed all affect exposure — and adjusting one usually means adjusting at least one of the others.
Here’s a real-world scenario:
You want to shoot a portrait indoors with natural light.
- You set aperture to f/2.0 for a blurred background.
- Your shutter speed is 1/60 to avoid blur.
- The image is still a bit dark.
- You raise ISO from 200 to 800 — now it’s bright and clean enough.
That’s the exposure triangle in action.
You balanced brightness, depth of field, and sharpness — and made creative decisions based on your goal.
A Simple Analogy: Think of a Window
Imagine exposure like filling a bucket with water.
- Aperture is the width of the pipe — wide lets in more water
- Shutter speed is how long the faucet is open
- ISO is how thirsty the bucket is — a higher ISO “drinks” water faster
You can fill the bucket using different combinations. But some will leave splashes (noise), others may overflow (overexpose), and some might take too long (blur).
The perfect exposure happens when you balance all three.
Tips for Learning the Exposure Triangle Faster
- Use Aperture Priority Mode (A or Av)
You control aperture; the camera adjusts shutter. Great for portraits and learning depth of field. - Use Shutter Priority Mode (S or Tv)
You control shutter speed; the camera picks aperture. Great for sports or fast-moving subjects. - Use Manual Mode (M)
Full control. Ideal for learning balance and consistency. - Use the Light Meter
Your camera shows a bar with -2 to +2. Try to land close to 0 for correct exposure. - Practice with One Variable at a Time
Shoot the same subject while changing only ISO, or only aperture. See what changes in the result.
When Should You Prioritize One Setting Over the Others?
As you get more comfortable with ISO, aperture, and shutter speed, you’ll notice that in different shooting situations, you’ll want to prioritize different parts of the triangle.
For Portraits
- Prioritize Aperture: Set it wide (f/1.8–f/2.8) for beautiful background blur (bokeh).
- Watch your shutter speed: Keep it fast enough to avoid motion blur (at least 1/100 or 1/125).
- Adjust ISO last to brighten the image if needed.
For Action or Sports
- Prioritize Shutter Speed: You need to freeze motion. Aim for 1/500 or faster.
- Use a wide aperture to let in more light.
- Increase ISO to keep the exposure balanced.
For Landscapes
- Prioritize Aperture: Use f/8 to f/11 for deep focus across the whole scene.
- Use a tripod, so you can set a slower shutter speed without blur.
- Keep ISO low (ISO 100–200) for maximum sharpness.
For Low Light
- Increase ISO (don’t be afraid of 1600+).
- Use a wide aperture (f/2.8 or wider).
- Use a slower shutter if you’re using a tripod — even a few seconds if necessary.
By asking yourself: “What matters most for this shot — sharpness, depth of field, or brightness?” you can decide what setting to adjust first, and then balance the others around it.
Final Encouragement: Learn the Rules, Then Play
One of the most freeing parts of photography is knowing the rules well enough to break them with purpose.
Yes, there’s a “correct” exposure — but sometimes underexposing creates mood.
Yes, f/1.8 gives beautiful blur — but maybe you want everything sharp at f/16.
Yes, low ISO is cleaner — but a little grain can feel nostalgic or gritty.
These settings aren’t just technical tools — they’re creative levers. When you understand them deeply, you stop guessing and start crafting each image.
So don’t worry about memorizing charts. Get your hands on your camera. Experiment. Observe. Adjust. Fail. Try again.
And over time, you’ll stop thinking so much about ISO, aperture, and shutter speed — because they’ll feel like second nature. That’s when your creativity truly takes flight.
Final Thoughts
ISO, aperture, and shutter speed might sound technical, but they’re really just creative tools. Once you understand what they do — and how they affect your images — photography becomes a playground of possibilities.
Mastering these three settings gives you the power to:
- Freeze motion or let it flow
- Isolate a subject with blur or keep everything sharp
- Embrace natural light or work in the dark
- Create images that reflect your vision, not just the camera’s best guess
Start simple. Practice often. Make mistakes. And most importantly — enjoy the process. Great photos aren’t made by perfect settings. They’re made by people who understand light and use it to tell a story.
Now that you’ve got a solid understanding of the exposure triangle, you’re ready to take control of your camera and move from “lucky shot” to intentional image.


