There’s nothing more frustrating than capturing a beautiful moment — only to realize later that your photo is soft, blurry, or lacking in detail. Sharpness is one of the first things people notice in a photo, and it can instantly elevate the perceived quality of your work.
But making your photos sharp and detailed isn’t just about having the latest gear. It’s about knowing how to use what you have — understanding how light, focus, shutter speed, and camera handling all come together.
This guide covers real, practical tips that will help you create sharper, clearer images — whether you’re shooting portraits, landscapes, street photography, or products.
Why Sharpness Matters
Sharpness adds clarity, texture, and impact. A sharp photo draws the viewer in and makes them feel closer to the subject. Whether you’re photographing a person’s eyes, the texture of a leaf, or the fine lines of a building, detail helps tell the story.
In commercial photography, sharpness can mean professionalism. In personal projects, it makes memories more vivid. It’s a skill worth mastering.
Use a Fast Enough Shutter Speed
One of the most common reasons photos turn out blurry is because the shutter speed was too slow. A slow shutter speed allows motion blur — either from camera shake or the movement of the subject.
A good rule of thumb: your shutter speed should be at least 1 divided by the focal length. For example, if you’re using a 50mm lens, aim for 1/50s or faster. For a 200mm lens, go with 1/200s or faster.
If your subject is moving — like a child running, a pet playing, or someone walking — you’ll need an even faster shutter speed, like 1/500s or higher.
Stabilize Your Camera
Even with a fast shutter speed, hand movement can still cause blur. That’s why camera stabilization is key.
Use a tripod or monopod whenever possible. Especially helpful for landscapes, product photography, or low-light situations.
Turn on image stabilization (IS or VR) if your lens or camera body offers it — but be aware that some systems should be turned off when using a tripod.
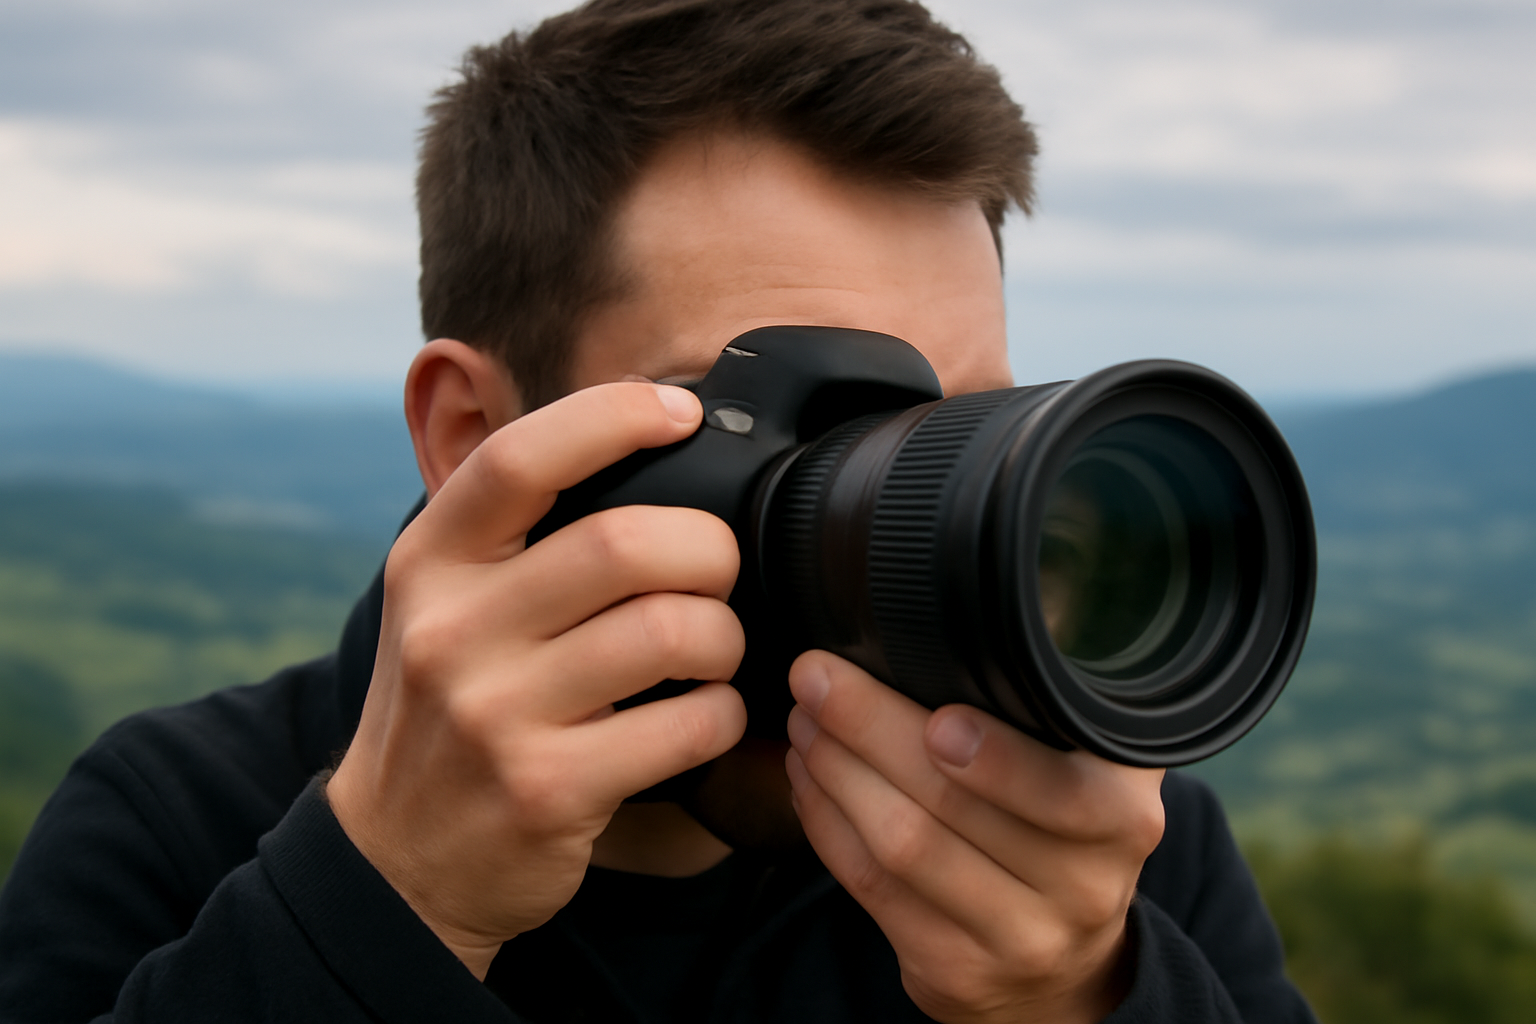
Hold your camera properly: tuck your elbows in, support the lens with your left hand underneath, and keep your posture steady.
Use a remote shutter or 2-second timer to eliminate the shake from pressing the button manually.
Focus with Precision
It sounds obvious, but the way you focus matters. Cameras often try to guess what you want in focus — and they don’t always get it right.
Use single-point autofocus (AF-S or One Shot) for still subjects. Choose the focus point manually and place it exactly where you want, like the subject’s eyes.
Use continuous autofocus (AF-C or AI Servo) for moving subjects. The camera will keep tracking and adjusting as the subject moves.
Use manual focus for macro, product, or still-life shots where precision matters. Zoom in using live view to ensure tack-sharp results.
Aim for the Eyes
If you’re photographing a person or animal, the eyes must be sharp. It’s what people instinctively look at first. Even if the rest of the image is slightly soft, a sharp eye creates a strong connection and emotional pull.
Modern cameras with eye detection autofocus are incredibly helpful, but even without it, train yourself to focus on the eye closest to the lens.
Choose the Right Aperture
Your aperture setting (f-stop) affects depth of field — and that directly impacts what’s in focus.
Wider apertures (like f/1.8 or f/2.8) create shallow depth of field. Great for portraits, but you need to be extra careful with focus — just a small movement can shift sharpness.
Narrower apertures (like f/8 or f/11) give you more depth and are ideal for landscapes or group shots.
Be cautious with very small apertures (like f/22) — they may reduce sharpness due to diffraction. Most lenses are sharpest between f/5.6 and f/11.
Use the Lowest ISO Possible (Without Sacrificing Exposure)
High ISO introduces noise, which can reduce the apparent sharpness of your photo — especially in shadows or darker areas.
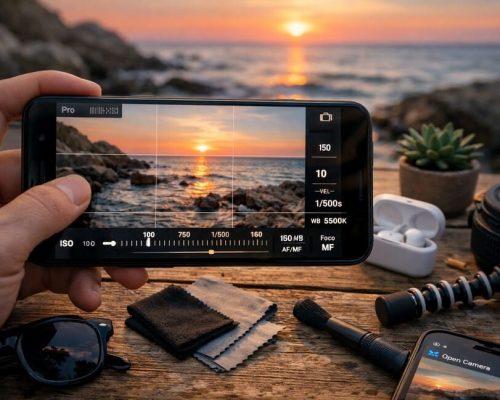
Stick to ISO 100 or 200 whenever possible.
In low light, balance ISO with shutter speed and aperture. It’s often better to raise ISO slightly than to risk a blurry photo from a too-slow shutter.
Noise can be reduced in post-processing, but lost sharpness from blur cannot.
Master the Light
Light reveals detail. If your lighting is flat or insufficient, your photo will look dull and soft — even if technically in focus.
Side lighting or backlighting brings out texture in surfaces like skin, fabric, wood, and stone.
Natural light from a window is fantastic for portraits and still life — it’s soft, diffused, and directional.
Avoid harsh midday sun — it can wash out details and cause hard shadows. Instead, shoot during golden hour or use diffusers.
Use reflectors to bounce light and lift shadows without flattening your subject.
Keep Your Lens Clean
It may sound simple, but a dirty lens can ruin even the best shot.
Use a lens cloth or blower to remove dust and smudges regularly.
Avoid touching the front glass — even fingerprints can degrade clarity.
Check for internal fog or moisture if shooting in humid environments.
Also, be cautious with filters. Low-quality UV filters can degrade image sharpness. If you’re using one, make sure it’s from a reputable brand — or remove it when sharpness is a priority.
Shoot in RAW Format
RAW files contain much more data than JPEGs. This gives you more flexibility in post-processing, allowing you to sharpen, reduce noise, and enhance details without destroying the image.
JPEGs often apply in-camera sharpening, but also compression that can smear details.
RAW gives you full control over how your photo is processed — especially useful for professionals or serious enthusiasts.
Use the Right Lens for the Job
Some lenses are sharper than others. Prime lenses (fixed focal length) tend to be sharper than zooms, especially cheaper zooms.
A 50mm f/1.8 prime lens is inexpensive and famously sharp.
If you’re shooting landscapes, consider a wide-angle lens with excellent edge-to-edge sharpness.
For product and food photography, macro lenses deliver incredible detail.
Investing in quality glass makes a noticeable difference — but only when paired with proper technique.
Use Burst Mode for Moving Subjects
If you’re photographing animals, kids, sports, or anything moving, use burst mode (continuous shooting). This increases your chance of capturing the exact moment when the subject is perfectly still or in peak motion.
You can later choose the sharpest frame during post-processing.
Apply Sharpening in Post-Processing — But Don’t Overdo It
Almost every photo benefits from a touch of sharpening in editing.
Use programs like Lightroom, Photoshop, or Capture One.
Apply selective sharpening to areas like eyes, hair, or textures.
Use masking to avoid sharpening the background or skin too much.
Combine sharpening with clarity and texture sliders to enhance detail.
Over-sharpening can introduce halos, noise, or artificiality. Subtlety is key.
Use a High-Resolution Monitor to Evaluate Sharpness
Don’t judge sharpness only from your camera’s LCD screen. It can mislead you — especially in bright sunlight or small displays.
Use a high-res monitor when reviewing images.
Zoom in to 100% (1:1) to assess fine detail.
Use focus peaking or magnification features in-camera when shooting live view.
Don’t Be Afraid to Crop — But Shoot with Intent
Sometimes, the sharpest area is not where you originally framed it. Don’t be afraid to crop in post if it helps strengthen the image.
However, excessive cropping reduces resolution, so always aim to compose intentionally and fill the frame when possible.
Don’t Rely Solely on Autofocus
Modern autofocus systems are impressive, but they’re not perfect. In low light, complex scenes, or situations with little contrast, your camera might miss the focus point entirely — even if it shows a confirmation beep.
Switch to manual focus when needed. This gives you full control over exactly what’s sharp.
Use focus magnification in live view to zoom in and fine-tune your focal point.
In mirrorless cameras, enable focus peaking — it highlights the edges that are in focus, helping you make precise adjustments.
This is especially helpful for product photography, macro shots, and situations where even a small shift in focus could ruin the image.
Mind the Motion Blur in Background Elements
Even when your subject is still and sharp, background motion — like trees swaying, traffic lights glowing, or water moving — can affect the overall sharpness of a photo.
Use faster shutter speeds if you want to freeze everything.
If you want intentional motion blur (like a smooth waterfall), make sure you use a tripod and keep your subject still, so the contrast is deliberate and artistic, not accidental.
Mixing sharpness with motion blur can be beautiful — but only when it’s a choice, not a flaw.
Practice Makes Sharp
Finally, sharpness is a skill — not just a setting. The more you shoot, the more you’ll understand how small changes affect clarity.
Practice by:
Shooting the same subject with different settings
Testing your lens’s sharpest aperture
Photographing in different lighting conditions
Comparing handheld vs. tripod results
Analyzing what works and what doesn’t
Over time, you’ll develop the instinct to nail sharpness in the field — and not have to fix it in post.
Final Thoughts
Sharp, detailed photos make your work stand out — especially in a world flooded with casual snapshots. Whether you’re shooting professionally or building a portfolio as a beginner, mastering sharpness brings a noticeable upgrade to your photography.
But remember: sharpness isn’t everything. A technically perfect image that lacks emotion, story, or mood won’t connect with people. The goal is to combine technical excellence with artistic intention.
Learn the rules, use them wisely, and then let your creative vision shine through — in crisp, detailed, beautifully sharp images.


