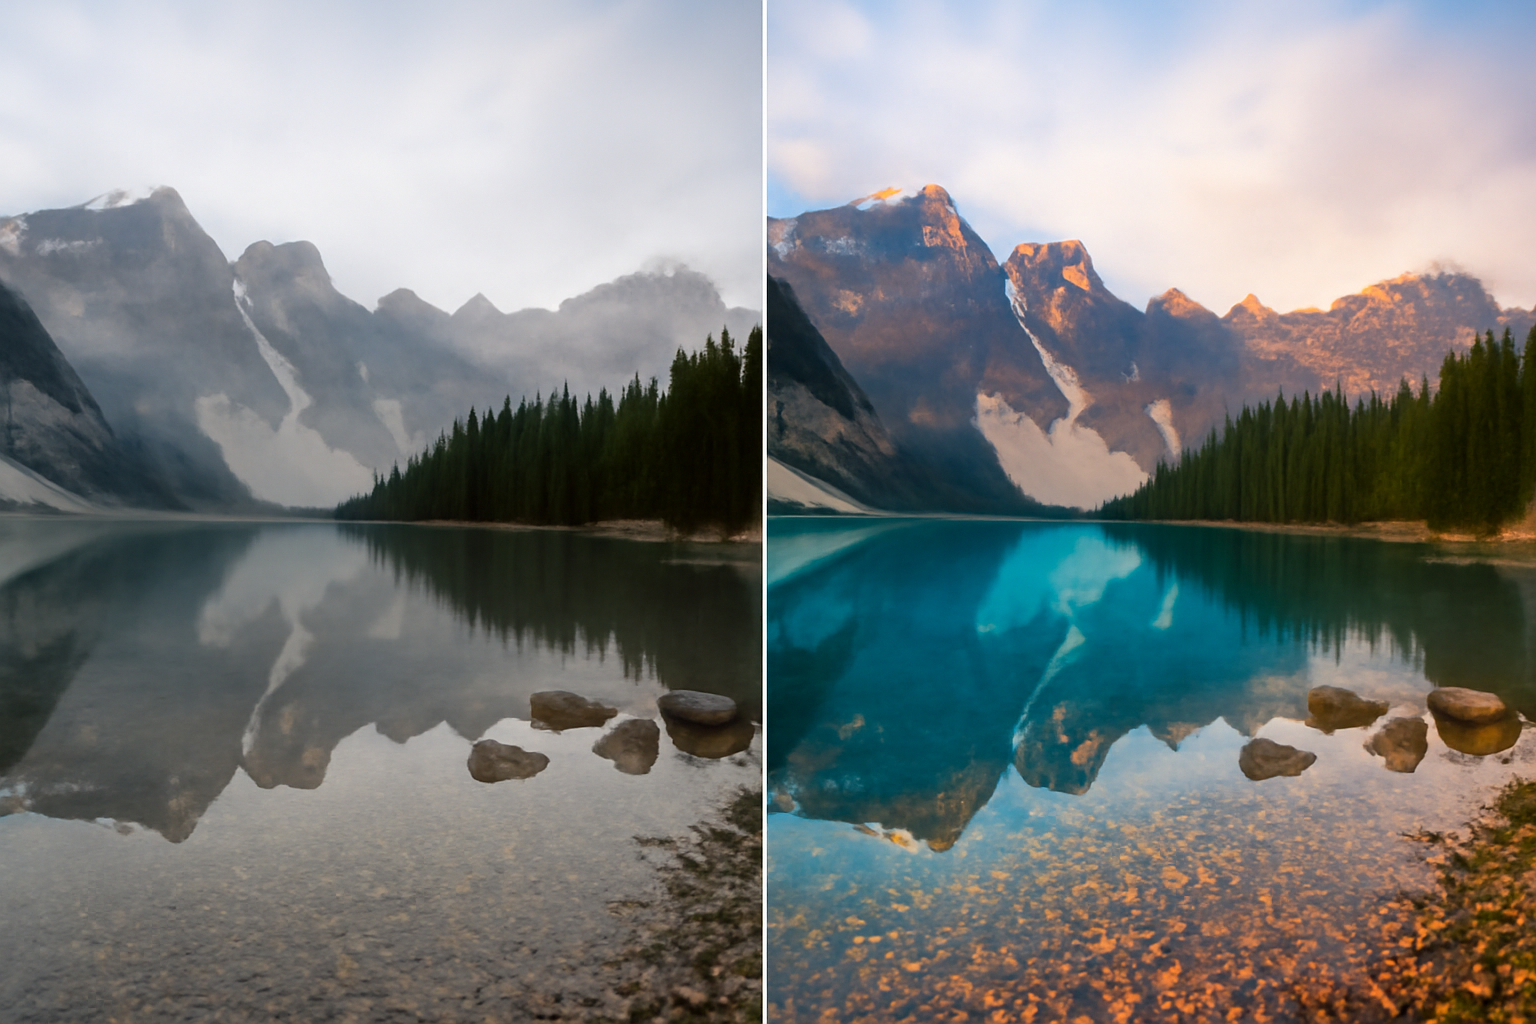
Portrait editing is one of the most popular areas in photography, and Adobe Lightroom is a powerful tool for enhancing portraits, highlighting the natural beauty of the subject, correcting imperfections, and creating a unique atmosphere. In this article, we will explore the essential techniques and tips to improve your portraits using Lightroom, creating impressive and professionally finished images.
1. Preparing the Image for Editing in Lightroom
Importing and Organizing Photos
The first step to editing a portrait in Lightroom is to import the image into the program. Open Lightroom, click on Import in the Library module, and select the photos you want to edit. Lightroom offers effective tools for organizing your images, allowing you to classify and tag them with keywords, making it easier to work when editing many photos.
Working with Virtual Copies
To work non-destructively, always edit a virtual copy of your image. This keeps the original file intact and allows you to revert any changes when necessary.
2. Adjusting Exposure and Contrast
Adjusting Exposure
The first adjustment you should make is exposure. The goal here is to ensure the image has the right brightness. In Lightroom’s adjustment panel, the exposure slider controls the overall brightness of the image. Increase or decrease exposure until the image has a balanced brightness, without losing details in the shadows and highlights.
Tip: For portraits, avoid overexposing the image to preserve skin texture and details in the eyes.
Adjusting Contrast
Contrast increases the difference between the light and dark areas of your photo, helping to add depth and definition. Proper contrast makes the skin appear smoother and gives more dimension to the subject’s face. Adjust the contrast slider to increase the separation between the light and dark areas.
Tip: Use contrast moderately, especially in portraits. Too high contrast can make the skin look artificial.
Adjusting Shadows and Highlights
The shadows and highlights sliders are essential for fine-tuning exposure. You can lighten dark areas (shadows) without affecting the overall brightness or darken bright areas that are too exposed.
Tip: Pay attention to detailed areas like the eyes and hair to avoid losing definition when adjusting shadows and highlights.
3. Enhancing Colors in Lightroom
Adjusting Skin Tone
Skin tone is one of the most important aspects when editing portraits. Lightroom offers tools to adjust white balance and color temperature, allowing you to adjust the skin tone, creating a more natural and healthy appearance.
Step-by-Step:
- Select the Color Temperature panel.
- Adjust the slider left (cooler) or right (warmer) until you find the ideal skin tone.
Tip: Avoid applying an overly warm or cool skin tone, as this can make the photo look unrealistic. Aim for a soft and natural tone.
Adjusting Saturation and Vibrance
The saturation and vibrance controls allow you to enhance the intensity of colors in the image. For portraits, it is important to enhance the skin tones without overdoing it. Vibrance is ideal for boosting the intensity of muted colors without affecting already saturated areas.
Tip: If the skin color looks too dull or lifeless, increase the vibrance a little, without overdoing the saturation.
Working with the HSL/Color Panel
The HSL (Hue, Saturation, Luminance) panel allows for precise adjustments to each individual color in the image. For example, you can adjust the red and orange hues to correct redness or unwanted tones in the skin.
Tip: To improve skin tone, adjust the luminance of red and orange hues. This will help create smoother and more natural-looking skin.
4. Using the Adjustment Brush for Specific Corrections
Localized Adjustments with the Brush
The Adjustment Brush in Lightroom allows you to make corrections to specific areas of the photo. This is ideal for brightening the eyes, smoothing the skin, or enhancing hair details without affecting the rest of the image.
Step-by-Step:
- Select the Adjustment Brush from the toolbar.
- Adjust the exposure, saturation, or sharpness sliders as needed.
- Paint over the desired areas to apply adjustments.
Tip: Use the brush to brighten shaded areas on the face, such as under the eyes, or to enhance the eyes and make them more vibrant.
Adjusting Sharpness and Clarity
The sharpness adjustment helps to increase the definition of the eyes and other important details on the face. Clarity is also useful for enhancing details, especially in skin and hair textures.
Tip: Avoid overdoing the clarity adjustments, as it may make the skin look rough. Apply it moderately for a natural effect.
5. Creating the Portrait Environment and Style
Vignette Effects
Adding a subtle vignette to the edges of the photo can help highlight the subject’s face, creating a natural focus in the center. In Lightroom, you can apply a soft vignette, darkening the edges and lightening the center of the image.
Tip: Use the vignette sparingly so the effect isn’t too obvious. A light vignette can add depth and focus to the portrait.
Using Background Blur
If you want to highlight the face even more, you can simulate a background blur. Although Lightroom doesn’t have a detailed background blur tool like Photoshop, you can use the Adjustment Brush to soften areas around the subject, giving the impression of a more blurred background.
Tip: Apply a gentle blur around the face, but make sure the effect is gradual and natural.
6. Finalizing the Edit and Exporting the Image
Final Adjustments
After applying all the necessary adjustments, review the image to ensure that the subject’s appearance is natural and balanced. Make sure the skin has a smooth tone without being over-edited.
Exporting the Image
Once you are happy with the results, it’s time to export the image. Choose the right resolution and adjust the quality to ensure that the photo is optimized for print or social media.
Tip: For social media, export your images at a 72 dpi resolution with good compression quality to avoid making the file too large.
Conclusion: Enhancing Portraits with Lightroom
Lightroom offers powerful and easy-to-use tools to create stunning portraits. The key is to carefully adjust exposure, colors, and details to achieve a natural and professional result. Portrait editing in Lightroom can transform your photos, bringing out the true beauty of the subject without losing the natural look.


