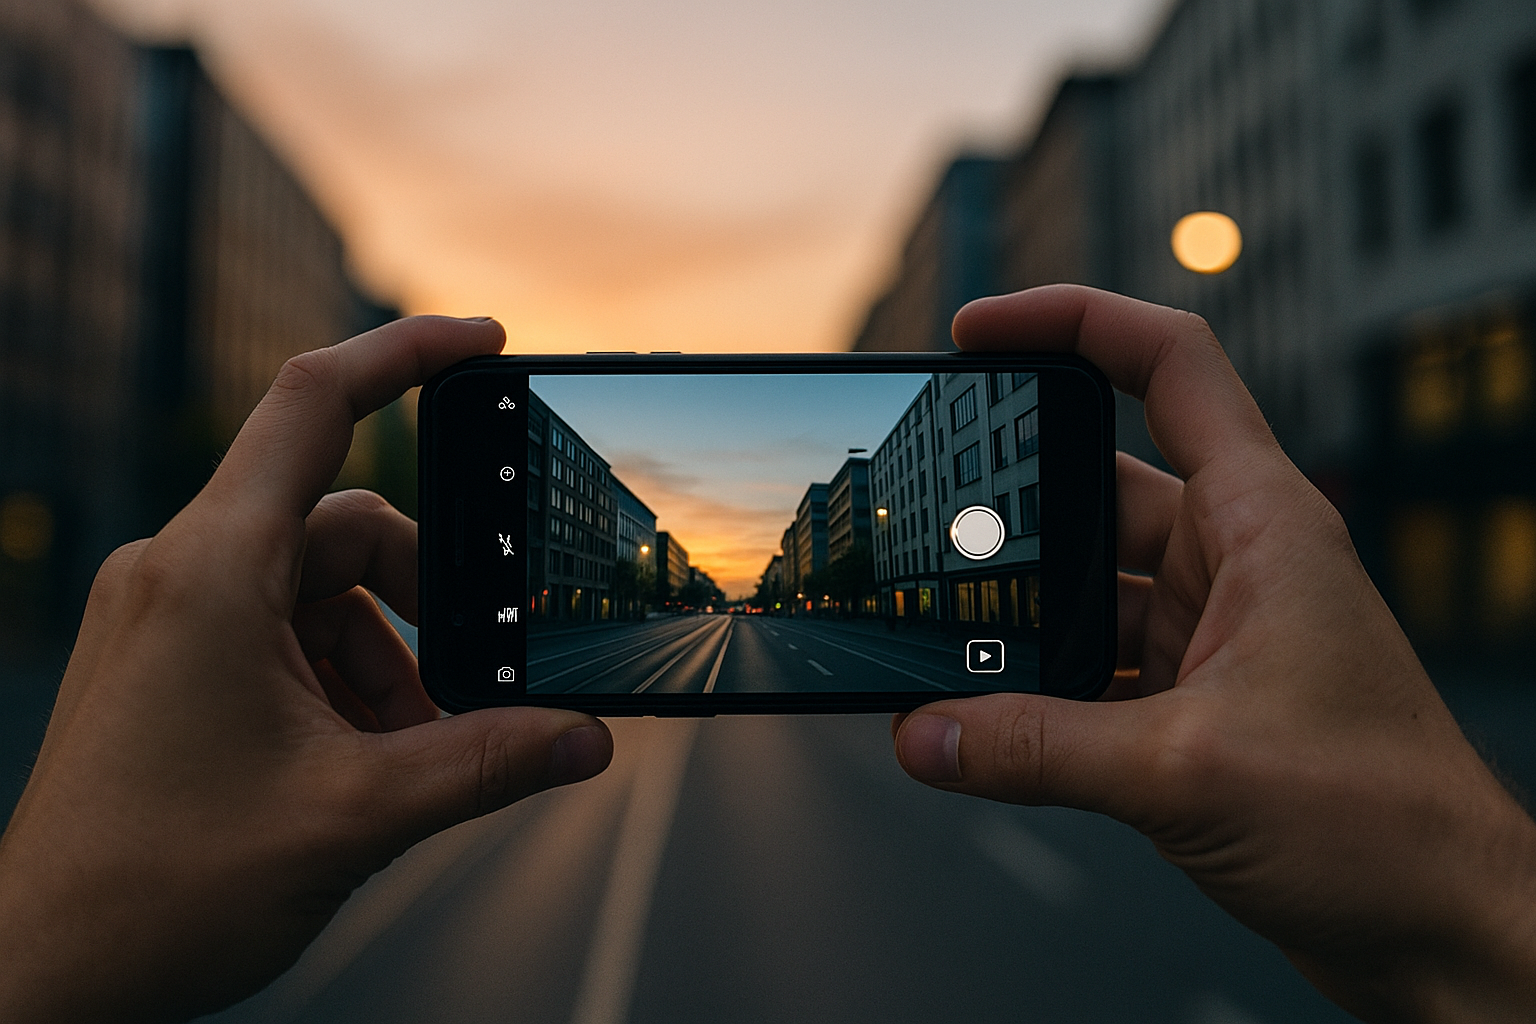
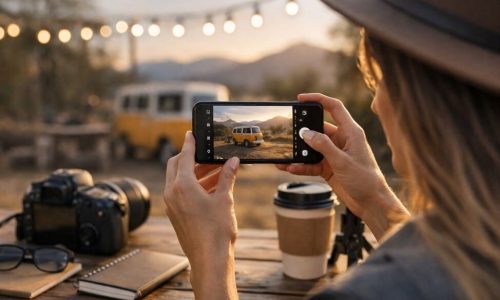
Not so long ago, taking professional-looking photos required expensive cameras and bulky lenses. Today, your smartphone has the power to capture stunning images that rival dedicated cameras. Mobile photography has become an art form in itself—accessible, creative, and always within reach.
The key, however, isn’t just having the latest phone. It’s learning how to see like a photographer and use your device to its fullest potential. In this guide, I’ll share practical tips, real-world examples, and personal insights to help you take amazing pictures with nothing more than your phone.
Why Mobile Photography Matters
The best camera is the one you have with you. Smartphones are always in your pocket, making them perfect for capturing:
- Everyday moments
- Travel adventures
- Quick portraits
- Street photography
- Spontaneous details you’d otherwise miss
With mobile photography, you don’t need to wait for the perfect setup. You can act on inspiration instantly.
Know Your Phone’s Camera Features
Before diving into tips, get familiar with your phone’s camera settings. Many beginners stick to automatic mode, but modern smartphones offer much more.
- HDR (High Dynamic Range): Helps balance highlights and shadows in tricky lighting.
- Portrait mode: Creates background blur for a DSLR-like effect.
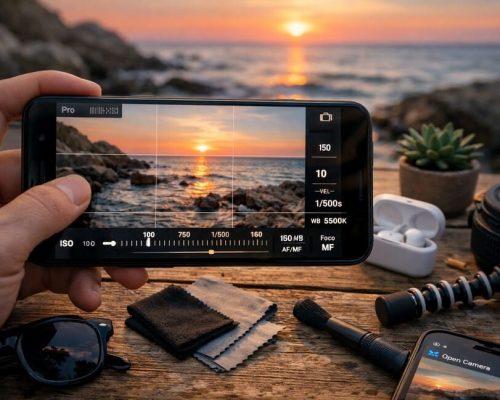
- Manual/Pro mode: Lets you adjust ISO, shutter speed, and white balance.
- RAW shooting: Provides uncompressed files for better editing flexibility.
Spend time experimenting with these modes. The more you understand your camera’s features, the more control you’ll have over your shots.
Lighting Is Everything
Great photography starts with light. Phones have smaller sensors, so lighting makes an even bigger difference.
Tips for Better Lighting:
- Shoot during golden hour: The soft, warm light just after sunrise or before sunset adds magic to any photo.
- Avoid harsh midday sun: It creates strong shadows and blown highlights. If unavoidable, look for shade.
- Use window light indoors: Natural light from a window can be perfect for portraits or still life.
- Experiment with artificial light: Lamps, neon signs, and even candles can add atmosphere.
Pro tip: Always be mindful of the direction of light. Front lighting flattens features, while side lighting adds depth and drama.
Composition: Think Before You Tap
Smartphone photography is as much about composition as it is about gear. Apply classic techniques:
- Rule of thirds: Turn on your gridlines and place key elements off-center.
- Leading lines: Roads, fences, and shadows can guide the viewer’s eye.
- Framing: Use windows, arches, or foliage to create natural frames.
- Negative space: Don’t be afraid to leave empty areas in your shot.
Exercise: Next time you’re out, take three photos of the same subject using different compositions. Compare and see which one tells the best story.
Keep It Steady
Blurry shots are a common issue in mobile photography. To improve sharpness:
- Hold your phone with both hands.
- Brace your elbows against your body.
- Use a mini tripod or a phone grip.
- Tap to focus before shooting.
If your phone has night mode, combine it with a tripod for impressively sharp low-light images.
Get Closer Instead of Zooming
Digital zoom reduces quality, so avoid pinching to zoom. Instead:
- Move physically closer to your subject.
- Crop later during editing if necessary.
Exception: If your phone has multiple lenses (wide, telephoto, ultra-wide), switch between them instead of relying on digital zoom.
Experiment with Angles
Changing your perspective can transform an ordinary subject into something striking.
- Shoot from ground level for dramatic perspectives.
- Hold the phone above your head for a bird’s-eye view.
- Tilt the camera slightly for creative angles.
Try photographing everyday objects from unexpected viewpoints—it’s a simple way to train your eye.
Use Portrait Mode Wisely
Portrait mode can make photos look professional, but use it carefully:
- Works best with single subjects.
- Avoid complex backgrounds, as blur can look artificial.
- Ensure good lighting, since low light can confuse the software.
Test portrait mode in different conditions to understand when it enhances your shots and when it doesn’t.
Pay Attention to Backgrounds
A cluttered background can ruin a great subject. Before taking a shot, scan the frame:
- Look for distractions like poles, signs, or random objects.
- Move your subject or yourself for a cleaner backdrop.
- Use shallow depth of field (portrait mode) to soften busy backgrounds.
Editing: The Secret Ingredient
Editing is where good photos become great. Apps like Lightroom Mobile, Snapseed, and VSCO make it easy to polish your shots.
Key Edits:
- Adjust exposure and contrast for balance.
- Fine-tune highlights and shadows to reveal details.
- Boost or reduce saturation depending on mood.
- Crop and straighten to improve composition.
Important: Don’t overdo it. Subtle edits maintain a natural look.
Use Grids and Leading Lines in Urban Photography
City environments are full of strong shapes, patterns, and lines. Train your eye to spot:
- Staircases
- Crosswalks
- Building symmetry
- Reflections in windows and puddles
These elements add structure and interest to your shots.
Embrace Minimalism
Sometimes less is more. A single flower on a table, a lone figure walking in an empty street, or a shadow on a wall can make a powerful image.
Minimalist photos allow viewers to focus on the essence of the subject, making them memorable and striking.
Storytelling with Your Phone
Great photos don’t just show—they tell. With mobile photography, think about the narrative behind your shots.
- Who or what is the subject?
- What emotion are you trying to convey?
- Does the image raise curiosity or tell a full story?
When you infuse storytelling into your photos, even a simple phone snapshot becomes meaningful.
Practice with Challenges
To keep improving, try photography challenges:
- Shoot only in black and white for a week.
- Capture one theme daily (e.g., reflections, patterns, or colors).
- Limit yourself to 10 photos a day.
These exercises build discipline and push your creativity.
Learn from Mistakes
Not every shot will be perfect—and that’s okay. The beauty of mobile photography is that mistakes cost nothing but time.
Look at your missed shots and ask:
- Was it poor lighting?
- Did I rush composition?
- Did I rely too much on filters?
Mistakes are stepping stones toward developing your unique style.
Use Accessories to Elevate Your Shots
While a phone alone is powerful, a few inexpensive accessories can take your images to the next level:
- Clip-on lenses: Wide-angle, macro, and fisheye lenses expand your creative options.
- Portable tripods: Perfect for stability in low light or long exposures.
- External lights or ring lights: Improve portraits and indoor shots.
- Remote shutter releases: Help avoid camera shake during long exposures.
These small tools can make a big difference, especially if you’re serious about mobile photography.
Mobile Photography for Different Situations
1. Travel
Capture wide landscapes with your phone’s ultra-wide lens. Use leading lines like roads or rivers to create depth. Don’t forget to turn the camera on yourself too—self-portraits during travel add personality to your memories.
2. Food Photography
Natural light is your best friend. Shoot near a window, and avoid harsh overhead lights. Use portrait mode carefully to make the dish pop, but keep enough detail in the surroundings to tell a story.
3. Street Photography
Blend in by keeping your phone low and discreet. Capture candid expressions and everyday life. Try shooting from the hip for unposed, authentic moments.
4. Portraits
Always prioritize the eyes—tap to focus on them. Use natural light whenever possible, and experiment with side lighting for more dramatic effects.
Common Mobile Photography Mistakes to Avoid
- Overediting: Oversaturated colors or excessive filters can ruin a shot.
- Ignoring backgrounds: Even the best subject won’t shine if the background is messy.
- Using flash unnecessarily: Built-in phone flash creates harsh light. Use it only as a last resort.
- Relying too much on portrait mode: Learn when it enhances and when it distracts.
Avoiding these mistakes will make your photos look instantly more professional.
Quick Exercises to Train Your Eye with a Phone
If you want to sharpen your vision as a photographer, here are some simple phone-only exercises:
- One object, five perspectives: Pick a simple subject, like a cup of coffee, and shoot it from five different angles.
- Color hunt: Choose one color and capture it in different contexts throughout your day.
- Shadow play: Spend a day photographing only shadows and reflections.
- Time study: Take a picture of the same scene at morning, noon, and night to notice how light transforms it.
These exercises not only train your eye but also help you discover new ways of seeing with the device you already use every day.
Final Thoughts: Your Phone, Your Vision
Taking amazing pictures with your phone isn’t about owning the latest model. It’s about being intentional, observant, and creative with the tool you already have.
Your smartphone is more than a gadget—it’s a gateway to storytelling, memory-making, and personal expression. With practice and awareness, you can transform ordinary moments into extraordinary images.
So, keep your phone handy, your eyes open, and your imagination active. The world is waiting for your perspective. And with every photo you take, you’re not just recording life—you’re shaping how it’s remembered.

