Photography, at its very core, is the art of capturing light. No matter how advanced your camera is, or how carefully you compose your shot, without a solid understanding of lighting your images will always feel incomplete. For beginners, mastering light can seem intimidating, but once you start observing and working with it intentionally, photography becomes far more creative and rewarding.
This guide will walk you through the fundamentals of lighting, share practical techniques, and offer examples to help you develop an eye for light—one of the most important skills any photographer can cultivate.
Why Light Matters
Light determines the mood, tone, and clarity of your photographs. It shapes your subject, adds depth, and can even tell a story on its own. Think about the difference between a portrait taken at noon under harsh sun versus one taken during golden hour with soft, warm light. Same subject, different light—two completely different images.
Learning to read light, adapt to it, and even manipulate it is what separates a snapshot from a compelling photograph.
Types of Natural Light
Golden Hour
The period shortly after sunrise and before sunset, known as golden hour, provides a warm, soft, and flattering light. It’s perfect for portraits, landscapes, and almost any kind of photography.
Blue Hour
The twilight period before sunrise or after sunset, when the sky glows in deep blues and purples. Blue hour is great for cityscapes and moody, atmospheric images.
Midday Light
Harsh and direct, midday sunlight often creates strong shadows and high contrast. While it can be challenging, it’s not unusable—you just need to adapt. Look for shaded areas, use reflectors, or embrace the dramatic shadows.
Overcast Light
Cloudy days diffuse sunlight, creating soft, even lighting. This type of light is wonderful for portraits, macro shots, and situations where you want to avoid harsh shadows.
Direction of Light
The direction light comes from drastically changes the look of your image.
- Front lighting: Illuminates the subject evenly but can look flat.
- Side lighting: Adds depth and dimension, emphasizing texture and form.
- Backlighting: Creates dramatic silhouettes, halos, or rim lighting when placed behind your subject.
- Top lighting: Often harsh (think of midday sun overhead), but can create moody effects if used intentionally.
- Bottom lighting: Rarely natural, but can be used creatively for unusual or eerie looks.
Experiment with walking around your subject and noticing how the angle of light transforms the scene.
Understanding Shadows
Shadows are not the enemy—they’re part of the language of photography. They add contrast, drama, and shape to your images. Pay attention to:
- Soft shadows: Created by diffused light, they add gentle depth.
- Hard shadows: Formed under direct light, they create striking contrast.
Learning to balance highlights and shadows is key to creating images with strong impact.
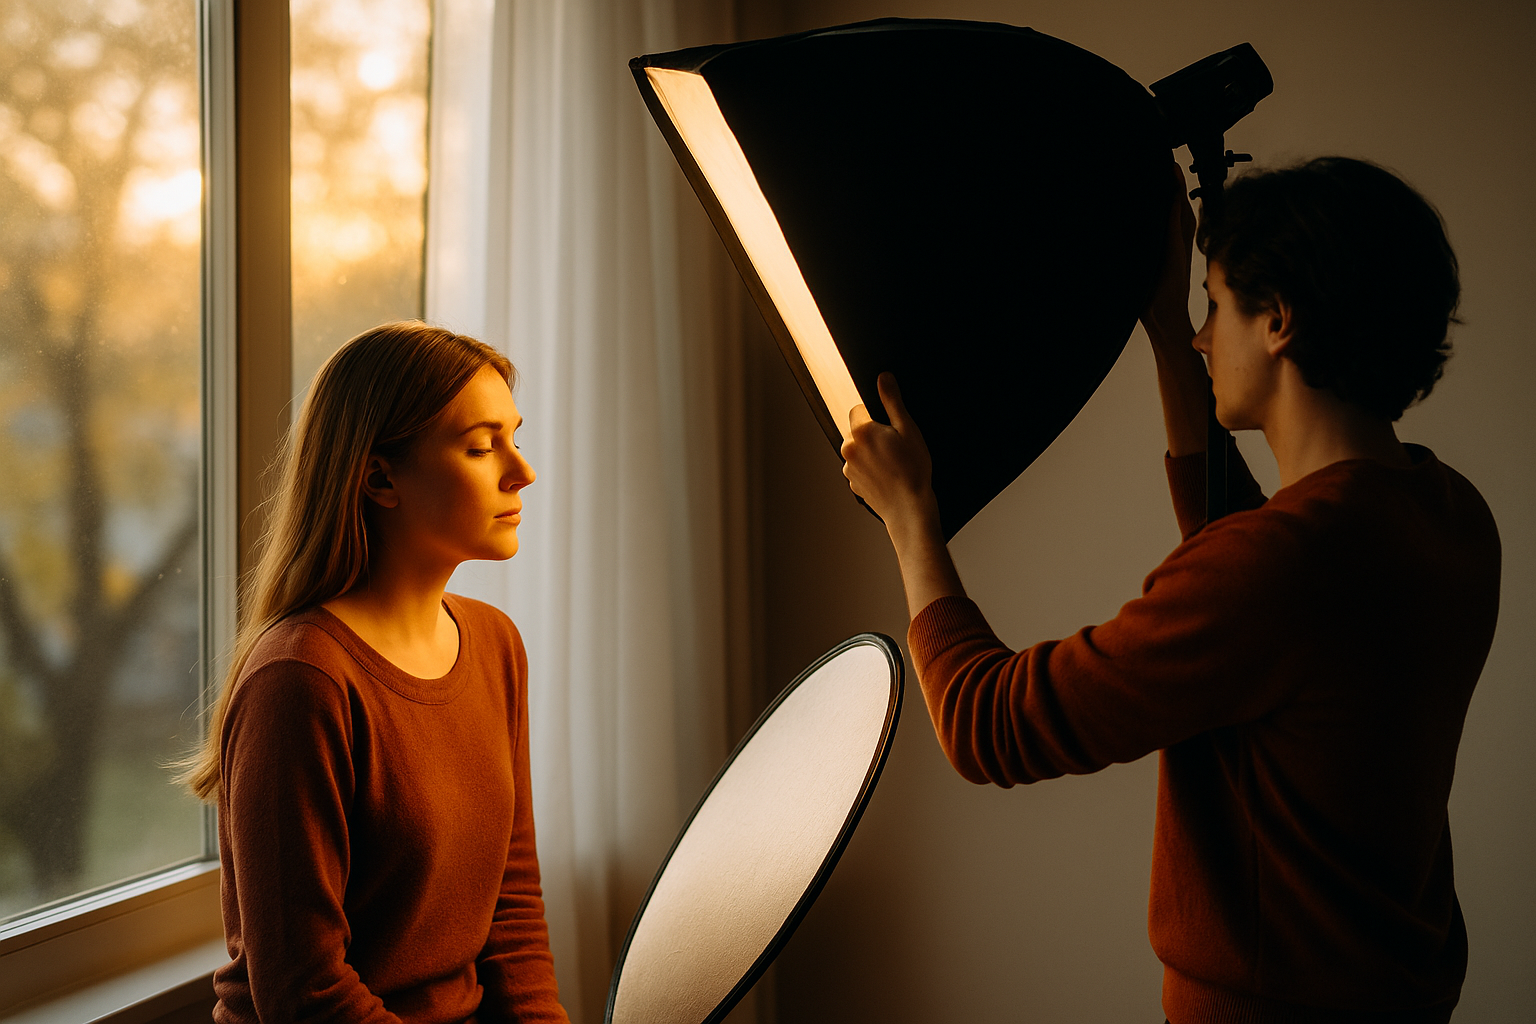
Using Artificial Light
Natural light is wonderful, but you won’t always have it. That’s where artificial lighting comes in.
Continuous Lighting
Continuous lights (like LED panels or softboxes) let you see exactly how light falls on your subject before taking a photo. They’re perfect for beginners because they make experimenting easy.
Flash
Flash can be intimidating, but when used correctly, it opens endless possibilities. On-camera flash often looks harsh—bouncing it off walls or ceilings creates softer, more natural light. Off-camera flash gives you full control to shape and direct light.
Practical Lights
Don’t underestimate lamps, candles, or even your phone’s flashlight. These can add warmth, atmosphere, or creative highlights when used thoughtfully.
Modifying Light
Light can be shaped, softened, or redirected with tools called modifiers:
- Diffusers: Soften harsh light (e.g., a white bedsheet over a window).
- Reflectors: Bounce light back onto your subject, filling shadows.
- Grids: Control the spread of light, focusing it where you want it.
- Gels: Add color to your light source for mood or creative effects.
Even household items like foil, cardboard, or white poster boards can be used as DIY modifiers.
Light in Different Photography Genres
Portraits
For portraits, soft light is often best. Golden hour or window light can flatter skin tones and add warmth. Reflectors help reduce harsh shadows on the face.
Landscapes
Landscapes come alive with directional light. Side lighting during sunrise or sunset emphasizes texture in mountains or fields, while midday light can flatten the scene unless you use shadows creatively.
Street Photography
Street photographers often embrace harsh light for its contrast and drama. Shadows from buildings or streetlamps can be part of the composition.
Still Life
Soft, diffused light works wonders here. A simple desk lamp with parchment paper as a diffuser can create beautiful, moody still-life setups.
Macro Photography
Macro subjects, like flowers or insects, benefit from diffused light. Harsh shadows can overwhelm small details, while soft light highlights texture and color delicately.
Creative Uses of Light
Light isn’t just something to manage—it’s something to play with. Once you understand the basics, start experimenting:
- Silhouettes: Place your subject in front of a strong light source and expose for the background.
- Rim lighting: Position light behind your subject to create a glowing outline.
- Colored light: Use gels or neon lights to introduce mood and emotion.
- Reflections: Use water, mirrors, or glass to bounce light and create surreal effects.
- Light painting: Use a flashlight in long exposure mode to draw patterns or highlight details creatively.
These creative approaches push you beyond the safe zone and into images that stand out.
Low-Cost Lighting Tricks
You don’t need expensive gear to experiment with lighting. Try these DIY tricks:
- Use white poster board as a reflector.
- Hang a sheer curtain to diffuse window light.
- Wrap foil around cardboard to make a makeshift bounce.
- Place a lamp inside a lampshade lined with parchment for a soft glow.
When I started out, I used a desk lamp and aluminum foil as my first lighting setup. It wasn’t glamorous, but it taught me how much difference light direction and quality make.
Practical Tips for Beginners
- Observe before you shoot. Spend a minute looking at how light interacts with your subject. Where are the highlights and shadows?
- Move your subject (or yourself). Often the easiest way to change the light is by shifting positions.
- Use windows. They’re nature’s softboxes—experiment with curtains for diffusion.
- Don’t fear the dark. Low-light photography can be beautiful when embraced.
- Experiment constantly. Try photographing the same object in different lighting situations to see how it changes.
- Take notes. Keep a small journal of what worked and what didn’t when shooting with different kinds of light.
Real-World Example
When I first started out, I used to avoid midday sun entirely. But one day, shooting in the city, I embraced the strong shadows of skyscrapers cutting across sidewalks. The result? Bold, high-contrast images that had a graphic, almost cinematic feel. That experience taught me that all light has potential—it’s just about learning how to use it.
Another time, while photographing a friend indoors, I used nothing but a bedside lamp with a thin scarf over it. The result was a warm, diffused glow that made the portrait look intimate and artistic—proof that creativity often matters more than equipment.
Common Beginner Mistakes
- Relying only on good weather: Cloudy days can be your best friend.
- Using direct flash without modification: Creates harsh, unflattering results.
- Ignoring shadows: They’re as important as highlights in shaping your photo.
- Over-editing exposure: Fixing poor lighting in post-production rarely matches getting it right in-camera.
- Overcomplicating setups: Beginners often think more lights equal better results, but one well-placed source often beats a cluttered setup.
Exercises to Train Your Eye for Light
- Photograph the same subject at morning, noon, and sunset. Compare the mood in each shot.
- Place an object near a window and shoot it every hour for a day.
- Experiment with a simple desk lamp at home—move it around your subject and notice the changes.
- Shoot silhouettes at sunset to understand backlighting.
- Try a week of only shooting in black and white—it will force you to notice contrast and light.
- Photograph a glass of water in different lighting situations—it’s a simple subject that reveals a lot about reflection and refraction.
Final Thoughts: Light as Your Creative Partner
Mastering light isn’t about memorizing rules—it’s about developing awareness. Once you learn to see light—its direction, quality, and impact—you’ll never look at the world the same way again. Every walk outdoors, every café visit, every moment at home becomes an opportunity to notice how light transforms the ordinary into something extraordinary.
As a beginner, your goal isn’t to control light perfectly—it’s to play with it, to experiment, and to build intuition. With practice, light will stop being a challenge and start becoming your greatest creative partner.
The more you engage with light, the more it reveals. And soon, you’ll discover that light is not just part of photography—it is photography.
So, the next time you step outside or turn on a lamp, pause for a moment. Notice how light paints the world. That awareness is where mastery begins.


