Sunlight is one of the most powerful and accessible tools for any photographer, whether amateur or professional. Knowing how to use it to your advantage can turn ordinary shots into stunning images. However, like any powerful tool, it requires knowledge and sensitivity to be used well.
In this article, you’ll discover how to master sunlight in outdoor photography by exploring timing, direction, quality, and practical tricks to get the best results.
The Importance of Understanding Natural Light
Natural light, especially sunlight, changes constantly throughout the day. Each shift directly affects the tone, texture, and mood of your photos. So, understanding light means understanding the foundation of your image.
Unlike artificial lighting, which you can easily control, the sun imposes conditions you must interpret and take advantage of at the right moment.
Different Times of Day and Their Effects
Morning Light (Sunrise)
Light at the beginning of the day, generally between 5:30 a.m. and 8:00 a.m. (depending on the season), is soft and golden. This period, known as the Golden Hour, is highly valued by photographers.
Advantages:
- Soft and diffused shadows
- Warm color temperature, flattering for skin tones
- Light and peaceful atmosphere
Ideal for: portraits, landscapes, romantic or natural photo sessions.
Midday Light (11 a.m. to 2 p.m.)
During this time, the sun is at its highest point, producing intense, direct light. Shadows are harsh and contrast is strong.
Disadvantages:
- Harder to balance exposure
- Harsh shadows on faces and squinting eyes
- Risk of blown highlights
How to compensate: Use umbrellas, diffusers, tree shade, or shoot in partially covered locations.
Afternoon Light (3 p.m. to Sunset)
Just like in the morning, afternoon light becomes softer and more golden. This is the second Golden Hour, often more popular due to the convenient timing.
Ideal for: any outdoor session with a warm and gentle aesthetic.
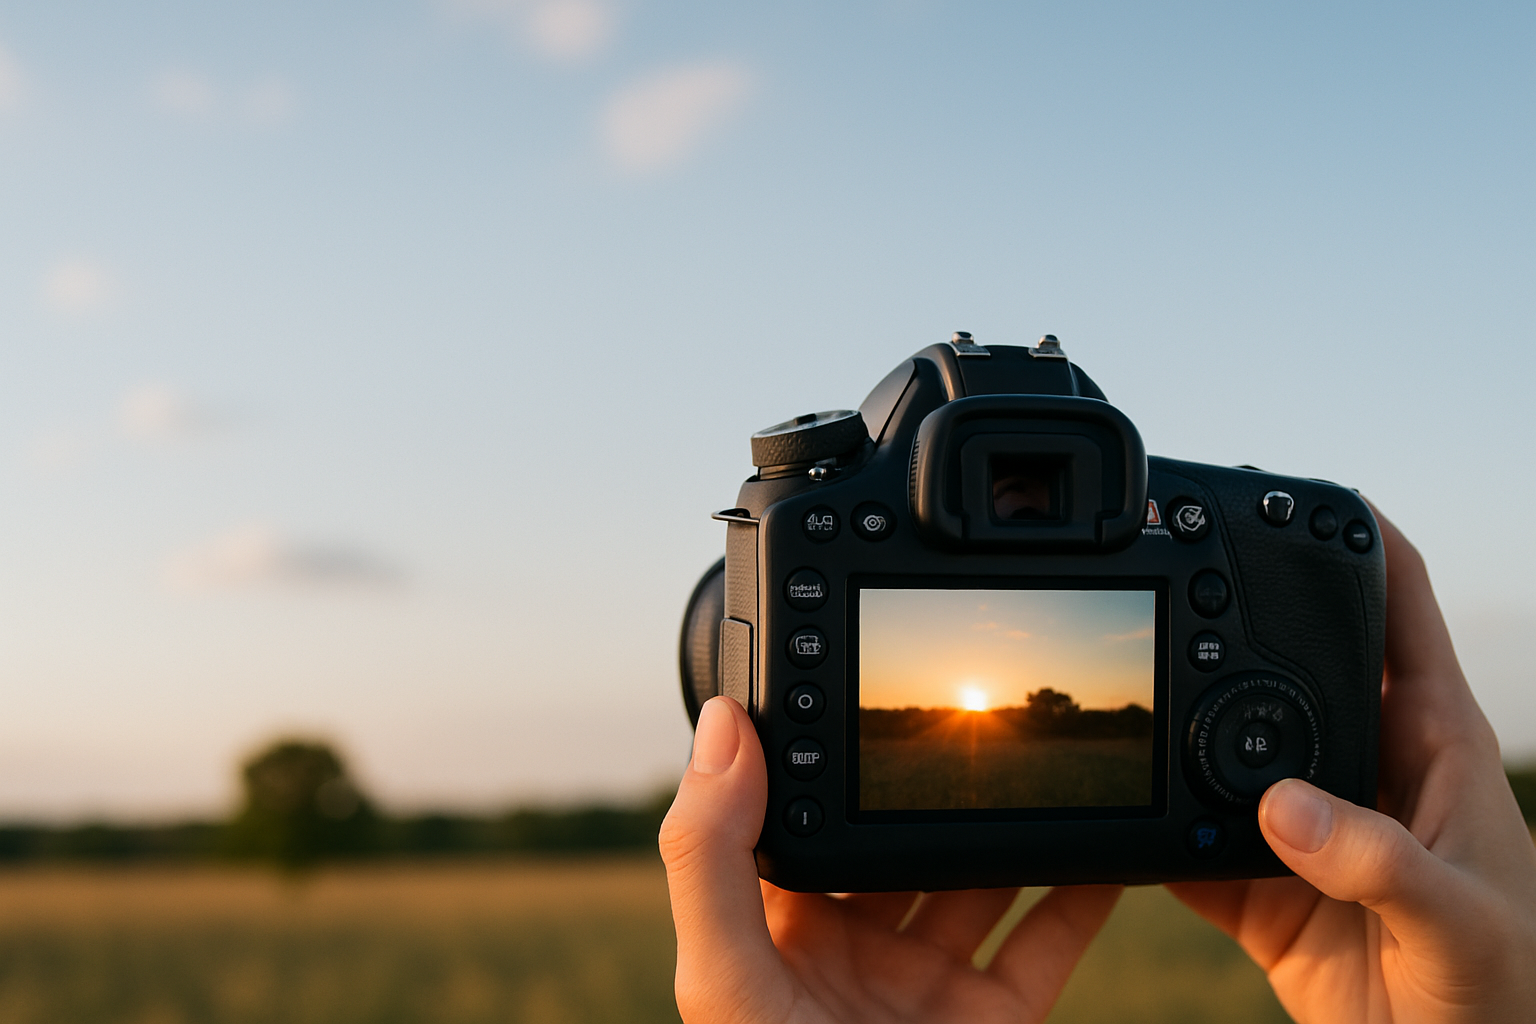
Sunset Light
In the final 20 to 30 minutes before the sun sets, light turns orange, pink, or even purple. This moment is magical but fleeting.
Tip: Be ready and positioned a few minutes before the sun starts to dip.
How to Position the Sun Relative to Your Subject
Sun in Front
When the sun faces your subject, it lights up the face or scene directly.
Advantages:
- Bright, well-lit images
- Easy exposure for automatic cameras
Disadvantages:
- Causes squinting
- Flat backgrounds with little depth
Sun to the Side
Side light creates volume and depth, emphasizing skin texture, clothing, or objects.
Ideal for: portraits with a dramatic or artistic style.
Backlight (Sun Behind the Subject)
Backlighting creates a halo or silhouette effect, depending on your exposure.
Tip: Use a reflector or HDR mode to keep facial details visible.
Best for: creative, emotional shots with soft light outlining hair and shapes.
Practical Tips to Make the Most of Sunlight
1. Use Reflectors and Diffusers
Reflectors bounce light back onto your subject, softening shadows. Diffusers spread harsh sunlight, creating a softer glow.
You can buy these or improvise with white cardboard, sheer fabric, or even a light-colored bedsheet.
2. Watch the Shadows
Before taking the shot, check the direction and pattern of shadows. They reveal where the light comes from and how it’s affecting your subject.
Very harsh shadows indicate strong direct light—use diffusers or adjust your angle to soften them.
3. Embrace the Weather
A cloudy sky acts as a giant natural diffuser. Rather than avoiding cloudy days, embrace them—lighting will be more even and soft, perfect for portraits and product photos.
4. Use Manual Exposure or Lock Focus
Auto cameras and phones can misjudge scenes with mixed light and shadow. Manually adjusting or locking focus and exposure helps control the outcome better.
5. Explore Reflections and Textures
Surfaces like water, glass, sand, and metal react uniquely to sunlight. Use these textures to create striking effects, especially at sunrise or sunset.
6. Be Patient and Observe
Light shifts by the minute. Waiting just 10 minutes can completely transform the mood of your photo. Be patient and attentive to light transitions.
Common Mistakes When Using Sunlight (and How to Avoid Them)
- Ignoring timing: Trying to shoot anything at any time can hurt your results. Plan ahead.
- Not watching shadows: Unwanted shadows can ruin an otherwise great composition.
- Overusing backlight: Not all cameras handle this well. Test and adjust exposure carefully.
- Relying 100% on auto mode: Even on a phone, learn to adjust exposure manually or with apps.
Let the Sun Be Your Creative Ally
Photographing with sunlight is an art that combines observation, sensitivity, and technique. When used well, it enhances emotions, builds unique atmospheres, and brings out the best in your scene.
Mastering sunlight is a huge asset for anyone looking to grow in outdoor photography. It’s free, abundant, and—once you practice—can become your most powerful creative tool.


