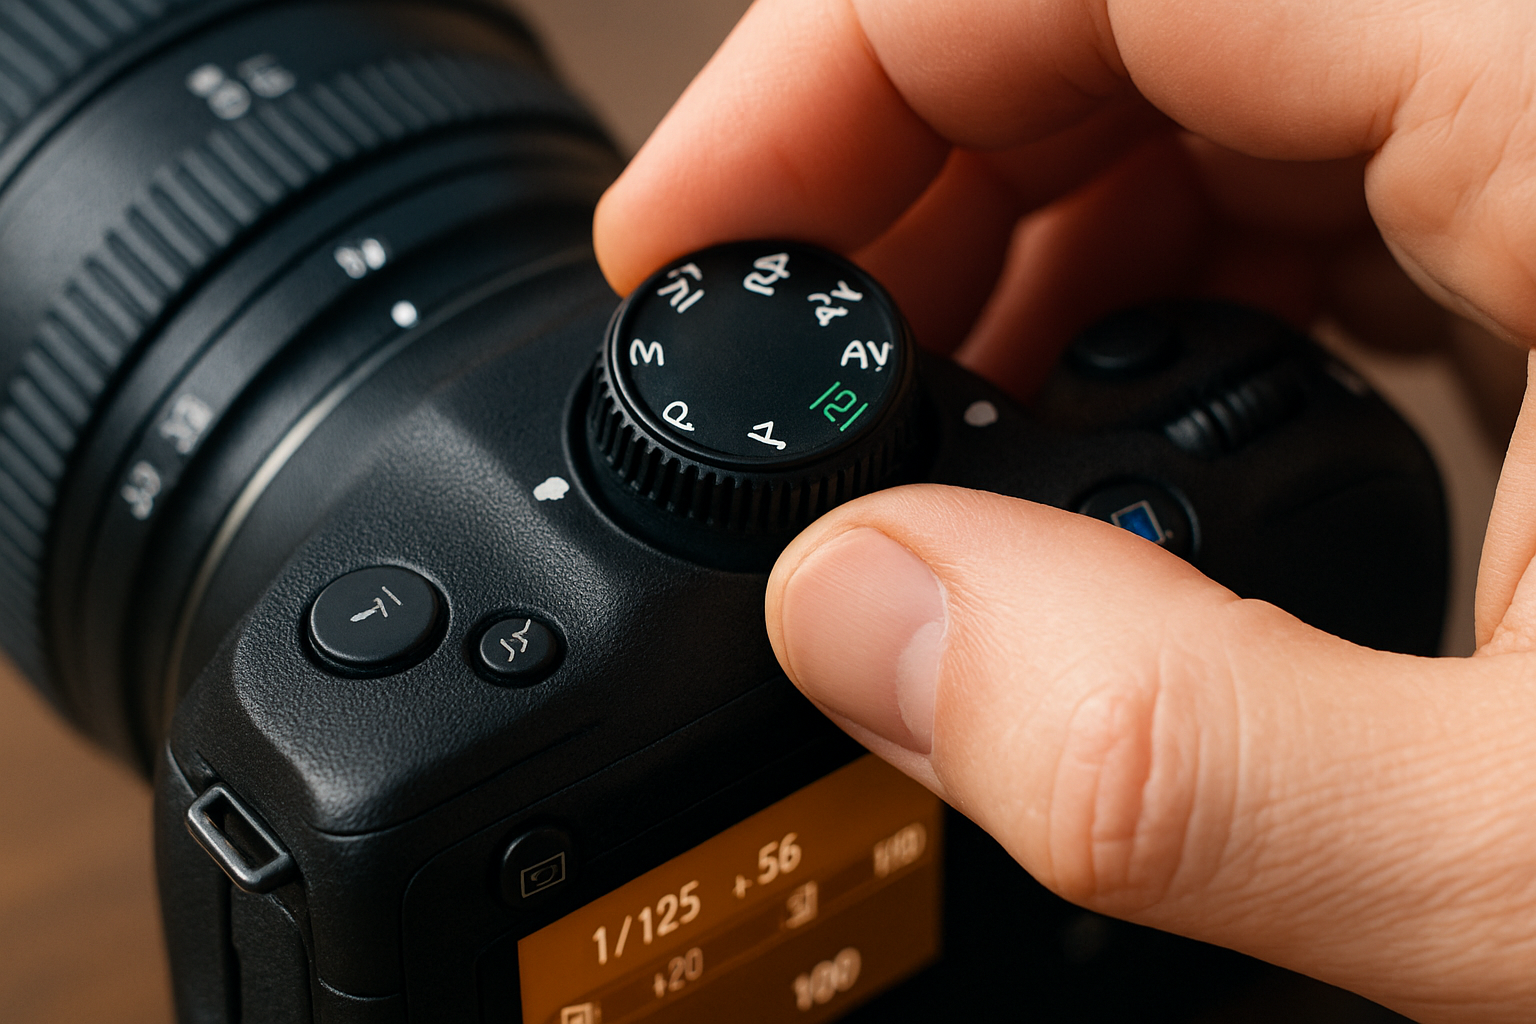
Learning to use manual mode on your camera might seem intimidating at first. You’re suddenly faced with settings like aperture, shutter speed, and ISO — all of which affect your photo in different ways. But here’s the truth: manual mode isn’t just for professionals. It’s for anyone who wants to take full control of their photography and create images that reflect their personal style and intention.
If you’ve been shooting in auto mode and wondering why your photos look good — but not quite how you imagined — manual mode is the next step. This guide is here to demystify it for you. No technical jargon, no robotic instructions. Just real, practical advice from someone who has been exactly where you are and found joy in the creative freedom that manual mode offers.
Why Manual Mode Matters
When you shoot in auto, your camera makes all the decisions. It guesses how bright the photo should be, how much should be in focus, and how to freeze or blur movement. And to be fair, modern cameras do a pretty decent job. But they don’t know what you’re trying to say with your photo.
Manual mode gives you full creative control. You decide what’s important in the scene, what should be in focus, what should be blurred, how the light feels, and how motion is captured. It turns photography from reactive to intentional.
It’s the difference between “I got lucky” and “I made this.”
The Three Key Settings You Need to Understand
Manual mode is built around three main settings, often called the “exposure triangle.” These are aperture, shutter speed, and ISO. Mastering these three will give you total control over how your photo looks.
Aperture (f-stop)
Aperture controls how wide your lens opens to let in light. It also affects how much of the scene is in focus — known as depth of field.
Aperture values look like this: f/1.8, f/2.8, f/5.6, f/8, f/11, f/16…
Here’s what you need to know:
- Lower f-number (like f/1.8) = larger opening, more light, and shallower depth of field (great for blurry backgrounds in portraits)
- Higher f-number (like f/11) = smaller opening, less light, and deeper depth of field (ideal for landscapes where you want everything in focus)
If you’ve ever admired a portrait with that creamy blurred background, that’s the result of a wide aperture.
Shutter Speed
Shutter speed is how long the camera’s sensor is exposed to light. It’s measured in seconds or fractions of a second, like 1/1000, 1/250, 1/60, 1/2, or 10″.
Faster shutter speeds freeze motion. Slower ones create blur — either intentional or not.
Use it like this:
- 1/1000 or faster: freeze action (sports, wildlife, fast movement)
- 1/250–1/125: ideal for portraits or general handheld shots
- 1/60 or slower: risks motion blur unless you use a tripod
- Long exposure (1+ seconds): great for light trails, silky water, or night scenes
Your choice of shutter speed tells the story: is the moment sharp and crisp, or soft and flowing?
ISO
ISO is your camera’s sensitivity to light. A lower ISO produces a cleaner image. A higher ISO brightens the photo but adds noise (grain).
Here’s a general guide:
- ISO 100–200: ideal for daylight and outdoor shooting
- ISO 400–800: useful indoors or in shade
- ISO 1600+: low-light and night photography — just watch for noise
In manual mode, ISO is your backup. You adjust aperture and shutter speed to get the look you want, then raise ISO if you still need more light.
Putting It All Together
Manual photography is about balancing these three settings. If one changes, another must compensate.
Let’s say you’re shooting a portrait outdoors:
- You want a blurred background → choose f/2.8
- You want the image sharp → use shutter speed 1/250
- It looks slightly dark → raise ISO from 100 to 400
That’s it — you just made a photo exactly the way you wanted.
The best way to practice this balance is to experiment with one setting at a time. Set your ISO to a fixed value, and just play with shutter and aperture. Then try changing ISO while keeping the others stable. The more you experiment, the more second-nature it becomes.
How to Read Your Camera’s Light Meter
When you switch to manual mode, most cameras display a built-in light meter — usually a horizontal bar that looks something like this:
-2 … -1 … 0 … +1 … +2
This tells you if your exposure is balanced. The goal is to bring the indicator close to 0, which means your camera thinks the scene is properly exposed.
But here’s the twist: you don’t always want “correct” exposure.
Maybe you want a photo that’s intentionally dark and moody, or one that’s bright and dreamy. Manual mode lets you do both. The light meter is just a tool — not a rule.
Tips for Using Manual Mode in Real Situations
Let’s go beyond the theory and talk about how manual mode works in real life. Here are some practical scenarios with settings to try:
Portrait in Natural Light
- Aperture: f/2.0–f/2.8
- Shutter speed: 1/200 or faster
- ISO: 100–400
Focus on the subject’s eyes and expose for their skin tone. If shooting near a window, position the light at an angle to create depth.
Landscape
- Aperture: f/8–f/11
- Shutter speed: 1/60 or slower (use tripod)
- ISO: 100
Use a smaller aperture to get everything sharp. A tripod helps avoid camera shake.
Low-Light Street
- Aperture: f/2.8 or wider
- Shutter speed: 1/125 or slower
- ISO: 800–3200
Balance available light with higher ISO. Be mindful of noise.
Creative Motion Blur
- Aperture: f/5.6 or narrower
- Shutter speed: 1 second or longer
- ISO: 100–200
Perfect for light trails, moving water, or artistic blur. Use a tripod and remote shutter if possible.
Common Mistakes (And How to Avoid Them)
- Too much blur: Use faster shutter speeds for moving subjects
- Underexposure: Don’t be afraid to raise ISO
- Overexposure: Watch highlights — they’re hard to recover
- Forgetting to reset settings: Always double-check before shooting
Best tip: slow down. Manual photography is about intention.
Why Shooting in RAW Helps
When using manual mode, you’ll get the best results by shooting in RAW. It allows:
- Better control in editing
- Recovery of shadows and highlights
- More detail and less compression
If your camera allows it, always choose RAW + JPEG. That way, you have flexibility and a backup.
When to Use Manual Mode — And When Not To
Manual mode shines when:
- Lighting is tricky or inconsistent
- You’re creating long exposures
- You want full creative control
- You’re working in a stable environment (studio, portraits)
But sometimes, Aperture Priority or Shutter Priority are better:
- When light changes quickly (events, street photography)
- When you need speed and simplicity
- When learning to balance one variable at a time
Great photographers use all modes. Manual is a tool — not a badge of honor.
Manual Mode on Smartphones — Yes, It Matters
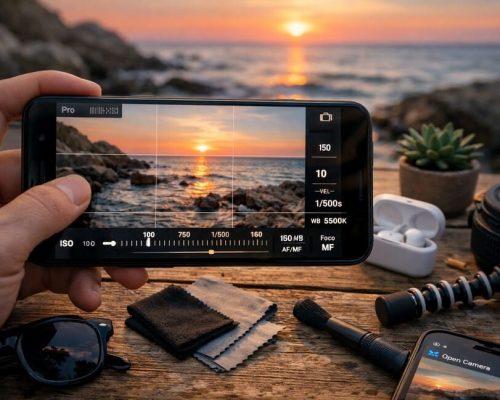
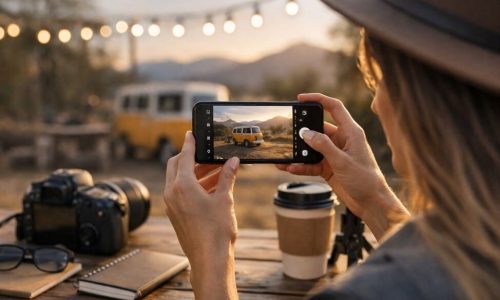
Many smartphones now offer “Pro” or “Manual” mode. These let you control shutter speed, ISO, white balance, and sometimes focus.
Manual mode on your phone is useful for:
- Low-light situations
- Creative long exposures
- Learning exposure settings
- Practicing with constraints
If you’re using your phone as your main camera, manual mode is a great training ground for DSLR or mirrorless gear later.
How Manual Mode Sharpens Your Creative Identity
One of the most underrated benefits of using manual mode is that it forces you to make decisions. Every setting you choose reflects how you see the scene. Over time, this process helps you uncover your personal visual identity.
You may not realize it at first, but shooting in manual mode gradually turns you into more than just someone who takes nice pictures. It turns you into a visual storyteller with a distinct voice.
Practice Exercises to Get Comfortable in Manual Mode
Exercise 1: The Aperture Walk
Photograph a subject at f/2.8, f/5.6, and f/11. Notice how depth of field changes.
Exercise 2: Shutter Speed and Motion
Photograph movement at 1/1000 and 1/30. Compare the mood.
Exercise 3: ISO Sensitivity
Take the same shot at ISO 100, 800, and 3200. Observe the difference in noise and brightness.
Exercise 4: Manual Mode in One Room
Shoot 10 photos in one indoor space, using only manual settings. Adjust lighting intentionally.
Using Manual Mode to Work Through Creative Blocks
Manual mode forces you to slow down and see differently. Try:
- A manual-only photo walk
- Shooting in black and white
- Limiting yourself to 36 frames
Constraints spark creativity — and manual mode is full of them.
What Happens After You Master Manual Mode?
You begin to shoot with confidence. You stop guessing. You know how to break the rules because you understand them.
You stop asking, “What’s the right setting?”
And instead ask, “What do I want to say with this image?”
Final Thoughts
Manual mode isn’t just a setting. It’s a mindset. It challenges you to observe light, make choices, and express emotion through your camera. At first, it feels technical. With time, it becomes instinctive.
The more you practice, the more you connect with your craft. And that’s what photography is all about — not just recording the world, but interpreting it through your eyes.

