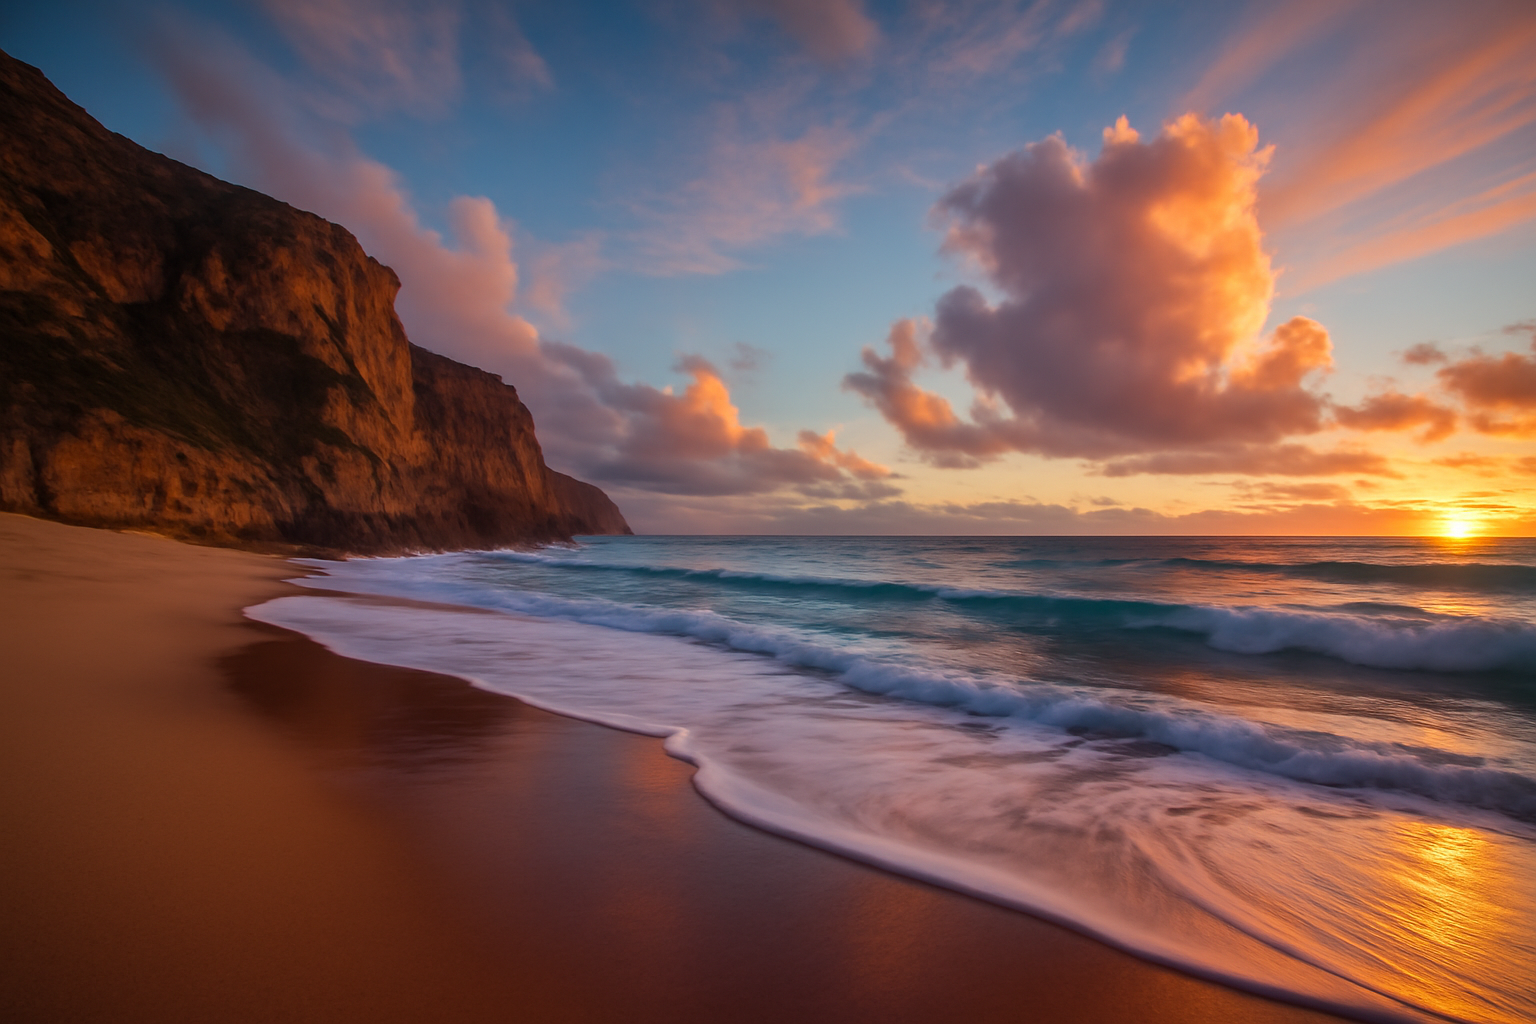
Landscape photography is one of the most challenging yet rewarding types of photography. Capturing the vastness of nature and conveying the vibrant colors and details of the scene can be difficult, but with the right editing in Adobe Lightroom, you can enhance the beauty of your landscape photos and create stunning images. In this article, we will explore how to use Lightroom to improve your landscape photos, with practical editing tips and useful tools.
1. Preparing the Image in Lightroom
Importing and Organizing Photos
The first step in editing a landscape photo in Lightroom is to import the image. Open Lightroom, go to the Library module, and click Import to add your photos. Lightroom offers powerful organizing tools that help you classify your images, add keywords, and make it easier to search for and access the photos later.
Adjusting the Initial Exposure
Before diving into advanced adjustments, it’s important to make sure the exposure of your photo is balanced. The exposure control in Lightroom lets you adjust the overall brightness of the image, correcting if it’s too dark or too light. If the photo is overexposed, reduce the exposure, and if it’s underexposed, increase it.
Tip: When editing landscape photos, exposure is crucial to highlight details in the bright and dark areas of the image. Make sure to preserve the clouds, sky, and shadow details in the scene.
2. Adjusting Color and Tone in Landscape Photography
Adjusting White Balance
White balance is one of the most important adjustments in landscape photo editing as it controls the dominant colors in the image by adjusting warm and cool tones. In landscape photos, it’s common for the sky to have a cool tone or for a sunset to have a warm tone, and adjusting the white balance can help bring out those colors.
Step-by-Step:
- In the Color Temperature panel, adjust the slider to get the desired color. For sunset photos, move the slider to the right (warmer) to enhance golden tones.
- Use the Tint slider to adjust any color shifts, such as green or magenta tones, that might occur in the image.
Tip: Use the eyedropper tool to select an area of the image that should be white or neutral, and Lightroom will automatically adjust the white balance.
Adjusting Saturation and Vibrance
The saturation and vibrance controls allow you to enhance the intensity of colors in the image. For landscape photos, it’s important to boost skin tones without overdoing it. Vibrance is ideal for increasing the intensity of muted colors without affecting already saturated areas.
Tip: Don’t overdo saturation, as it can make the colors look artificial. Using the vibrance control can improve the image in a more subtle and natural way.
Working with the HSL/Color Panel
The HSL (Hue, Saturation, Luminance) panel allows for precise adjustments to each individual color in the image. For example, you can adjust the red and orange hues to correct redness or unwanted tones in the skin.
Tip: To improve skin tone, adjust the luminance of red and orange hues. This will help create smoother and more natural-looking skin.
3. Enhancing the Details of the Landscape: Using Clarity and Texture
Using Clarity
The Clarity tool in Lightroom increases contrast in the midtones of the image, which can add more definition and depth to your landscape photos. This is especially useful for highlighting textures like rocks, trees, and clouds.
Step-by-Step:
- Adjust the Clarity slider to increase sharpness in the midtones of the image.
- Use clarity sparingly, as overusing it can make the image look unnatural.
Tip: For landscape photos, clarity works best in areas like rocks or trees. Avoid using too much clarity in areas like the sky, as it can make the clouds look overly detailed.
Using Texture
The Texture tool in Lightroom adjusts the fine details of a photo without affecting the smoothness of the image. This is useful for highlighting specific elements like the texture of leaves or the surface of water without overemphasizing the soft areas.
Tip: Texture is especially useful in landscape photos with a lot of natural details, like forests or areas with abundant vegetation.
4. Adjusting Shadows and Highlights: Recovering Important Details
Recovering Shadows
When editing a landscape photo, the darker areas, like tree shadows or mountain ranges, may appear too dark. The shadows slider allows you to lighten these areas without affecting the overall brightness.
Step-by-Step:
- Use the Shadows slider in the adjustments panel to lighten the dark areas of the image.
- Make subtle adjustments to recover details without losing the natural feel of the scene.
Adjusting Highlights
If the sky or other parts of the photo are overexposed, you can use the Highlights slider to reduce the brightness in those areas, preserving details in the sky and other bright parts of the image.
Tip: When editing landscape photos, especially those with clear skies or sunsets, adjust the highlights to prevent blown-out areas.
5. Enhancing the Sky and Visual Impact of the Landscape
Using the Graduated Filter
The Graduated Filter in Lightroom allows you to apply selective adjustments to the top portion of the image, such as the sky, without affecting the rest of the landscape. This is useful for darkening the sky, enhancing color and contrast, or adding a light gradient.
Step-by-Step:
- Select the Graduated Filter tool in the adjustments panel.
- Drag the filter to the top of the image and adjust the exposure and saturation to enhance the sky or reduce bright tones.
Tip: The graduated filter can also be used to improve the transition between the sky and land, creating a smoother and more natural feel.
Using the Adjustment Brush
The Adjustment Brush is a powerful tool for making localized adjustments to the image. You can use it to enhance specific areas, like a mountain, river, or any feature you want to highlight.
Tip: Use the brush to increase clarity or enhance saturation in areas of interest, creating more visual impact in the image.
6. Finalizing the Edit and Exporting the Image
Final Adjustments
After applying all the necessary adjustments, do a final review of the image to ensure all the details are balanced and natural. Check if the sky, land, and other main elements are adjusted correctly.
Exporting the Image
When you are satisfied with the results, it’s time to export the image in a suitable format for your intended use. For printing, export at high resolution, and for social media, choose a 72 dpi resolution to ensure the photo is optimized for the web.
Conclusion: Enhancing Your Landscape Photos with Lightroom
Lightroom is an essential tool for improving your landscape photos, offering precise adjustments for color, exposure, and detail. With the right adjustments, you can transform an ordinary photo into an impressive and visually striking image. By mastering Lightroom, you can highlight the true beauty of landscapes and create photos that capture the grandeur of nature.


