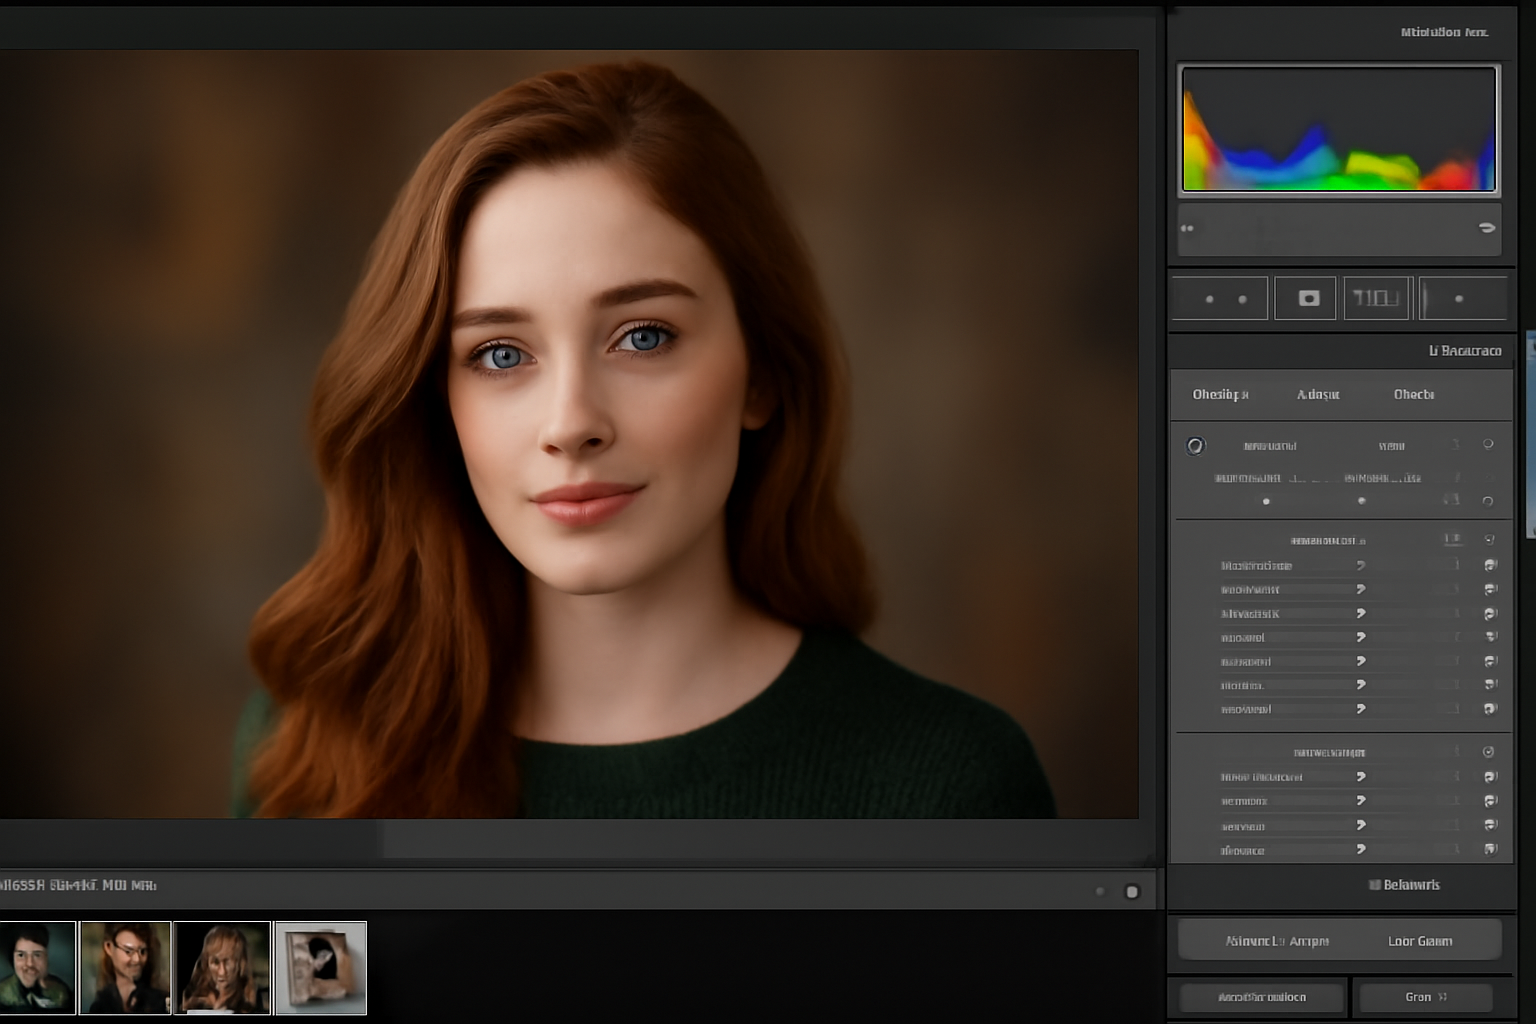
Adobe Lightroom is one of the most popular photo editing programs for photographers, both professional and amateur. It is renowned for its powerful capabilities and user-friendly interface, making it a go-to tool for photographers worldwide. Whether you’re retouching portraits, enhancing landscapes, or correcting lighting issues, Lightroom offers everything you need to improve and fine-tune your images. In this article, we will discuss how to use Lightroom for professional photo retouching, covering the essential tools and techniques that can help you take your photos to the next level.
1. Importing Your Images into Lightroom
Organizing Your Photos
The first step in any editing process is to organize your images properly. Lightroom offers an excellent library module that allows you to easily import, organize, and categorize your photos.
Step-by-Step:
- Open Lightroom and click on Import in the Library module.
- Select the source folder where your images are stored.
- Use keywords, collections, and flags to organize your images for easier access during the editing process.
Tip: If you are working with RAW files, make sure you import them in their unprocessed format to retain maximum quality and detail for editing.
2. Basic Adjustments: Exposure, Contrast, and White Balance
Correcting Exposure
The Basic Panel in Lightroom is where most of the initial adjustments take place. Start by correcting the exposure, which is crucial for ensuring that your photo is neither too dark nor too light. You can adjust the exposure slider to brighten or darken the image as needed.
Step-by-Step:
- In the Develop module, go to the Basic Panel.
- Adjust the Exposure slider to correct any lighting issues.
- Increase or decrease the Contrast to enhance the difference between the light and dark areas of the image.
Tip: Be cautious with the exposure slider. Overexposing an image can result in a loss of detail, while underexposing can create unwanted noise.
White Balance Adjustments
Correcting the white balance ensures that colors appear natural and realistic. Sometimes, photos taken under artificial lights or in specific lighting conditions can have a color cast (too warm or too cool).
Step-by-Step:
- In the Basic Panel, locate the White Balance section.
- Use the Temp and Tint sliders to adjust the warmth and tint of the image until it looks natural.
- You can also use the White Balance Selector Tool (the eyedropper icon) to click on a neutral part of the image (like a gray or white area) to automatically adjust the white balance.
3. Enhancing Details: Clarity, Texture, and Dehaze
Improving Clarity
Adding Clarity enhances the midtone contrast in an image, bringing out texture and detail. This is especially useful for landscapes and architectural photos where you want to emphasize fine details.
Step-by-Step:
- In the Basic Panel, adjust the Clarity slider.
- Increase the clarity to make textures and details pop, but be mindful not to overdo it as it can introduce unnatural edges or halos.
Tip: Use the Clarity slider selectively to highlight textures in the subject without affecting the background or skin tones in portraits.
Texture and Dehaze for More Control
For more control over detail enhancement, use the Texture slider to fine-tune the finer details of an image. The Dehaze slider can also help to reduce any fogginess or haze in an image, giving it a clearer, sharper look.
Step-by-Step:
- Use the Texture slider to add fine detail to areas like fabric, skin, or landscapes.
- If your photo appears hazy, slide the Dehaze slider to the right to remove the haze and make the colors more vivid.
Tip: Use the Dehaze feature carefully when editing landscapes. It works wonders to bring out more defined details, especially in photos taken in misty or foggy conditions.
4. Fine-Tuning Colors with the HSL Panel
Adjusting Hue, Saturation, and Luminance (HSL)
The HSL/Color panel in Lightroom allows you to make precise color adjustments to specific parts of the image. This is particularly useful if you want to enhance or reduce specific colors, like making the sky more vibrant or adding warmth to skin tones.
Step-by-Step:
- In the Develop module, go to the HSL/Color panel.
- Use the Hue slider to adjust the overall tone of specific colors.
- Adjust the Saturation slider to intensify or reduce specific colors.
- Use the Luminance slider to make colors brighter or darker.
Tip: When editing portraits, pay special attention to skin tones. Use the Luminance slider to brighten or darken the skin to achieve a more flattering result.
5. Removing Blemishes and Imperfections
Using the Spot Removal Tool
One of the most important aspects of retouching is cleaning up any imperfections in your photo. The Spot Removal Tool is perfect for removing blemishes, spots, or dust spots on your photos.
Step-by-Step:
- Select the Spot Removal Tool from the right panel or press Q on your keyboard.
- Click on the spot or imperfection you want to remove. Lightroom will automatically create a healing area to remove the blemish.
- Adjust the size of the brush as needed and drag the tool over any imperfections.
Tip: For portraits, make sure to use the Heal option (rather than Clone) in the Spot Removal Tool to make the skin look smooth and natural.
6. Adding Vignette and Adjusting the Borders
Creating a Vignette Effect
A vignette is a gradual darkening of the edges of the image, which helps draw attention to the center of the photo. This is particularly useful for portraits or images where you want to emphasize the subject.
Step-by-Step:
- Scroll down to the Effects panel in Lightroom.
- Adjust the Post-Crop Vignetting slider to darken or lighten the edges of the image.
- You can adjust the Amount, Midpoint, Roundness, and Feather to fine-tune the vignette.
Tip: Use a vignette subtly to focus attention on the main subject without making the effect too noticeable.
7. Finalizing the Image and Exporting
Sharpening and Noise Reduction
Before you finish editing, sharpen your image to make it look crisper, especially if you are printing it or using it for high-quality purposes. Use noise reduction tools to smooth out any graininess in the image, which is often more noticeable in night photos or low-light conditions.
Step-by-Step:
- Go to the Detail panel and adjust the Sharpening and Noise Reduction sliders.
- Adjust the Amount, Radius, Detail, and Masking under sharpening for the best results.
- Apply Luminance Noise Reduction to smooth out any graininess.
Exporting the Image
Once you’re satisfied with the retouching, it’s time to save and export your image. To do so, click on File > Export and choose your desired export settings (file format, resolution, etc.).
Tip: For social media or web use, export the image in JPEG format with 72 DPI. For print, use TIFF or JPEG with 300 DPI for higher quality.
Conclusion: Mastering Professional Retouching in Lightroom
Lightroom is an incredibly powerful tool for professional photo retouching. From basic exposure adjustments to fine-tuning colors and textures, Lightroom provides all the necessary features to transform your photos into polished, professional-looking images. With a combination of exposure corrections, detail enhancements, and creative effects, you can take your photography to the next level. Whether you’re retouching portraits, landscapes, or still life images, mastering Lightroom will help you achieve the results you desire.


