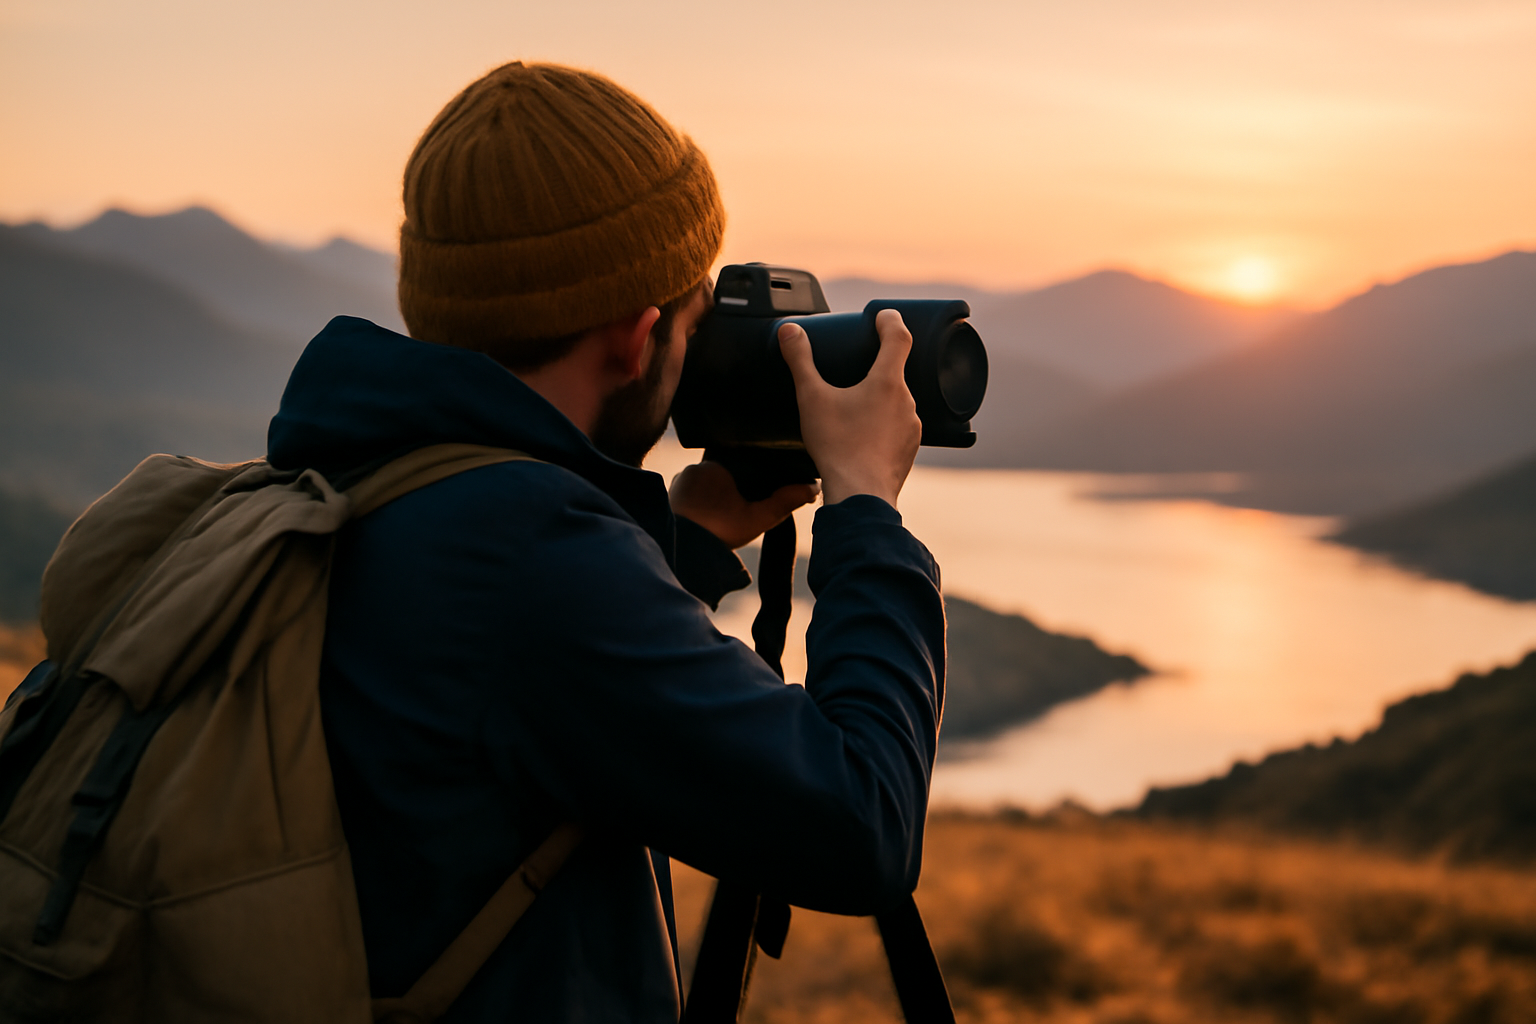
There’s something deeply humbling about standing in front of a breathtaking landscape, camera in hand, knowing you have the opportunity — and challenge — of turning that view into a timeless image.
But capturing that magic isn’t just about pressing the shutter. Stunning landscape photography blends patience, technique, vision, and a whole lot of trial and error. And no, you don’t need the most expensive gear — you need the right mindset and the willingness to experiment.
Whether you’re starting out or looking to improve your outdoor photography game, this guide will help you approach landscapes not just as scenes — but as stories waiting to be told.
It Starts Before You Leave Home: Planning with Purpose
Every great landscape photo begins before you even pick up your camera.
Start with research. Use tools like Google Earth, PhotoPills, or The Photographer’s Ephemeris to scout locations, check sunrise/sunset times, and track light direction.
Ask yourself:
– What’s the weather forecast?
– Is it better to go in golden hour or blue hour?
– Will the tide affect coastal shots?
– Is fog likely to roll in during the morning?
One of my best landscape shots — a misty forest with golden sunlight cutting through — happened because I showed up an hour early, expecting the fog to lift. It didn’t. That moment was gone in 10 minutes. Preparation made it possible.
Time of Day is Everything
Light can make or break a landscape photo. No matter how incredible the scene is, harsh midday sun often flattens everything. Instead, aim for:
– Golden hour: the warm, soft light just after sunrise or before sunset. Shadows lengthen, colors pop.
– Blue hour: the magical twilight time when the sky turns deep blue, and everything feels calm and cinematic.
These are not rules — but they are opportunities. Shoot during different times of day to see how light transforms a place.
Gear Doesn’t Make You Better — But It Can Help
Let’s be real: having a full-frame DSLR with a $2,000 lens isn’t required. Some of the most captivating landscape photos I’ve seen were taken on older cameras or even smartphones — because the photographer knew how to see.
That said, here’s gear that helps:
– Tripod: Absolutely essential for sharp images, especially at slower shutter speeds.
– Wide-angle lens: Ideal for dramatic compositions — think mountains, valleys, vast skies.
– Polarizing filter: Cuts glare and reflections, enhances contrast in skies and foliage.
– Neutral density (ND) filters: Let you shoot long exposures in daylight — perfect for smooth water or moody skies.
But remember, even with all this gear, you’re the one telling the story. Don’t get lost in tech — focus on vision.
Composition Is What Separates Snapshots from Art
Here’s where you move from taking pictures to making photographs. Good landscape composition is about intention. Every element in the frame should earn its place.
1. Think in Layers
Foreground, middle ground, background — use them to create depth. A rock, flower, or puddle in the foreground gives scale and guides the viewer into the scene.
2. Use Leading Lines
Roads, rivers, fences, shadows — anything that draws the eye into the photo is powerful. They create direction and movement.
3. Break the Horizon Rule (Intelligently)
We’re often told to place the horizon on the top or bottom third. But sometimes, putting it dead center works — especially when reflections or symmetry are involved. Know the rule, then break it when the story demands.
4. Include Scale
A lone hiker on a ridge, a tree next to a mountain, or your backpack by a waterfall — scale adds drama. It shows the grandeur of the scene by anchoring it with something relatable.
Settings That Give You Detail and Drama
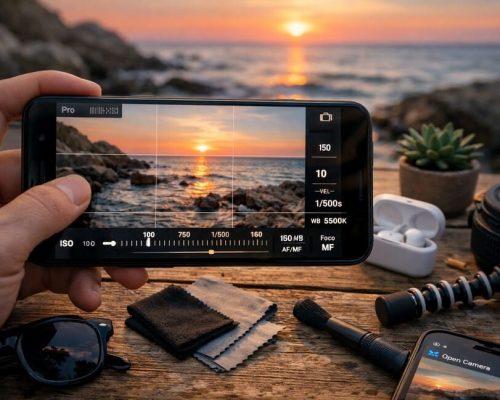
Settings will always vary based on light, subject, and intention — but here’s a reliable starting point:
– Aperture: f/8 to f/11 gives you sharpness across the scene.
– Shutter speed: depends on movement. Use 1/60s+ handheld, but go slower (even seconds) on a tripod for long exposures.
– ISO: keep it low (100–200) to avoid noise and maintain clarity.
– Focus: use manual focus or single-point autofocus. Focus about 1/3 into the frame (hyperfocal distance) for maximum sharpness front to back.
Don’t rely on “auto.” Learn how your camera behaves. The more manual control you have, the more consistent your results.
Don’t Just Capture the Scene — Capture the Mood
Technical sharpness is great, but emotional sharpness is better.
Some of my favorite landscape photos aren’t the most “perfect” — they’re the ones that feel like something. A moody sky before a storm. A single tree surrounded by fog. A field of wildflowers under a pastel sky.
Use light, shadows, color, and even absence of color to convey a mood.
Ask yourself:
“What do I feel here? And how can I let others feel it too?”
That question changes everything.
Shoot Vertical and Horizontal
Most people shoot landscapes in horizontal format. It makes sense — you’re photographing a wide scene.
But vertical landscape shots (especially for prints or social media) can be striking. Tall waterfalls, trees reaching into the sky, winding mountain roads — these scenes thrive in portrait orientation.
Train your eye to reframe vertically. It forces new composition choices.
Wait for the Right Moment — Then Wait a Bit Longer
Patience is your secret weapon. The difference between a “nice” shot and an unforgettable one is often five extra minutes.
Maybe the clouds shift, the light breaks through, the wind stills. Those are the moments that elevate a photo into art.
On a trip to the desert, I waited almost an hour at the same spot. People came and left. I stayed. Then the sun lit the rocks in this golden glow — just for a minute. Worth every second.
Weather Is Your Friend (Even the Bad Kind)
Most photographers pack it in when the weather turns bad. Don’t.
Fog adds mystery. Storm clouds add mood. Rain brings out saturated colors. Snow simplifies everything with contrast.
Be safe, of course. But learn to shoot the mood, not just the location.
Some of my most compelling shots were taken in “bad” weather.
Post-Processing: Where Good Turns into Great
Editing is not cheating — it’s finishing the story you started in-camera. But post-processing should enhance, not distort.
Start simple:
– Adjust white balance and exposure
– Use contrast and clarity sparingly
– Lift shadows without killing depth
– Add vibrance instead of saturation
Use radial filters or gradient masks to brighten specific areas — like the foreground or sky.
Just don’t fall into the trap of over-editing. If your sky looks radioactive or the greens are glowing, dial it back.
Subtlety wins.
Reflect on What Landscape Photography Teaches You
One of the things people rarely talk about is how landscape photography changes you.
The more time you spend chasing light, waiting in silence, adjusting for wind, or hiking to a hidden location — the more you start to notice details in the world others walk past. You begin to see light differently, to feel the rhythm of nature. You notice how clouds roll in, how color changes with time, how the same scene never looks the same twice.
And that kind of awareness?
It stays with you — even when you don’t have a camera.
Tell a Story, Not Just a Scene
A lot of beginners think that landscape photography is just about capturing a “pretty place.” But the most memorable images do more than that — they tell a story.
It could be the contrast between human presence and raw nature — like a lone cabin in the mountains.
Or a season in transition — like melting snow revealing spring blooms.
Or even a metaphor — like twisted trees representing resilience.
Start thinking:
“What do I want the viewer to feel?”
“What story does this image tell without words?”
That shift in mindset will transform the way you frame your shots.
Accept That Not Every Outing Will Produce a Masterpiece
This is a truth that every landscape photographer must face:
Sometimes you’ll hike for hours, carry gear up steep hills, brave freezing wind — and come back with nothing you love.
That’s okay. It’s part of the process.
Not every sunset will explode with color.
Not every scene will align.
Not every photo will work.
But every outing teaches you something — about timing, light, weather, your own creative instincts. Those “failures” are quietly building your eye.
Join the Community — But Stay True to Yourself
Sharing your work online can be incredibly motivating — and it helps you grow. Feedback, connection, inspiration… all of that matters.
But don’t let social media warp your creative compass.
It’s easy to start chasing what “performs” — oversaturated skies, dramatic edits, trendy locations. But you’re not here to create content. You’re here to create art.
Stay connected to your own sense of wonder. If a quiet, foggy path moves you — shoot it. Even if it’s not “Instagram-worthy.”
Even if no one clicks “like.”
That’s how real style develops — not through mimicry, but through honesty.
Final Thoughts
Stunning landscape photography isn’t about being in the perfect place at the perfect time with perfect gear.
It’s about seeing — really seeing — the world in front of you. It’s about slowing down, showing up, and letting nature teach you what to capture.
Learn the tools. Master the light. Trust your eye. And never stop chasing that feeling — the one you get when the shutter clicks and you just know…
“That’s the shot.”


