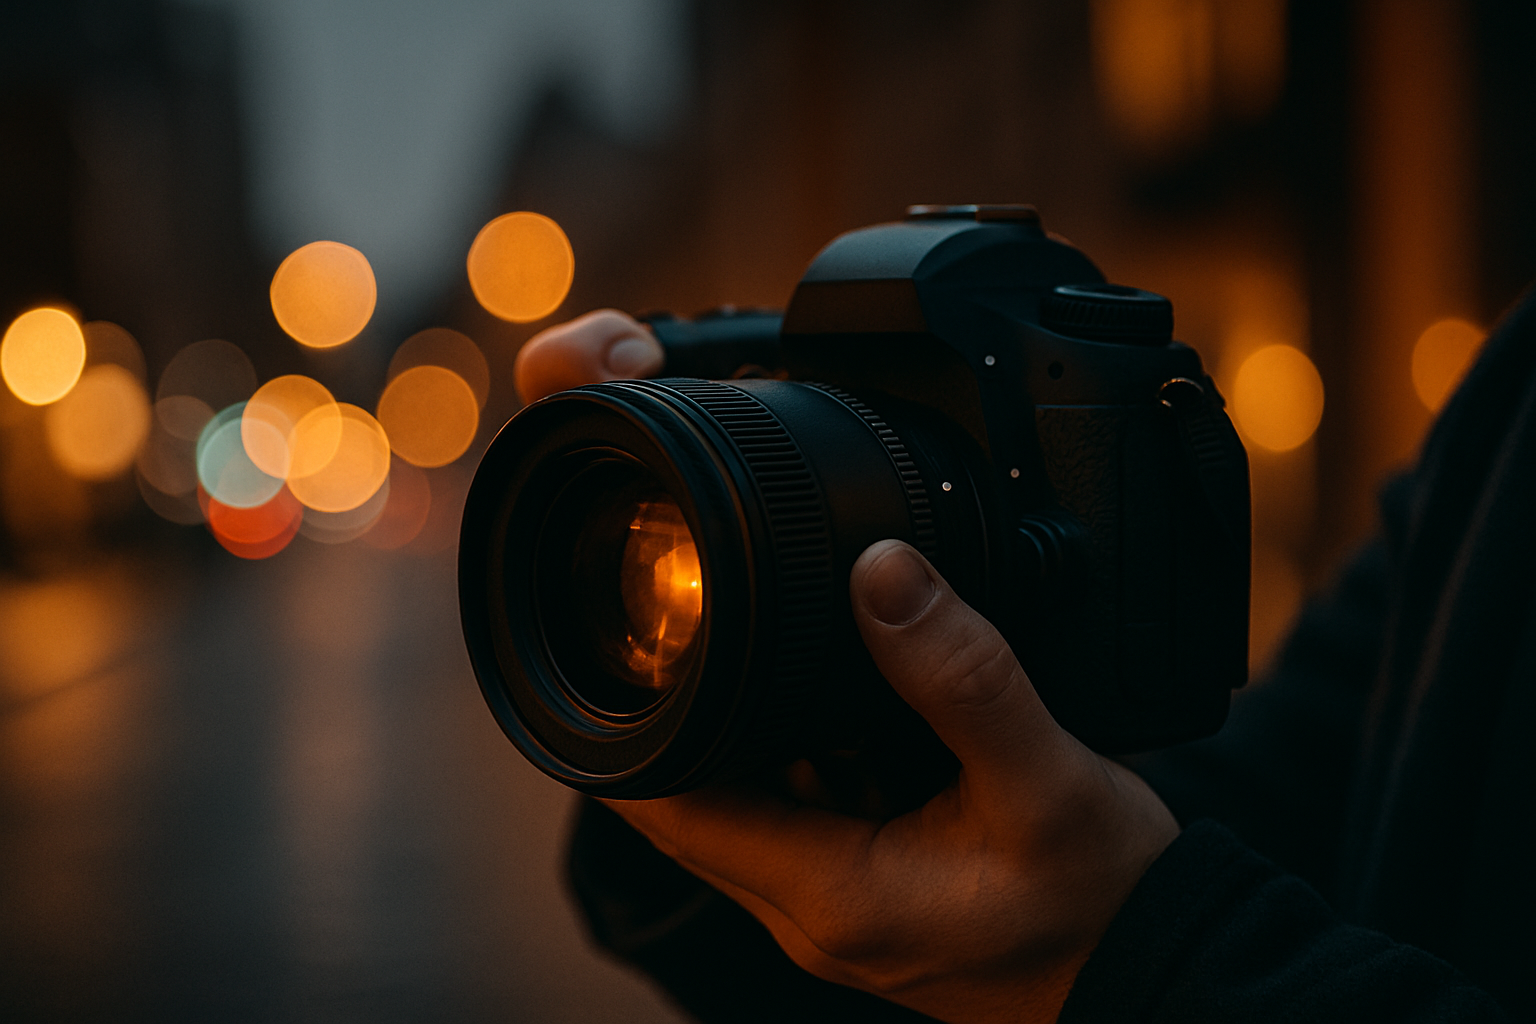
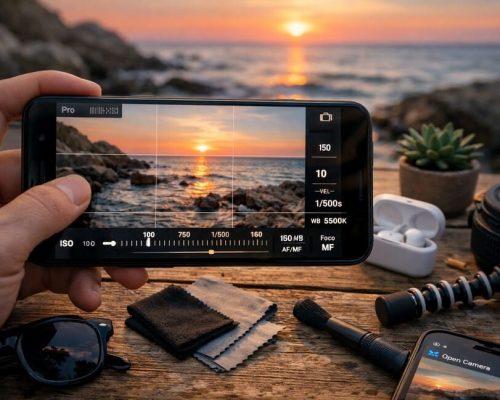
Low light is one of the most challenging environments a photographer can face — but also one of the most rewarding. There’s something magical about the softness of evening shadows, the glow of streetlights, or the quiet mystery of indoor scenes lit by a single lamp.
Yet for beginners, low-light photography can feel frustrating. Photos turn out blurry, noisy, or just too dark to save. But here’s the good news: you don’t need expensive gear to capture stunning images in low light — you just need to understand the settings, the techniques, and the small adjustments that make all the difference.
Let’s walk through how to master low-light photography and take sharp, clear, beautiful photos even when the sun goes down.
Understanding the Challenges of Low Light
Before diving into settings and solutions, it helps to understand why low light is difficult for cameras.
Cameras need light to expose an image. In dark environments, there’s less light hitting the sensor, which can cause:
- Motion blur (from slower shutter speeds)
- Camera shake (from shooting handheld)
- Increased noise (from high ISO)
- Difficulty focusing (because autofocus relies on contrast)
To overcome these limitations, we need to work smart — using every tool available to bring more light in, or compensate for the lack of it.
Use a Wide Aperture
One of the best tools for shooting in low light is a wide aperture. Aperture controls how much light enters the lens. The wider it is (meaning a lower f-number), the more light your camera can capture.
For example:
- f/1.8 lets in twice as much light as f/2.8
- f/2.8 lets in four times as much light as f/5.6
That makes a huge difference in dark environments.
Tips:
- Use a prime lens like a 50mm f/1.8 — they’re inexpensive and excellent for low light
- Shoot wide open (lowest f-number available) when possible
- Be careful with focus: wide apertures create shallow depth of field
Increase Your ISO (Smartly)
ISO determines how sensitive your camera is to light. In low-light scenarios, you’ll almost always need to increase your ISO.
Higher ISO helps brighten the image when aperture and shutter speed aren’t enough. But it comes with a trade-off: more digital noise.
Modern cameras handle high ISO surprisingly well. But knowing your camera’s limits helps you find the sweet spot between brightness and noise.
Tips:
- Don’t be afraid of ISO 1600, 3200, or even 6400 — especially on newer cameras
- Underexposed photos with low ISO often look worse than well-exposed photos with higher ISO
- If your camera shoots RAW, you can reduce noise more easily in post-production
Use the Slowest Shutter Speed You Can Handle
Shutter speed controls how long the sensor is exposed to light. The longer it stays open, the more light gets in — which is helpful in low-light conditions.
But slower shutter speeds can introduce motion blur or camera shake, especially if you’re handholding the camera.
Tips:
- Use a shutter speed that matches or exceeds your focal length (e.g., 1/50 for a 50mm lens)
- With image stabilization, you may be able to go slower (like 1/15 or even 1/8)
- For still scenes, use a tripod and go much slower — even seconds-long exposures
Pro tip: If shooting handheld in near darkness, try burst mode — take 3–5 shots in quick succession. One will usually come out sharper than the others.
Stabilize Your Camera
Camera shake is one of the biggest causes of blur in low light. Even small vibrations from pressing the shutter can ruin a shot.
If you can’t use fast shutter speeds, your best ally is stabilization.
Options:
- Use a tripod: The most effective solution. Any tripod will drastically improve low-light performance
- Use a wall, table, or railing: Anything solid can help you steady your camera
- Use image stabilization (IBIS or lens-based): It helps reduce blur but won’t stop subject motion
Combine stabilization with a 2-second timer or remote shutter release to avoid movement during the shot.
Use Manual Focus (When Needed)
Autofocus can struggle in low light — it hunts, misses, or locks onto the wrong thing. Sometimes it’s better to switch to manual focus.
Many mirrorless cameras and DSLRs offer focus peaking or magnified view to help with precision focusing in the dark.
Tips:
- Use manual focus for static subjects like cityscapes, night skies, or indoor setups
- Use a flashlight or phone screen to help find focus, then switch off the light before taking the shot
- Once focused, switch to manual to lock the focus and avoid accidental shifts
Use Available Light Creatively
When you can’t bring more light in — use what’s already there. Low-light scenes are often filled with natural and ambient light sources:
- Streetlights
- Neon signs
- Candlelight
- Computer monitors
- Car headlights
- Moonlight
These can add beautiful, moody atmosphere to your images if you embrace them rather than fight them.
Tips:
- Position your subject near the light source
- Turn your subject to face the light for catchlights in the eyes
- Use backlight or rim light to create separation from the background
You don’t always need a bright scene — just enough light in the right place.
Shoot in RAW Format
When you’re working with tricky lighting, you want as much flexibility as possible. RAW files retain more image data, giving you greater control in post-production.
RAW allows you to:
- Brighten underexposed shots
- Recover shadow detail
- Reduce noise more effectively
- Adjust white balance without degrading quality
Most cameras and even smartphones offer RAW shooting. It’s a must for serious low-light work.
Use Noise Reduction (Carefully)
Even with the best technique, some low-light photos will have noise — and that’s okay. Noise isn’t the enemy, as long as your photo is exposed and focused well.
You can reduce noise in post-processing using tools like:
- Adobe Lightroom or Camera Raw
- DxO PhotoLab
- Topaz Denoise AI
- Mobile apps like Snapseed (for basic smoothing)
Caution:
- Don’t overdo it — too much noise reduction softens details
- Always zoom in 100% to check sharpness after applying it
- It’s better to have some texture than a smeary, plastic-looking image
Try Creative Low-Light Styles
Low light doesn’t have to mean struggle — it can be your artistic playground. Some of the most powerful images are made in shadows.
Try exploring:
- Silhouettes: Expose for the bright background to create strong outlines
- Light trails: Use long exposures to capture motion from cars or stars
- Bokeh: Use wide aperture to blur light sources into beautiful orbs
- Candlelight portraits: Use a single flame to create warm, dramatic scenes
- Color casts: Embrace the green of fluorescent or orange of tungsten for mood
Low light often means high emotion. Don’t just aim for clarity — aim for feeling.
Why Low-Light Photography Can Make You a Better Photographer
There’s an unexpected bonus to practicing photography in low-light situations: it sharpens your overall skill set faster than almost any other type of shooting.
Why? Because it forces you to:
- Understand and control exposure manually
- Think more intentionally about where light is coming from
- Develop steadier technique and creative patience
- Learn post-processing to bring out the best in difficult images
It pushes you out of auto mode. It teaches you that photography isn’t about perfect conditions, but about adapting, reacting, and creating within real limitations.
Low-light work trains your eye to look for small glimmers, reflections, and subtle contrasts that might otherwise go unnoticed. It builds discipline — and creativity — in equal measure.
Many professionals even recommend shooting in low light as a way to accelerate your learning curve, especially if you’re serious about improving quickly.
Gear Isn’t Everything — But It Can Help
While this article focuses on techniques that work with any camera, it’s worth mentioning that some gear choices can make low-light photography easier:
- Fast prime lenses (f/1.4, f/1.8) give you more light and sharper results
- Full-frame sensors generally handle high ISO better, with less noise
- Image-stabilized lenses or cameras with IBIS let you handhold at slower shutter speeds
- External flashes or portable LED panels allow you to add light when needed
That said, don’t let gear hold you back. Many breathtaking low-light images are taken on crop-sensor cameras or even smartphones. Master the light first — the gear will follow.
Don’t Forget White Balance
In low light, white balance often gets overlooked — but it plays a huge role in the mood of your image.
Streetlights, candlelight, or neon signs each have very different color temperatures. A warm image can feel cozy or nostalgic; a cooler image can feel mysterious or cinematic.
Tips:
- Shoot in Kelvin mode if your camera allows it, and set color temperature manually
- If unsure, just shoot RAW and adjust white balance in post
- Don’t always aim for “accurate” — aim for expressive
Sometimes, a slightly orange or blue cast makes the photo feel right — even if it’s not technically correct.
Final Thoughts
Low light isn’t something to fear — it’s something to explore. It pushes you to slow down, think more intentionally, and embrace creativity over convenience.
By learning how to work with your camera’s settings — aperture, ISO, shutter speed, and focus — and applying simple techniques like stabilization, RAW shooting, and using available light, you can transform difficult conditions into stunning photographs.
Sharpness, clarity, and mood are all possible, even in the darkest scenes — you just need to meet the light where it lives.
And remember: some of the most unforgettable photos ever taken weren’t made under perfect lighting. They were made by photographers who saw possibility where others saw problems.

