Self-portraits have existed as long as photography itself. Long before social media and smartphone selfies, photographers were turning the camera on themselves — experimenting with identity, emotion, and technique. Unlike casual snapshots, creative self-portraits are more than just proof that you were there. They are opportunities to explore your imagination, sharpen your skills, and create striking images that tell a story.
The beauty of self-portraits is that you don’t need a model, assistant, or elaborate setup. You are both photographer and subject, giving you full control of the process. And that freedom often sparks bold ideas.
This guide will walk you through how to take self-portraits that are not only technically solid but also expressive and memorable.
Why Take Self-Portraits?
For many beginners, self-portraits start as a practical exercise — simply a way to practice without relying on others. But over time, they become much more than practice.
Benefits include:
- Skill development: You can test lighting, composition, and editing on yourself anytime.
- Creative exploration: You can experiment with ideas that might feel too vulnerable to try with others.
- Personal storytelling: You can document your mood, style, or perspective in an artistic way.
- Confidence building: Being both in front of and behind the camera helps you understand what subjects feel, which makes you a better director when photographing others.
Self-portraits are not vanity projects. They’re powerful creative exercises.
Step 1: Set the Mood and Intention
Before worrying about gear or technique, think about the story you want to tell. A self-portrait isn’t just about what you look like — it’s about what you want to express.
Ask yourself:
- Do I want this to feel moody, joyful, mysterious, or bold?
- What’s the setting that matches that mood — indoors, outdoors, minimal, or full of detail?
- What props, clothing, or colors could enhance the story?
The clearer your intention, the stronger the result. A thoughtful concept beats a technically perfect but empty photo every time.
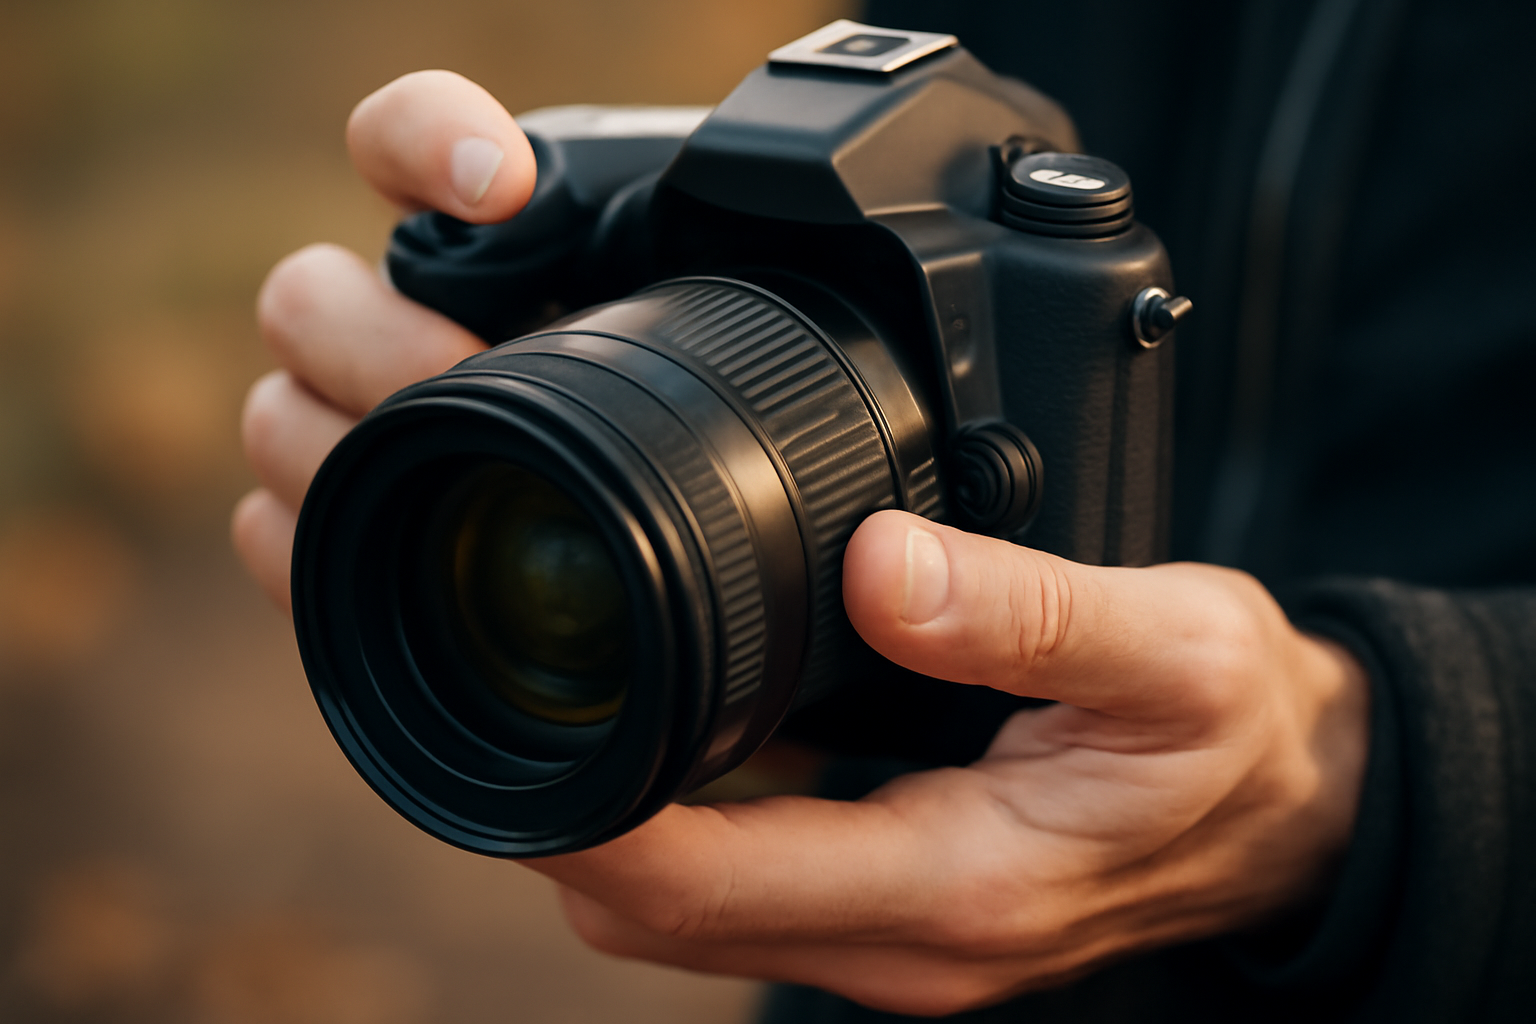
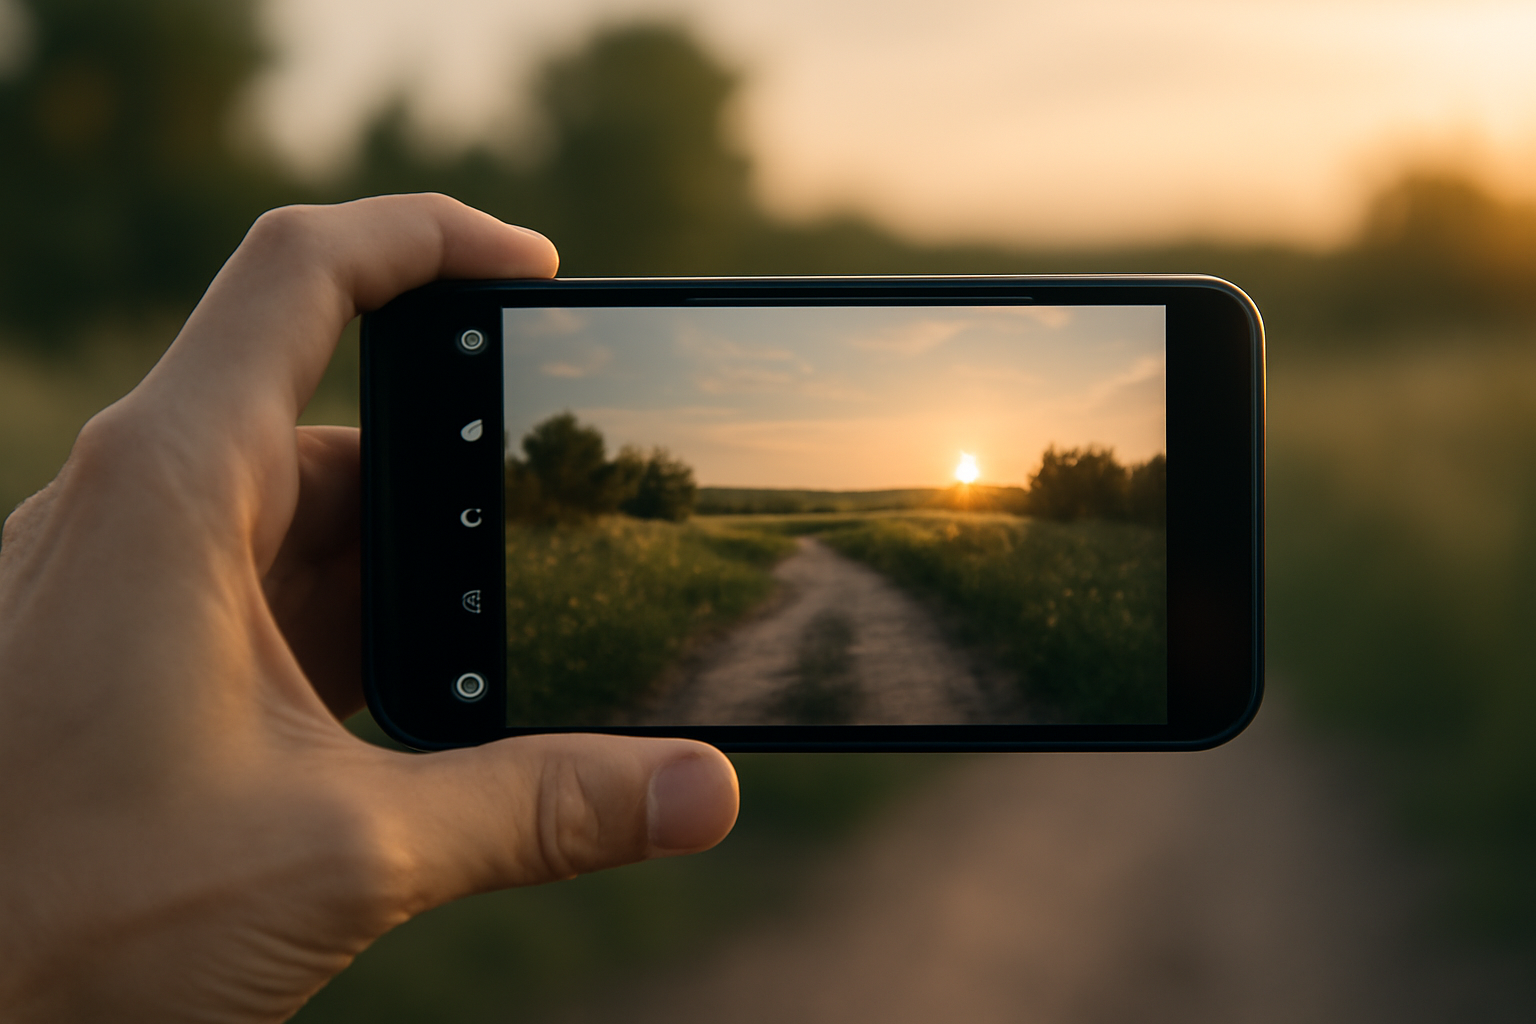
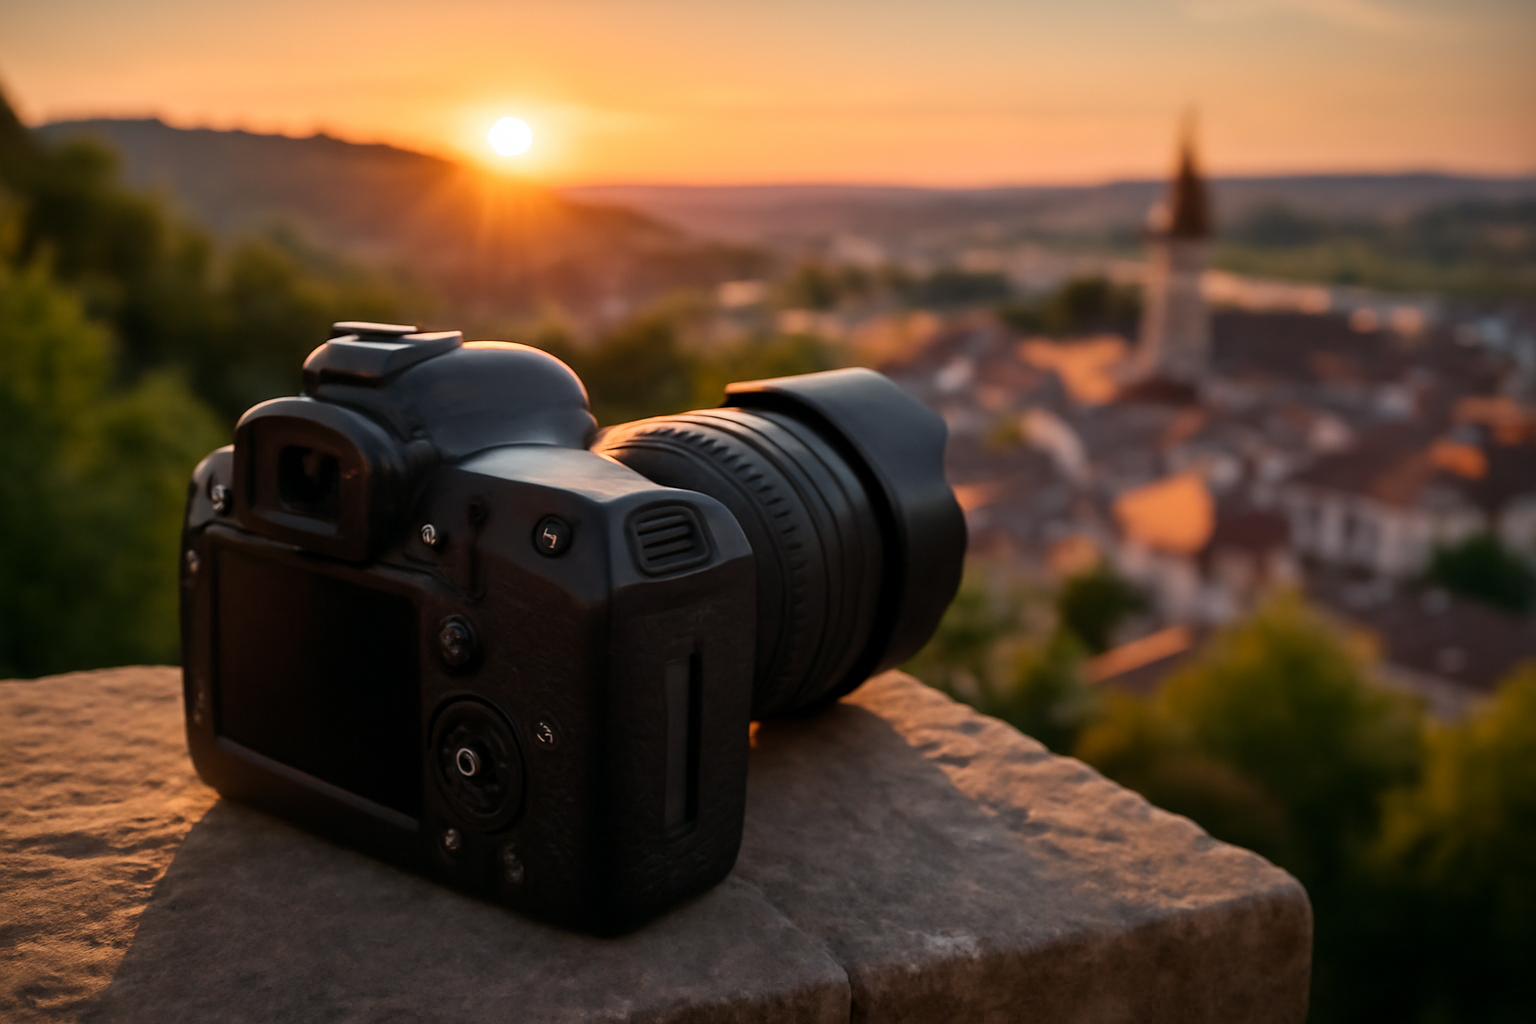
Step 2: Prepare Your Setup
You don’t need a professional studio to shoot self-portraits. A corner of your home, a window, or even your backyard can work.
Tools that help:
- Tripod: Essential for stable shots. If you don’t have one, use a shelf, table, or stack of books.
- Remote shutter or timer: Many cameras and phones allow wireless triggers or timers. A remote saves you from running back and forth, but a timer works fine too.
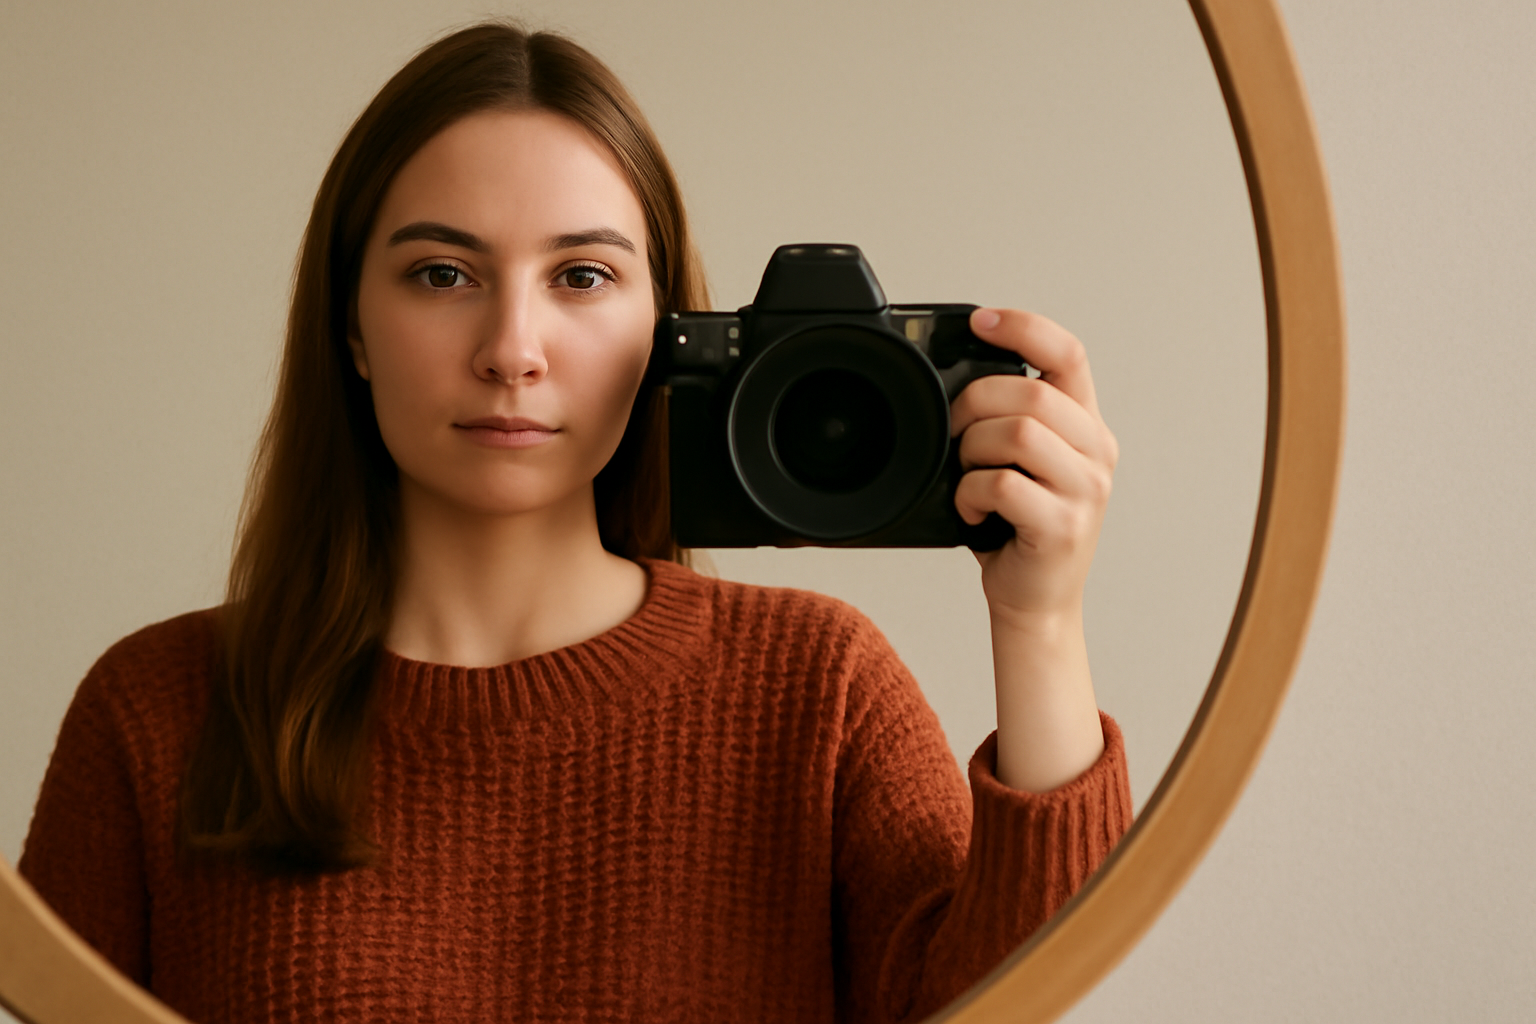
- Mirror: Useful for positioning and creative reflection shots.
Lighting is key. Natural light from a window often works beautifully. If you have lamps or LED lights, experiment with direction and intensity.
Step 3: Master Posing Without Awkwardness
One of the hardest parts of self-portraits is posing yourself. It’s easy to feel stiff or unsure. The trick is to think of posing as storytelling with your body.
Tips:
- Use a mirror to test positions before starting.
- Relax your shoulders and avoid rigid posture.
- Play with hand placement — touching your face, holding an object, or crossing arms.
- Move slightly between shots: a small tilt of the head, a step forward, or a glance away from the camera can change the entire mood.
- Don’t aim for perfection. Aim for authenticity. Sometimes the in-between moments are the strongest.
If it feels awkward, remember that even professional models take dozens of shots before finding “the one.”
Step 4: Play With Framing and Composition
Since you control the shot, use composition creatively.
Ideas:
- Close-ups: Focus on just your face, eyes, or hands.
- Wide shots: Show your environment, letting the space tell part of the story.
- Reflections: Use mirrors, glass, or water for layered effects.
- Partial framing: Cut off part of the body intentionally to create intrigue.
Don’t settle for one angle. Move the camera around and experiment. Sometimes the best shots come from unexpected perspectives.
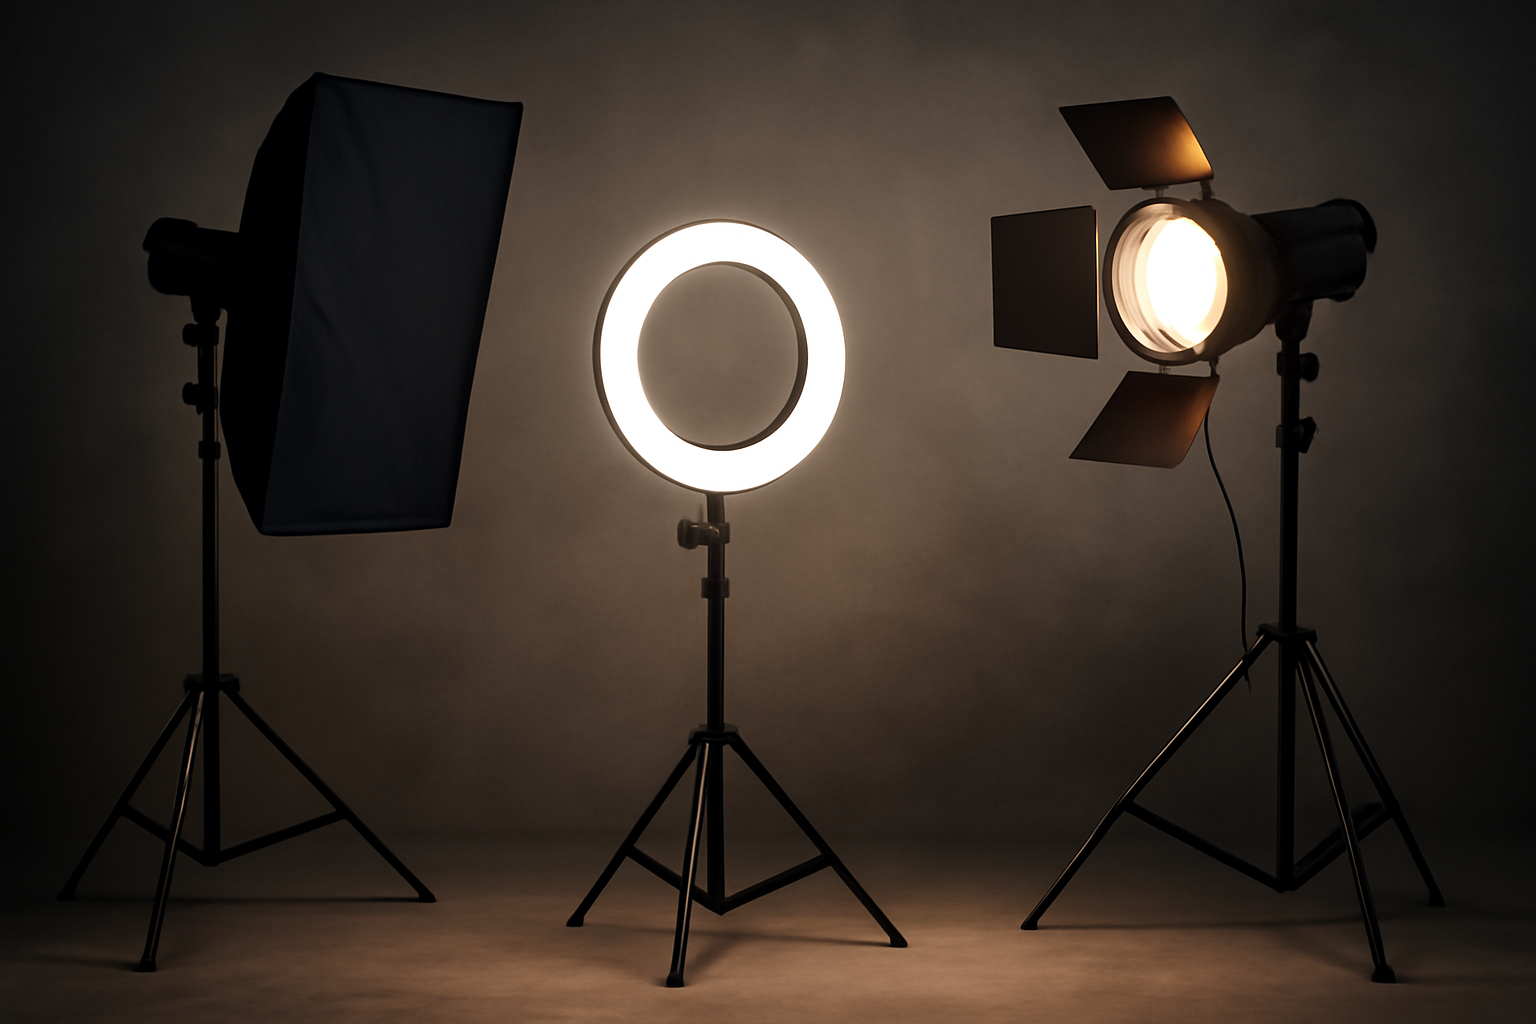
Step 5: Experiment With Lighting
Lighting can completely transform your self-portraits.
Options to try:
- Natural light: Position yourself near a window for soft, flattering light. Adjust blinds or curtains for creative shadows.
- Backlighting: Place the light source behind you for silhouettes or glowing outlines.
- Artificial light: Use lamps, string lights, or even a flashlight to create mood.
- Colored gels: A piece of colored plastic or fabric over a light can add drama.
Exercise: Spend one session experimenting with just one light source. See how many moods you can create by changing its position.
Step 6: Add Props and Personal Elements
Props aren’t distractions if they support the story. They can transform a self-portrait from simple to striking.
Examples:
- Books, flowers, or instruments to represent your personality
- Chairs, stools, or blankets for posing variety
- Everyday objects reframed in artistic ways (a teacup, headphones, or a hat)
The key is intention. A single meaningful object often makes more impact than a pile of random props.
Step 7: Use Creative Techniques
Don’t limit yourself to straightforward portraits. Self-portraits are the perfect playground for experimentation.
Ideas to try:
- Double exposure: Combine two images (many cameras or editing apps can do this).
- Motion blur: Use a slow shutter to capture movement like dancing, spinning, or walking.
- Shadows and silhouettes: Play with dramatic light for mystery.
- Unusual angles: Place the camera on the floor or shoot from above.
- Through objects: Photograph yourself through glass, fabric, or plants for unique textures.
When you experiment, some attempts won’t work — but the process itself teaches you more than sticking to safe shots.
Step 8: Don’t Neglect Expression
Expression is the soul of a portrait. But when you’re both photographer and subject, it’s easy to forget.
Think beyond “smile.” Try:
- Looking away thoughtfully
- Laughing naturally
- Closing your eyes for a serene feel
- Using strong eye contact for intensity
Tip: Put on music that matches the mood you’re aiming for. It helps you relax and connect emotionally to the moment.
Step 9: Edit With Style
Editing is where your self-portraits gain polish and personal style.
Basic adjustments:
- Exposure and contrast for mood
- Color tones for atmosphere (warm, cool, vintage, or modern)
- Cropping for stronger composition
- Retouching distractions without over-editing
But remember: don’t edit yourself into someone unrecognizable. The goal is expression, not perfection. Imperfections often carry more truth and impact than flawless skin or symmetry.
Step 10: Tell a Story Through a Series
Instead of one-off images, try creating a small series. A sequence of self-portraits can tell a narrative.
Ideas:
- “Morning to Night” — document your routine creatively.
- “Four Moods” — joy, sadness, anger, calm.
- “Seasons of Me” — different outfits or settings to reflect changes.
A series forces you to think bigger than a single frame. It turns your self-portrait practice into storytelling.
Step 11: Embrace Imperfection
Here’s a secret: many great self-portraits are accidents. A blurred hand, a slightly crooked angle, or a candid expression often carries more life than carefully posed shots.
Don’t delete too quickly. Review your images with curiosity. Sometimes the mistakes are your most creative breakthroughs.
Step 12: Share and Reflect
Sharing your self-portraits online or with friends can feel vulnerable, but it’s part of the process. Others may connect with your honesty or be inspired by your creativity.
Reflect, too. Ask yourself:
- What worked in this shoot?
- What felt forced?
- What did I discover about myself?
Self-portraits are as much about self-discovery as they are about photography.
Push Beyond Portraits: Explore Abstract Self-Portraits
Not every self-portrait needs to show your full face or body. Some of the most striking images come from abstraction. Instead of thinking “this is me,” think “this is a part of me” or “this represents me.”
Ideas to try:
- Photograph only your hands as you work on something you love.
- Capture your reflection in a distorted surface, like a spoon or window.
- Use shadows to represent your outline without showing your face.
- Blur your movement intentionally to create a dreamlike version of yourself.
Abstract self-portraits give you freedom to play with identity without feeling pressure to look a certain way. They also push your creativity beyond traditional portrait rules.
Use Your Environment as Part of the Story
Your surroundings say as much about you as your expression. Instead of always using a blank wall, incorporate your environment into the frame.
For example:
- A musician surrounded by instruments
- A writer at a messy desk
- A traveler packing a suitcase
- A quiet moment on the couch with a cup of tea
The environment can become a character in the photo, enriching the narrative and giving your self-portrait more depth.
Learn From the Masters of Self-Portraiture
You’re not the first photographer to turn the lens inward. Many great artists have explored self-portraiture as a way to experiment and reflect.
- Vivian Maier often captured herself subtly in mirrors or shop windows, blending into her street photography.
- Cindy Sherman built an entire career creating fictional personas through her self-portraits.
- Frida Kahlo, though a painter, showed the power of personal expression through self-representation.
Studying their work shows you that self-portraits aren’t about vanity. They’re about exploration, identity, and storytelling.
Bonus: Practice With Constraints
To push creativity, give yourself limits.
- Use only one corner of your house.
- Restrict yourself to black and white.
- Shoot with a single prop in multiple ways.
- Set a timer for 30 minutes and create as many variations as possible.
Constraints encourage innovation. They make you see possibilities you might otherwise overlook.
Final Thoughts: Turning the Lens on Yourself
Taking creative self-portraits is more than practice — it’s a dialogue between who you are and how you want to be seen. It sharpens your technical skills, builds empathy for your subjects, and gives you a unique way to express yourself.
Don’t wait until you feel ready. You already have everything you need: your camera, your space, your imagination, and yourself.
Start small. Take one self-portrait today. Then another tomorrow. With each one, you’ll discover new ways to see, create, and express.
In the end, the best self-portraits aren’t the ones that look perfect. They’re the ones that feel true.