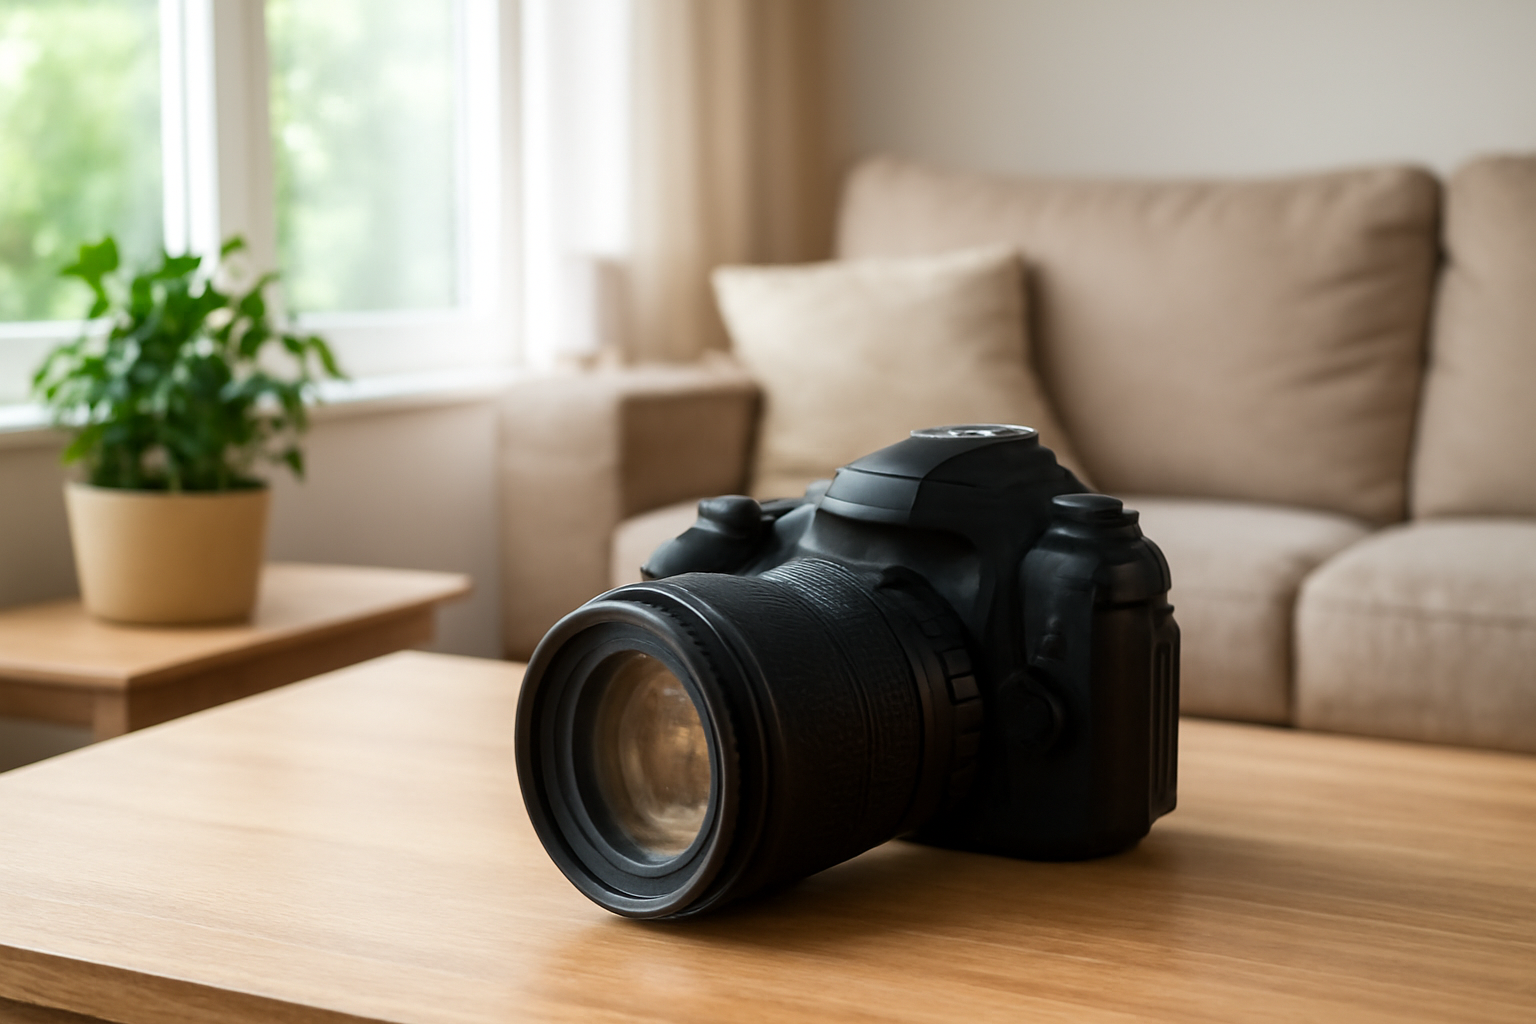
Many people think you need exotic locations, expensive studios, or fancy gear to improve your photography. But the truth is, some of the most valuable lessons you’ll ever learn can happen right where you are: at home. Your living room, your backyard, your kitchen, even your windowsill can become a powerful classroom if you learn how to use it.
Practicing photography at home teaches you to be resourceful. It forces you to pay attention to light, composition, and storytelling in everyday environments. And when you finally do get outside for a big shoot, you’ll be sharper, more confident, and more creative.
This guide will show you how to practice photography at home with intention, fun, and growth in mind.
Why Practicing at Home Matters
First, let’s clear a misconception: photography isn’t only about traveling to beautiful places. Sure, a mountain at sunrise makes for a stunning photo, but if you rely on scenery alone, you won’t truly master your craft. Practicing at home builds your foundation. It teaches you to notice subtle changes in light, to experiment without pressure, and to create stories in ordinary spaces.
Think of it like a musician practicing scales. The audience doesn’t see the hours spent in a bedroom with just a guitar and a notebook. But those moments are what prepare them for the stage. Practicing at home is your equivalent.
Step 1: Start by Observing the Light in Your House
Light is the heart of photography. And your home is full of lessons if you pay attention.
Take one day and watch how natural light shifts throughout your rooms:
- Morning light in the kitchen might be warm and directional.
- Afternoon light near a window may create soft shadows.
- Evening light in your living room could cast golden tones.
Practice photographing the same object in different parts of your home at different times of day. This will teach you to understand how light shapes mood.
Example: Place a mug on your table. Photograph it at 9 a.m., noon, and 6 p.m. Compare the images. Notice how the light changes its texture, color, and presence. That awareness will make you a stronger photographer anywhere.
Step 2: Practice Still Life Photography
Still life is one of the easiest and most effective ways to practice indoors. You don’t need models or elaborate scenes—just everyday objects.
Try these setups:
- A bowl of fruit on your kitchen counter
- A stack of books and a coffee cup
- Flowers in a vase
- Your favorite pair of shoes
Focus on composition. Experiment with the rule of thirds, leading lines, or negative space. Use both natural and artificial light. Play with backgrounds—maybe a blanket, a piece of paper, or even your wooden table.
Still life trains your eye for detail. You’ll learn patience, framing, and how to make ordinary objects look extraordinary.
Step 3: Master Self-Portraits
If you don’t have people to photograph, use yourself. Self-portraits aren’t just selfies—they’re a creative challenge that sharpens multiple skills at once.
You’ll learn:
- How to set up your camera with a tripod or stack of books
- How to use timers or remote shutter releases
- How to experiment with posing, expression, and storytelling
- How to step into the subject’s shoes
Self-portraits also build empathy for your future clients. You’ll know what it feels like to be in front of the camera, which makes you better at directing others.
Tip: Don’t aim for “perfect.” Aim for honest, expressive, and fun.
Step 4: Experiment With Different Types of Light
Artificial light is everywhere in your home. Instead of relying only on daylight, practice with lamps, fairy lights, candles, or even the flashlight on your phone.
Exercises to try:
- Photograph a portrait lit only by a desk lamp
- Place an object near fairy lights and shoot with a shallow depth of field for dreamy bokeh
- Capture dramatic shadows with a single light source against a wall
- Use a TV or computer screen as your light
These experiments teach you how to control light creatively and problem-solve in less-than-ideal conditions.
Step 5: Photograph Everyday Activities
Some of the most powerful images come from ordinary routines. Document life at home as if you were telling a story.
Ideas:
- Someone cooking in the kitchen
- A child drawing on the floor
- A pet lounging in sunlight
- Morning coffee rituals
- A rainy day by the window
The goal isn’t just to take pictures—it’s to capture moments. This practice builds your storytelling skills, which is what truly elevates a photographer beyond technical ability.
Step 6: Play With Abstract and Detail Shots
Look closer. Your home is full of textures, patterns, and details that you usually overlook.
Try photographing:
- The steam rising from a mug
- Raindrops on a window
- Close-ups of plants
- The grain of wood or fabric textures
- Shadows on the wall
Abstract shots encourage creativity. They help you see beyond the obvious and turn small details into compelling images.
Step 7: Create Themed Projects
Give yourself structure by creating mini-projects. For example:
- “Seven Days of Shadows” — every day, photograph shadows in your house
- “The Color Blue” — capture objects, clothing, or moods around one color
- “Hands at Work” — document hands cooking, typing, drawing, cleaning
- “Objects of Comfort” — focus on items that make home feel like home
Projects keep you accountable. They also make practice more fun, like a personal challenge rather than random snapshots.
Step 8: Learn Editing With Your Own Photos
Editing is where your images gain polish and personality. Use your at-home practice photos as material to improve your editing skills.
Start with free tools like Snapseed, Lightroom Mobile, or desktop programs like Darktable. Practice adjusting:
- Exposure and contrast
- White balance and color tones
- Cropping and composition adjustments
- Black and white conversions
Your editing style will evolve as you practice. Don’t chase trends—focus on what feels true to you.
Step 9: Recreate Famous Photos at Home
Find inspiration from iconic images or your favorite photographers. Then, challenge yourself to recreate their style using what you have at home.
For example:
- Recreate a classic portrait using window light and a bedsheet as backdrop
- Try imitating a food photography setup with just household items
- Experiment with minimalism by shooting a single object in a clean space
You don’t need the exact same props. The point is to study the choices the photographer made—lighting, framing, mood—and practice translating them into your environment.
Step 10: Practice Storytelling With a Photo Series
Instead of focusing on single images, try creating a small series that tells a story.
Example themes:
- “A Day in My Life at Home”
- “Morning to Night in One Room”
- “The Story of My Pet”
- “Family Dinner Time”
Arrange the photos in sequence. Ask yourself: does this flow make sense? Does it communicate a feeling or narrative? This practice helps you think like a visual storyteller, not just someone taking random shots.
Step 11: Use Mirrors and Reflections
Mirrors, windows, and shiny objects can transform your photos. Experiment with:
- Self-portraits using a bathroom mirror
- Capturing reflections in windows at night
- Using spoons, glass, or even water bowls for creative distortions
This teaches you to see multiple layers in an image, adding depth and interest.
Step 12: Review and Critique Your Work
Practicing is important, but reviewing is where the real growth happens. After a week or month of shooting at home, go back through your photos.
Ask yourself:
- What worked well?
- What feels repetitive?
- Which images carry emotion?
- Where can I improve technically?
Keep your best shots in a “favorites” folder. Over time, this collection will show your progress—and your emerging style.
Bonus: Share Your Work Online
Don’t keep your practice hidden. Share your images on Instagram, a personal blog, or in photography groups. Not for validation, but for connection.
Other photographers might give feedback. Friends might appreciate your perspective. And by sharing, you hold yourself accountable to keep shooting.
Bonus: Make Practice Playful
Photography at home doesn’t have to be serious all the time. Play games with yourself:
- Take 10 photos of the same object, each one from a different angle
- Set a timer for 15 minutes and create as many compositions as possible in one room
- Limit yourself to one lens or focal length for a week
- Shoot in black and white mode only for a day
These limitations spark creativity. Sometimes the best photos come from restrictions, not endless options.
Final Thoughts: Home Is Your Training Ground
Practicing photography at home is not about waiting until you can travel or until you own better gear. It’s about making the most of the space you have, every day.
Your home is full of light, textures, objects, and stories waiting to be captured. By experimenting indoors, you develop technical skill, creative vision, and confidence. You learn to see beauty in the ordinary—and that’s what true photographers do.
So don’t wait for the perfect opportunity. Pick up your camera today. Look around your house with fresh eyes. Notice the way sunlight hits your wall, the way steam curls above your tea, the way shadows move across your floor. Photograph it. Practice it. Learn from it.
Because every great photographer started somewhere. For many, that place was home.


