The idea of learning photography often comes with this mental picture: expensive gear, pricey online courses, in-person workshops, and maybe even a formal degree. But the truth is, you don’t need to spend a fortune to become a great photographer. In fact, some of the most creative, skilled photographers started exactly the same way — curious, broke, and self-taught.
If you have a camera (even your phone), an internet connection, and a desire to learn, you can begin your photography journey today — without paying a cent.
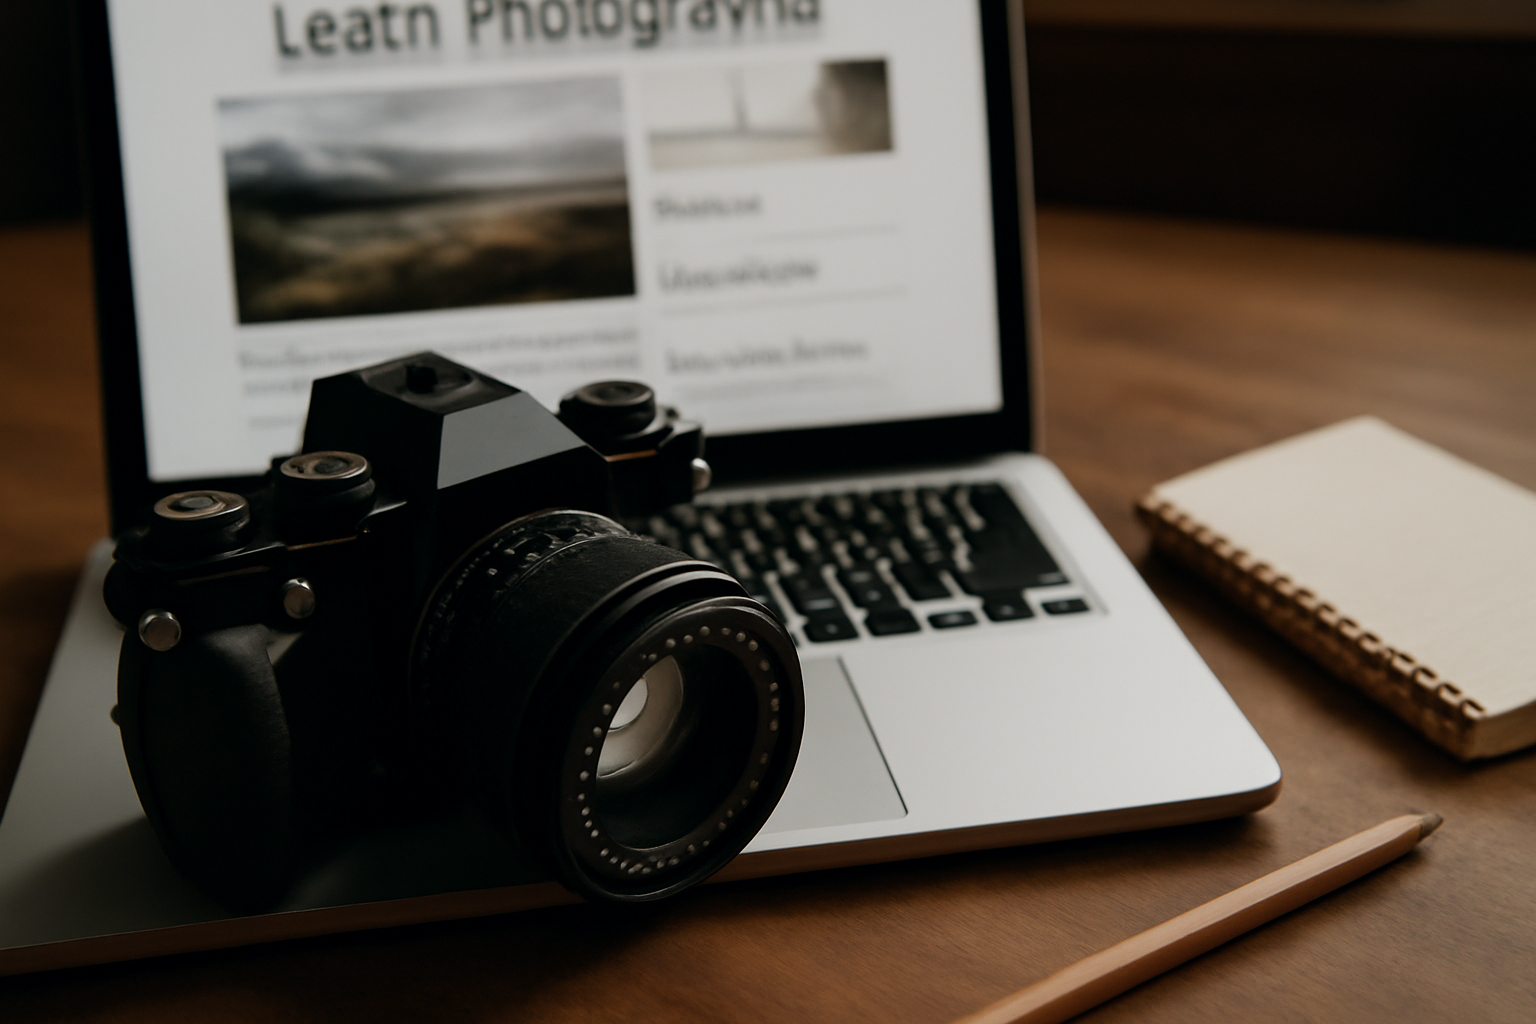
In this guide, I’ll show you how to learn photography for free and on your own, in a way that’s practical, motivating, and grounded in real-world progress.
First, Adopt a Learner’s Mindset
Before diving into tutorials and techniques, let’s talk about something that matters even more: your mindset.
Learning photography on your own requires:
- Curiosity
- Patience
- Trial and error
- Self-motivation
- The ability to learn from mistakes
Don’t expect to master exposure or composition overnight. It’s okay if your early photos are bad. Everyone starts there.
The goal isn’t perfection — it’s progress.
Photography is a skill. And like any skill, the more you practice and reflect, the better you get. Celebrate the small wins: understanding how to use natural light, nailing focus, capturing a moment that tells a story.
With that in mind, let’s break down how you can learn photography — 100% for free.
Step 1: Start With What You Have
You don’t need a fancy DSLR or mirrorless camera to start learning. If all you have is a smartphone, use it.
What matters most in the beginning is understanding light, composition, perspective, and storytelling. And all of that can be practiced with any device that captures images.
If you do have a camera, great. Read the manual. Yes, the manual. Understanding your gear helps you get the most out of it — even if it’s an entry-level camera with a kit lens.
Key tip: Don’t wait until you “upgrade” your gear to start. Learn now, with what’s available. When you eventually switch equipment, you’ll already have the fundamentals in place.
Step 2: Learn the Basics of Exposure
Exposure is the heart of photography — it controls how bright or dark your photo is. Learning how to control exposure manually gives you freedom to create.
You’ll want to understand the Exposure Triangle:
- Aperture (f-stop): Controls depth of field and light intake.
- Shutter Speed: Controls motion blur or sharpness.
- ISO: Controls sensitivity to light (and image noise).
Where to learn this for free:
- YouTube (search “exposure triangle photography”)
- Photography blogs like PetaPixel, Digital Photography School, ShotKit, and Fstoppers
- Interactive tools like CameraSim or Photography Mapped (online exposure simulators)
Practice task: Go outside and take 10 photos changing only one setting at a time (aperture, shutter, ISO). Observe how it affects your image.
Step 3: Master Natural Light
Lighting makes or breaks a photo — and the good news? Light is free.
Start by practicing with natural light:
- Morning and late afternoon offer soft, warm light (golden hour)
- Midday light is harsh, but can work with shadows and drama
- Window light is amazing for indoor portraits
- Cloudy days create soft, diffused lighting — great for portraits or detail shots
Pay attention to how light falls on your subject. Notice the direction, intensity, and quality of the light. Start using shadows and highlights intentionally.
Try backlighting, side-lighting, and diffused light. Experiment constantly.
Step 4: Practice Composition Daily
You can’t always control your subject, but you can always control your framing.
Composition is how you arrange the visual elements in your frame. Learn and experiment with rules like:
- Rule of thirds
- Leading lines
- Framing within the frame
- Symmetry and balance
- Negative space
- Patterns and repetition
The goal isn’t to memorize these rules — but to internalize them and eventually break them with purpose.
Free resources:
- YouTube creators like Jamie Windsor, Mango Street, and The Art of Photography
- Instagram breakdown posts and carousel tutorials
- Pinterest boards on composition examples
- Books available online for free (some photography classics are in the public domain)
Practice task: Spend a day taking photos using only one composition technique. For example, shoot only with leading lines or negative space.
Step 5: Learn From Free YouTube Channels
YouTube is one of the most underrated photography classrooms.
Some incredible channels (all free):
- Sean Tucker – deep, thoughtful content on the philosophy of photography
- Mango Street – short, modern tutorials for creatives
- Julia Trotti – great for natural light and portrait photographers
- Daniel Inskeep (from Mango Street) – gear reviews and camera settings
- Jessica Kobeissi – portrait sessions and behind-the-scenes
- The Photographic Eye – strong on storytelling and artistic vision
Tip: Don’t binge-watch. Watch one video, then go practice what you learned. Knowledge is nothing without application.
Step 6: Do Self-Assigned Projects
One of the best ways to learn is to give yourself personal projects.
These don’t require models, clients, or ideal locations. Just you, your camera, and a plan.
Project ideas:
- One photo a day for 30 days
- Only shoot in black and white for a week
- Capture shadows in your home
- Document one street corner every day at the same time
- Tell the story of your morning routine in 10 images
Self-projects teach you discipline, observation, and creativity — and they cost nothing.
Step 7: Join Free Photography Communities
Learning on your own doesn’t mean learning in isolation.
Join online spaces where photographers share work, ask questions, and grow together:
- Reddit: r/photography, r/analog, r/itookapicture
- Facebook groups for beginner photographers
- Flickr communities
- Discord servers focused on creative photography
- Instagram hashtags where beginners share and support each other (#beginnerphotographer, #photopractice)
Ask for feedback. Share your wins and frustrations. Celebrate other people’s growth. The community will motivate you to keep going.
Step 8: Use Free Editing Software
Post-processing is a big part of photography. You don’t need expensive tools to get started.
Free tools you can use:
- Snapseed (mobile, super intuitive)
- Lightroom Mobile (Free version)
- Darktable (desktop, open-source alternative to Lightroom)
- RawTherapee (desktop, also open-source)
- Photopea (browser-based, Photoshop-like interface)
Start by learning how to:
- Adjust exposure, contrast, and white balance
- Crop and straighten
- Apply subtle sharpening or clarity
- Use color grading tools for mood
Editing is where you give your photo a final touch — your voice. And it’s a powerful part of the learning process.
Step 9: Study Photos You Love
Every great photographer started by being inspired. Find photos that speak to you — not just technically, but emotionally.
Ask yourself:
- Why does this photo feel powerful?
- What’s the light doing here?
- How is the subject framed?
- What emotion does it carry?
Deconstructing images trains your eye. You begin to see not just what’s in the frame, but why it works.
Where to find inspiration:
- Instagram (curate who you follow)
- Pinterest boards
- Photo books (check local libraries or digital archives)
- Magnum Photos website (legendary photojournalism)
- National Geographic’s archives
Create a folder of favorite images. Visit it often. Let it guide your growth.
Step 10: Create Your Own Learning Path
The beauty of self-teaching is that you can customize your path.
You don’t have to follow someone else’s order. Focus on what excites you:
- Do you love portraits? Study natural light and posing.
- Obsessed with street photography? Study timing and movement.
- Into product photography? Learn setups using household items.
Let your curiosity guide you.
Set learning goals:
- “This month I’ll master manual mode.”
- “Next week I’ll shoot only in black and white.”
- “Today I’ll take 50 photos without deleting any.”
When learning becomes personal, it becomes sustainable.
Bonus: Use Free Courses and Resources
Yes, there are also full photography courses online — completely free.
Some options:
- Coursera (audit courses for free): Look for classes from institutions like Michigan State or MoMA.
- Harvard’s Digital Photography Course (free PDF online)
- YouTube playlists that simulate beginner workshops
- Skillshare (Free trials) – Not 100% free, but you can take advantage of trials or occasional open classes.
Download cheat sheets, join free webinars, read blog posts. The content is out there. You just need to filter and apply.
Final Thoughts: Learning Alone Doesn’t Mean Learning Lonely
When you decide to learn photography on your own, it can feel overwhelming. You may wonder if you’re on the right path, if your photos are improving, or if you’re wasting time.
But the truth is — every photo you take brings you closer. Every mistake teaches. Every win motivates.
You don’t need to buy a course to be serious. You don’t need expensive equipment to be passionate. What you need is the willingness to try, fail, learn, and keep shooting.
Because photography is more than technical settings — it’s a way of seeing the world.
So grab your camera (or your phone), step into the light, and begin.
Your best teacher is experience.
And the world is waiting to be photographed — by you.


