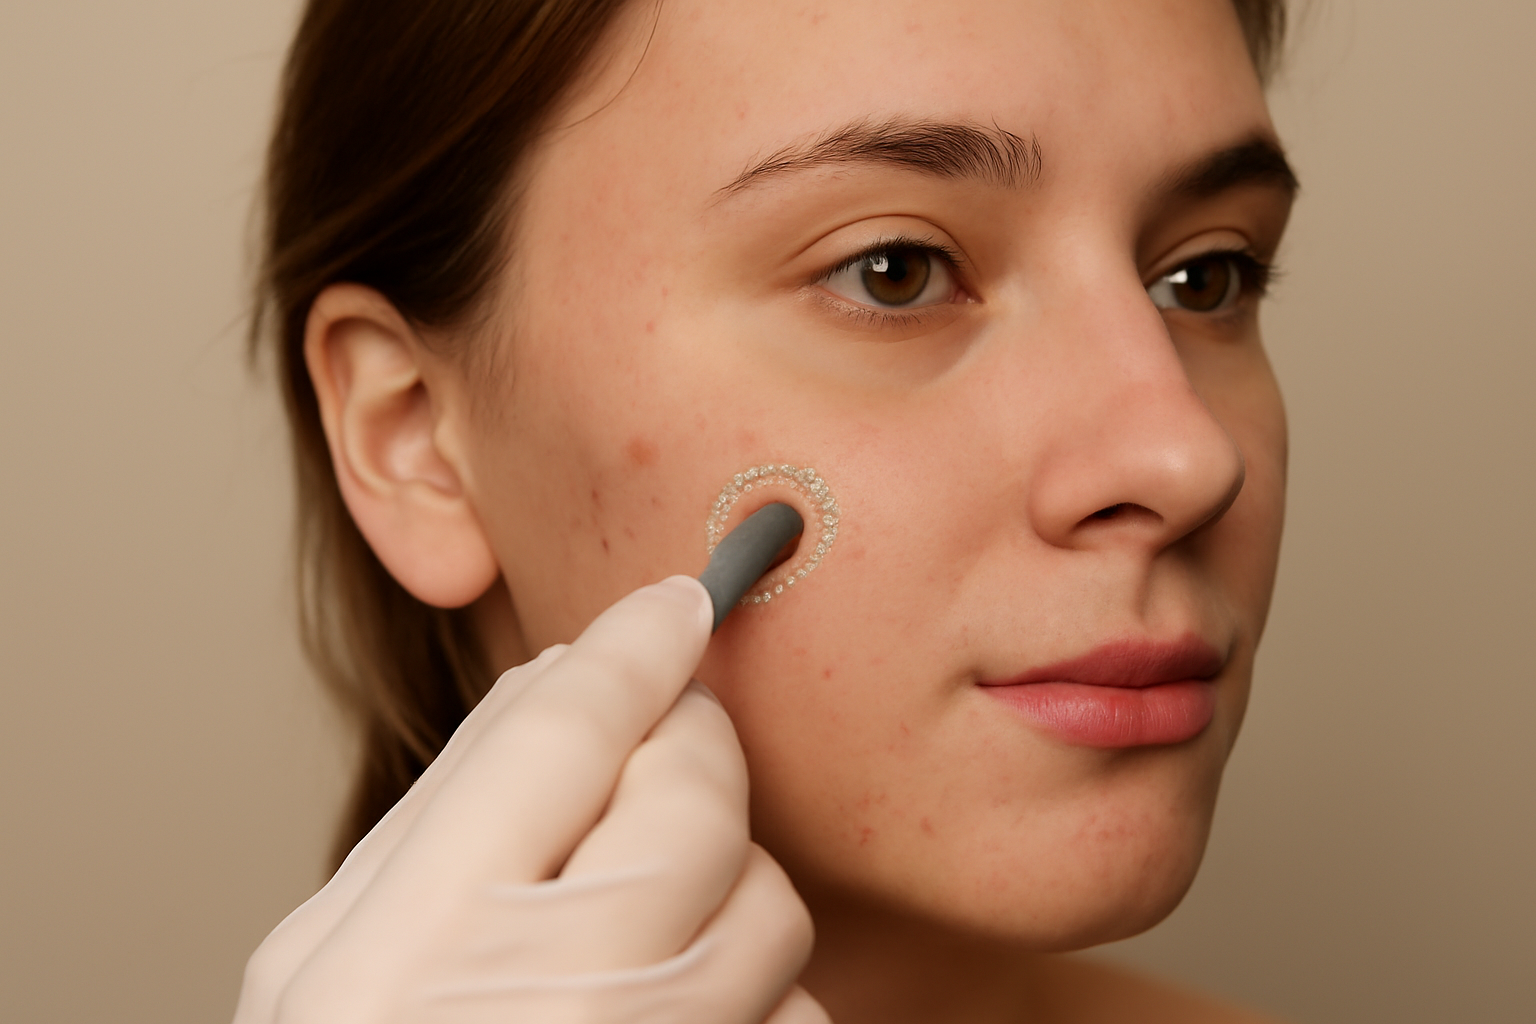
One of the essential skills for any photographer editing portraits is the ability to correct skin imperfections in a natural and realistic manner. In Adobe Photoshop, there are several powerful tools that allow you to smooth, retouch, and correct the skin without losing the essential texture details. In this article, we will show you how to use these tools to enhance the appearance of the skin while maintaining a natural and professional result.
1. Preparing the Image for Editing
Importing the Image
Before starting the editing process, the first step is to import the image into Photoshop. Open the program, go to File > Open, and select the image you want to edit. It’s always good to work on a copy of the original image to avoid irreversible changes.
Organizing Layers
When editing the skin, it’s recommended to duplicate the original layer to maintain control over the adjustments made. To duplicate the layer, select it in the layer palette, right-click, and choose Duplicate Layer. This allows you to work non-destructively and revert to the original if necessary.
2. Removing Imperfections: Basic Correction Tools
Using the Healing Brush Tool
The Healing Brush Tool (Spot Healing Brush Tool) is one of the most effective tools for removing small skin imperfections, such as pimples, blemishes, and marks. It automatically blends the surrounding area to fill imperfections in a natural way.
Step-by-Step:
- Select the Healing Brush Tool from the toolbar or press J.
- Adjust the brush size so that it’s slightly larger than the imperfection you want to remove.
- Click directly on the blemish or imperfection. Photoshop will automatically fill the area with the surrounding pattern, creating a smooth, natural finish.
Tip: Use the brush with a low hardness to avoid harsh edges in the corrected areas.
Using the Clone Stamp Tool
The Clone Stamp Tool allows for more precise corrections by cloning a healthy area of skin and applying it to an imperfection.
Step-by-Step:
- Select the Clone Stamp Tool from the toolbar or press S.
- Hold down the Alt key to select the area of skin you want to clone.
- Release the Alt key and click on the imperfections to correct them.
Tip: Use the opacity mode to adjust the intensity of the correction and make the transition smoother.
3. Smoothing the Skin: Advanced Techniques for a Natural Finish
After removing imperfections, the next step is to smooth the skin’s texture. This can be done in various ways, but it’s essential to maintain the natural texture to avoid an artificial result.
Using the Gaussian Blur Filter
The Gaussian Blur filter is an excellent tool for smoothing skin, but it’s important to use it sparingly so that the effect doesn’t erase the essential skin texture.
Step-by-Step:
- Duplicate the image layer and go to Filter > Blur > Gaussian Blur.
- Adjust the blur radius to smooth the skin without losing the texture.
- Apply a layer mask and use a soft brush to remove the blur from areas where you want to retain the skin’s texture, such as the eyes and lips.
Using the High-Frequency Filter
The High Frequency filter is an advanced technique that allows you to smooth the skin while preserving the original texture. It separates the image into two layers: a low-frequency layer (for smoothing color and tones) and a high-frequency layer (for maintaining texture details).
Step-by-Step:
- Duplicate the original layer twice and name one layer Low Frequency and the other High Frequency.
- On the Low Frequency layer, apply a Gaussian Blur based on the level of smoothing you want.
- On the High Frequency layer, use the Clone Stamp Brush tool to recover the texture details of the skin.
Tip: When using the high-frequency technique, keep the blur intensity minimal to ensure the skin texture is preserved.
4. Final Adjustments: Enhancing the Skin’s Appearance
Adjusting Skin Tone
Sometimes, after editing, the skin tone may appear slightly off. To fix this, you can adjust the color and tone balance using the hue and saturation tools.
Step-by-Step:
- Select the skin layer you wish to adjust.
- Go to Image > Adjustments > Hue/Saturation and use the hue slider to adjust the skin’s color.
- Use the saturation slider to adjust the intensity of the color, ensuring a natural tone.
Using the Tone Levels Mask
You can add a levels adjustment layer to lighten or darken specific areas of the skin, further enhancing the appearance of the texture.
Step-by-Step:
- Create a new Levels Adjustment Layer and adjust the midtones slider to lighten or darken specific areas of the skin.
- Add a layer mask to fine-tune the effect only on the areas that need correction.
5. Finalizing: Tips for a Natural Result
Avoid Overdoing It
Although Photoshop offers a wide variety of powerful tools for editing, the key to well-done skin editing is to avoid overdoing it. Keep the skin texture intact and aim to highlight the subject’s natural features.
Using Zoom for Detail
When editing, use 100% zoom to view and adjust small imperfections with precision. This helps ensure the edit is natural and flawless.
Check the Final Result
After finishing, review the image at both actual size and in a reduced size to ensure that the smoothing effect looks natural and balanced.
Conclusion: How to Keep Skin Edits Natural
Editing skin imperfections using Photoshop can be an easy task when you have the right tools and techniques. The key is to avoid over-editing and always maintain the skin’s natural texture. With patience and practice, you’ll learn how to make subtle corrections that enhance the image without losing the important details that make each photo unique.


