Photographing small and dimly lit interiors is a true art. In these situations, finding the ideal angle makes all the difference in revealing the best of the space, conveying a sense of comfort, depth, and enhancing key elements. But how do you find the perfect angle when space is limited and natural lighting is scarce?
In this article, you’ll learn practical and smart techniques to discover the best photographic angle in small, dark interiors—using natural light, architectural features, and room elements to your advantage. The goal is to make your photography speak for itself, conveying a sense of spaciousness, coziness, and style—even in the most challenging environments.
What Makes an Angle “Perfect”?
First, it’s important to understand that there’s no one-size-fits-all perfect angle—but rather the best angle for each situation. The ideal angle is one that:
- Enhances the space and creates a feeling of openness;
- Makes efficient use of available natural light;
- Highlights the room’s key elements;
- Creates visual harmony and balance;
- Draws and guides the viewer’s attention.
In small, low-light rooms, achieving this balance takes a trained eye, experimentation, and technical knowledge. Let’s explore the most effective ways to achieve it.
1. Observe the Source of Natural Light
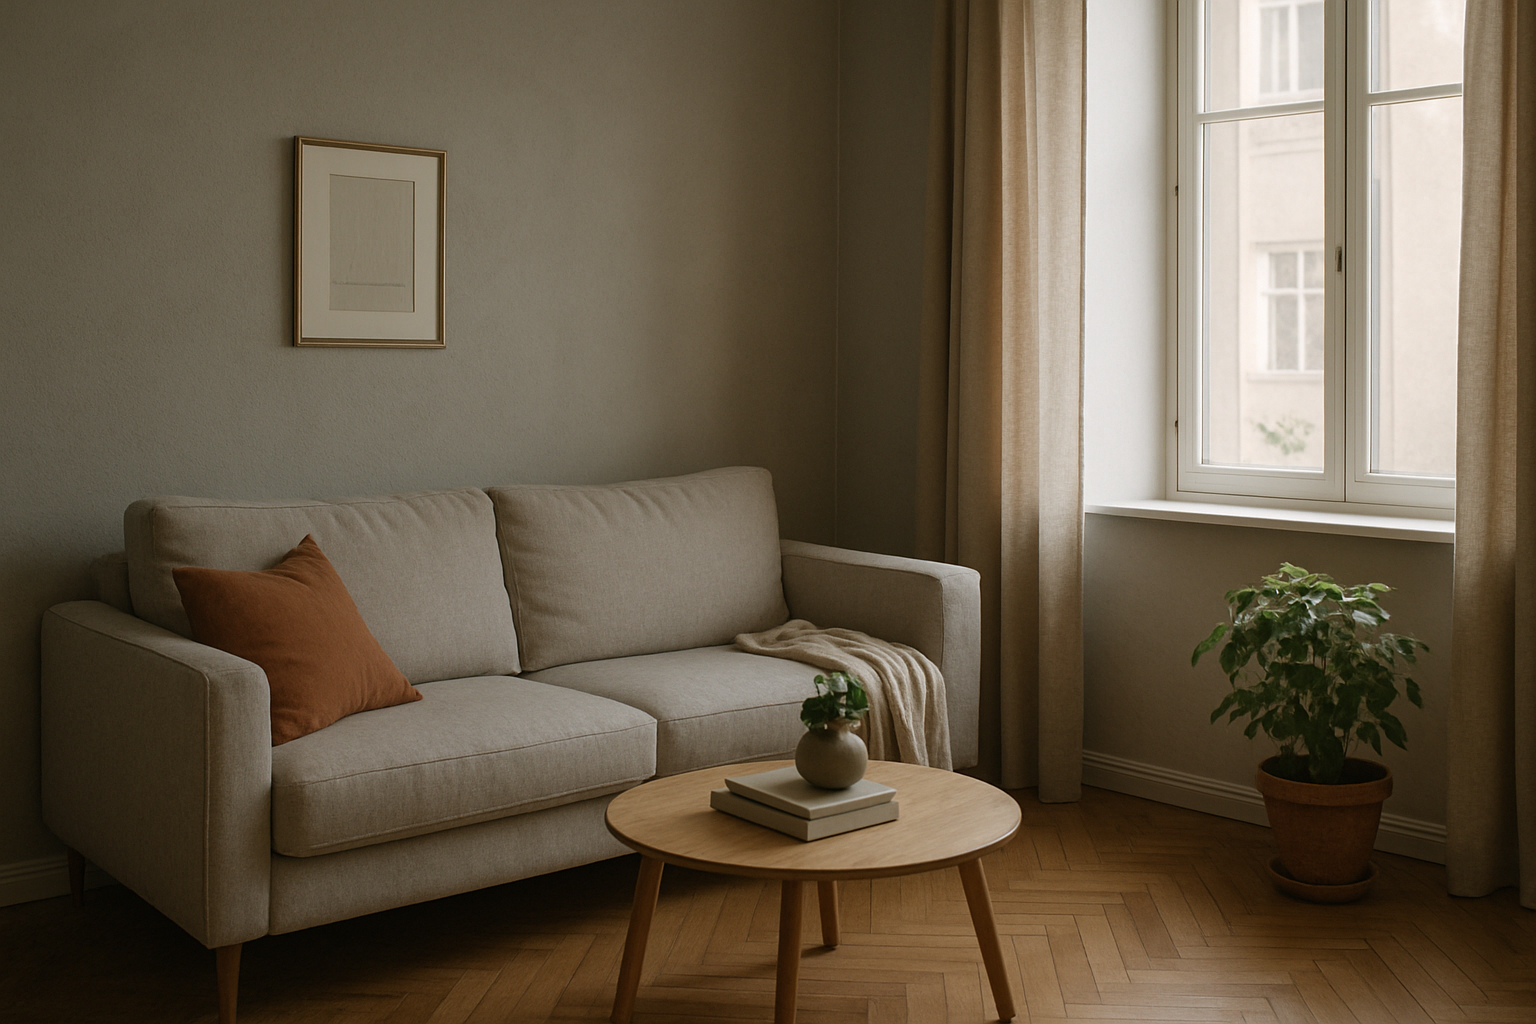
Even in dark environments, there’s usually some source of natural light—a window, glass door, or skylight. The first step is to observe where the light comes from, the direction it hits, and how it interacts with objects in the room.
Practical tip: Position yourself in different parts of the room throughout the day and observe how the light behaves. Often, the perfect angle depends on the time of day.
Side light is often ideal for showing texture and depth. Front light can soften shadows, while backlighting (light coming from behind the subject) can create a dramatic effect—if properly controlled.
And remember: the smaller the natural light source, the more strategic your camera positioning needs to be. Test several variations until you find the perfect light-shadow balance that flatters the room.
2. Start by Shooting from the Corners
In small spaces, a technique that almost always works is starting from the corners. Corners offer a wider perspective and help create leading lines that guide the viewer’s eye into the scene.
Shooting from a corner allows you to capture two walls in one frame, which increases the sense of depth and dimension—even in narrow rooms. It’s also a great way to incorporate side window lighting into the composition.
Positioning tip: Stand with your back nearly against the corner and tilt the camera slightly downward if you want to emphasize the perspective. Diagonal angles also add visual interest and break from the typical straight-on shots.
3. Try Different Camera Heights
Most people shoot from eye level, but in small interiors that may not be the most flattering option. Experimenting with different camera heights can reveal more interesting and functional angles for your composition.
Low angles:
Positioning the camera close to the floor (around 40–60 cm) can increase the sense of height and depth. This works well to show ceilings, light fixtures, and floor textures.
Mid-level angles:
Focusing at the height of furniture (like a table or the back of a sofa) can create a balanced scene and highlight decor elements.
High angles:
Placing the camera at a higher position (1.80 m or more) helps capture the room from top to bottom. It’s great for symmetrical layouts or when plants and overhead elements are part of the decor.
Pro tip: Use an adjustable tripod or safely place your camera on furniture to try unconventional angles. A shift of just 20 cm can completely change the photo’s impact.
4. Use Architectural Features to Your Advantage
Even the smallest room may have architectural details that help guide the eye and naturally frame the composition. Doors, windows, beams, floors, moldings, and columns are worth close attention.
These elements help “shape” your framing, serving as internal borders or visual dividers. Aligning your camera with these features creates harmony and reinforces the space’s structure.
Practical example: Aligning a straight wall with the base of your photo creates balance. Using a ceiling beam as a diagonal line can lead the eye toward the light source and create visual interest.
5. Intentionally Include a Focal Point
Every good angle needs a visual point of interest, which could be an object, texture, plant, armchair, or even the light entering the room.
When composing, think about where you want the viewer’s eye to land first. This focal point should be placed deliberately, ideally using the rule of thirds or leading lines.
Important: Avoid including distracting elements that steal focus or create visual noise. In small spaces, every centimeter of the frame matters.
Use contrast in color or texture to enhance your focal point. A dark vase on a light surface, for example, naturally attracts the eye and “anchors” the composition.
6. Check the Background and Edges
Many times, the ideal angle is ruined by distractions in the background or image edges. In small spaces, it’s common for unwanted items—like cables, plugs, or clutter—to sneak into the frame.
Before you click: carefully scan what appears behind your main subject and along the borders of the image. Shifting your camera just a few centimeters can remove visual distractions and significantly improve the final result.
Another key tip is to maintain horizontal and vertical alignment. Use your camera’s level tool to avoid crooked lines—especially important when photographing walls, furniture, and windows.
7. Experiment, Adjust, and Repeat
No matter how well you know the space, light, or composition techniques, practice is irreplaceable. The perfect angle is often not discovered right away—it’s built over time, through trial, error, and observation.
Take multiple shots of the same scene with slight changes in height, angle, and distance. Compare the results, see what works best, and take note of what you learn.
Consider keeping a visual journal where you save different versions of the same shot along with notes about light, perspective, and what you observed. Over time, you’ll build a creative toolbox that speeds up decision-making and improves consistency.
The Perfect Angle Is One That Transforms
Finding the perfect angle in small, dark rooms isn’t just a technical decision—it’s a creative, sensitive, and strategic choice. Every space has a story to tell, and it’s the photographer’s role to reveal that story in the most compelling way.
By applying the techniques in this article, you’ll learn how to better use natural light, architecture, and key visual elements—even in the most limited spaces. A simple room can become a stunning visual narrative when the right angle is found.
Remember: the perfect angle isn’t just beautiful—it communicates, evokes emotion, and adds value. And that’s exactly what turns a good photo into an unforgettable image.

