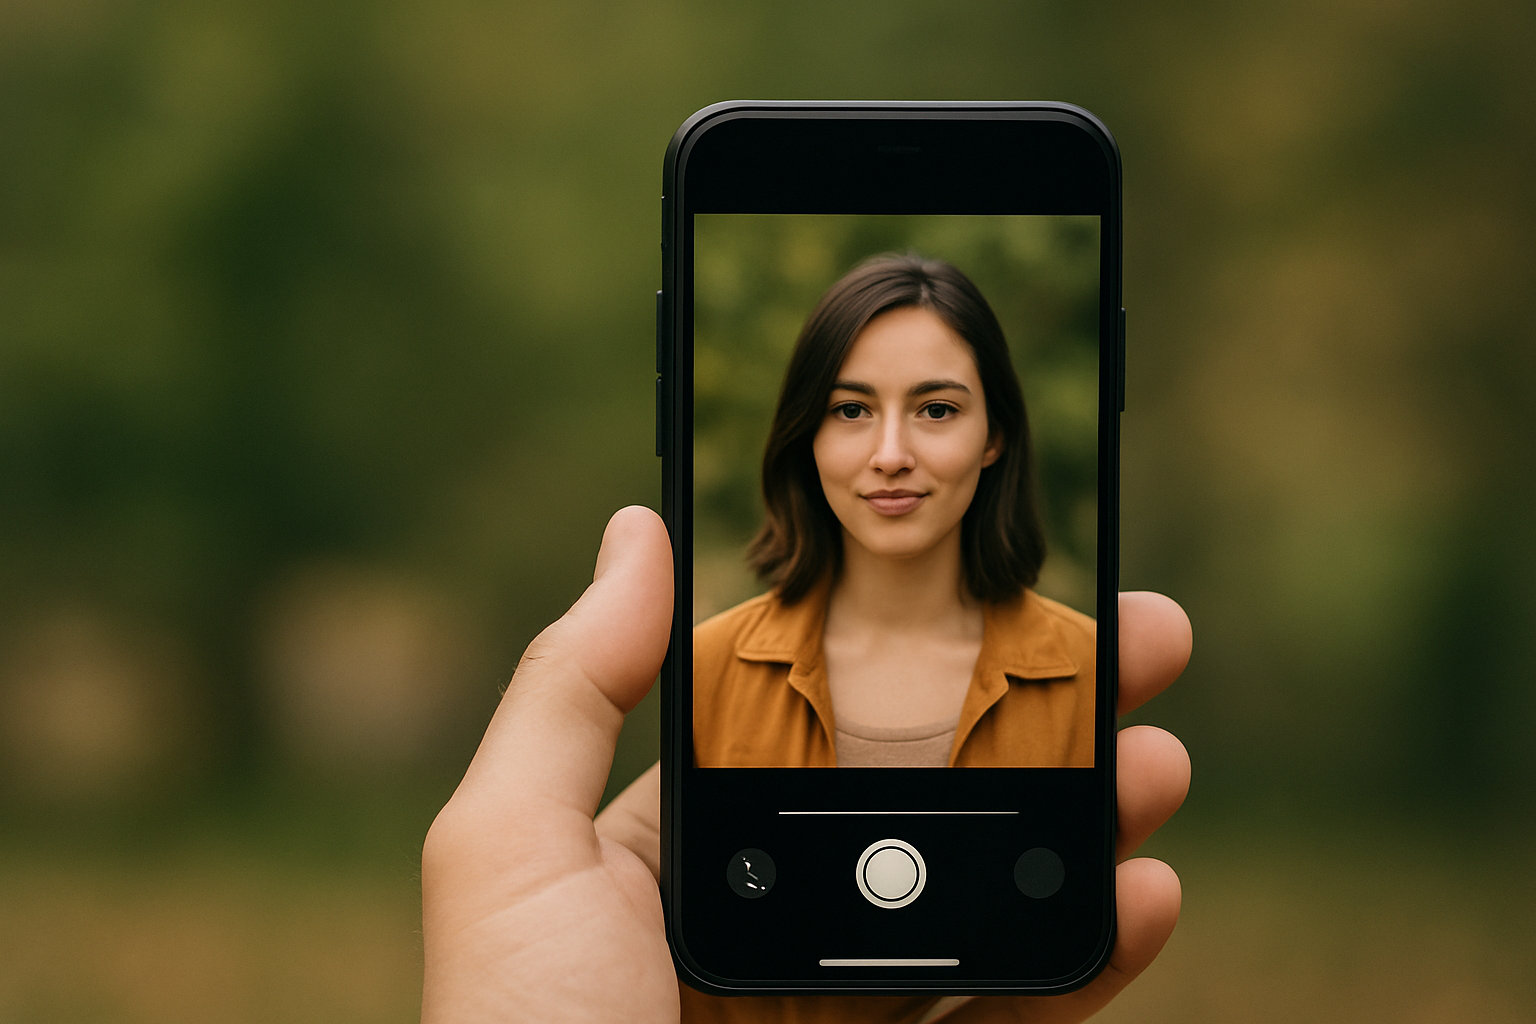
Blurring the background of a photo is one of the simplest and most effective ways to give your images a professional look. This effect helps highlight the main subject, reduces distractions in the background, and adds depth to your composition — all without needing a professional camera.
The good news is that there are several free and easy-to-use apps that simulate the blur (bokeh) effect right on your phone. In this article, you’ll learn how to apply this effect using the best apps and get tips for making it look natural and polished.
1. What is the blur effect?
Also known as the bokeh effect, this soft background blur is commonly seen in DSLR camera photos. It helps isolate the subject from the background, creating a cleaner, more artistic, and elegant look.
Today, anyone can apply this effect with just a tap, using artificial intelligence, auto-select tools, or manual adjustments — all through mobile editing apps.
2. Best apps to blur the background of photos
📱 1. Snapseed
Tool: Lens Blur
- Lets you choose the center of focus
- Adjustable transition between sharp and blurred areas
- Blur intensity control
- Realistic and soft results
- 100% free
📌 Tip: Use the effect for portraits or close-up subjects to enhance depth.
📱 2. AfterFocus
- Manual or automatic selection of the main subject
- Adjustable blur styles (aperture, motion, etc.)
- Simulates DSLR-style bokeh
- Very user-friendly, even for beginners
Great for portraits, product shots, and scenic photos.
📱 3. Lightroom Mobile (Blur Masking)
In the premium version, you can use subject selection or manual masking tools:
- Apply blur only to the background
- Combine with lighting and color adjustments for a refined result
- Excellent for portraits and creative edits
Perfect for users with some editing experience looking for professional results.
📱 4. PicsArt
- “Blur” tool with various styles: standard, radial, motion, etc.
- Brush tool lets you apply blur precisely where you want
- Additional filters and effects to complement the edit
A popular choice for fast and stylized edits.
📱 5. AirBrush
- Automatically detects faces and bodies
- One-tap background blur
- Great for selfies and portraits with busy backgrounds
- Clean and simple interface
Perfect for casual users who want to quickly enhance personal photos.
3. How to apply the blur effect naturally
Even with powerful apps, the way you apply the blur makes a big difference. Here are some practical tips:
✅ Don’t overdo it
Too much blur can make the photo look fake. Keep it soft and gradual.
✅ Use well-lit photos
Good lighting helps emphasize the subject and makes the blur look more natural.
✅ Combine with color adjustments
Blurring the background along with adjusting contrast and saturation helps direct the viewer’s attention.
✅ Experiment with focal points
In some apps, you can manually reposition the focus. Try placing it off-center for more interesting compositions.
4. When is it worth blurring the background?
Blurring the background can be helpful in many situations:
- Portraits: highlight the person’s face
- Product photography: keep the focus on the item
- Photos with cluttered backgrounds: simplify the scene
- Artistic compositions: create mood using light, motion, or reflections
5. Comparing photos with and without blur
See how the blur effect can completely change the feel of a photo:
| Type of Photo | Without Blur | With Blur |
|---|---|---|
| Portrait | Background distracts | Face stands out clearly |
| Product | Competes with background | Product is the focus |
| Selfie | Cluttered scene | Clean and polished |
| Urban landscape | Visual noise | Depth and elegance |
Conclusion: Enhance Your Photos with a Touch of Focus
Blurring the background is a simple but powerful editing technique. With the right apps and some creative control, you can create more elegant, professional, and visually impactful images — right from your smartphone.
Start with Snapseed or AfterFocus and gradually explore other tools until you find the style that best represents your photography.


