Every photographer — beginner or professional — shares one essential goal: capturing images that are sharp, clear, and well-defined. Whether it’s a portrait, a landscape, or a fast-moving subject, image sharpness can make the difference between a photo that impresses and one that underwhelms.
And yet, sharpness is often misunderstood. Many assume that the key to a clear photo is just buying a better camera. But the truth is: the right settings, used at the right moment, make a far bigger impact than gear alone.
In this article, we’ll walk through everything you need to know about camera settings that help produce crisp, tack-sharp photos — even if you’re just getting started.
Understanding Sharpness in Photography
Let’s clarify one thing first: “sharpness” doesn’t mean harshness or extreme contrast. It refers to the clarity of details in an image — from the glint in someone’s eyes to the texture of rocks in a landscape.
There are two types of sharpness you’ll deal with:
- In-focus sharpness: How accurately your subject is focused
- Image clarity: How steady your shot is, how clean your settings are, and how well your lens and sensor deliver detail
Both are important. And both can be dramatically improved with the right settings and techniques.
Use Manual or Semi-Auto Mode
To get consistently sharp images, you’ll need to go beyond auto mode. The reason? Auto doesn’t always choose settings optimized for sharpness — especially in low light or fast motion.
Instead, switch to:
- Aperture Priority (A/Av): You control depth of field, and the camera handles shutter speed
- Shutter Priority (S/Tv): You set the shutter speed, and the camera adjusts aperture
- Manual (M): Full control — ideal when you want consistency from shot to shot
These modes give you creative power over settings that directly affect sharpness.
1. Shutter Speed: Freeze the Moment
Let’s start with one of the most critical factors: shutter speed. A slow shutter speed introduces motion blur — either from the subject or from your own hands.
Here’s a general guide for sharp handheld shooting:
- 1/1000 or faster: sports, wildlife, fast action
- 1/500: kids running, birds, dance
- 1/250: general movement, walking subjects
- 1/125: portraits with minor movement
- 1/60: minimum for handheld stills (with image stabilization)
- 1/30 or slower: tripod recommended
Rule of thumb: your shutter speed should be at least 1 over your focal length to avoid camera shake. So if you’re shooting at 85mm, aim for 1/85 or faster.
Pro tip: If in doubt, go faster. You can always brighten the image with ISO or a wider aperture.
2. Aperture: Control Depth of Field
Aperture affects how much of your scene is in focus — and how clearly your subject stands out.
- Use wide apertures (like f/1.8 or f/2.8) for portraits. They isolate the subject and create a creamy background blur.
- Use narrow apertures (like f/8 or f/11) for landscapes or group shots, where sharpness across the frame is important.
But be careful: going too wide can lead to missed focus, especially if your subject moves slightly. And going too narrow (like f/22) can cause diffraction, which actually softens the image.
Sweet spot: Most lenses are sharpest between f/5.6 and f/8 — try shooting there for max clarity.
3. ISO: Keep It Low When Possible
ISO determines how sensitive your camera is to light. But increasing ISO also increases noise — which can make your photo look grainy and reduce sharpness.
- ISO 100–400: Best quality, minimal noise
- ISO 800–1600: Still acceptable, especially on modern cameras
- ISO 3200+: Use only when necessary; noise reduction may soften details
To keep ISO low, prioritize good lighting and use a tripod when shooting in low-light environments.
Pro tip: It’s better to use a slightly higher ISO than to get motion blur from a slow shutter. Sharp with grain beats blurry every time.
4. Focus Mode: Nail the Shot
Sharp photos require precise focusing. If your subject isn’t in focus, no setting will save you. Use the right focus mode based on your subject:
- Single-point AF (One-Shot/AF-S): Best for still subjects. Choose your focus point manually for precise control.
- Continuous AF (AI Servo/AF-C): Ideal for moving subjects — the camera adjusts focus as the subject moves.
- Face/Eye Detection: Useful for portraits if your camera supports it — it locks focus on eyes automatically.
- Manual Focus: Use in controlled environments (product shoots, landscapes on tripod)
Don’t rely on the camera’s automatic area selection. Always choose your own focus point, especially when shooting at wide apertures.
Pro tip: Focus on the eyes when photographing people. It’s where viewers look first — and sharp eyes can save an otherwise soft photo.
5. Image Stabilization: Use It Wisely
Many modern cameras and lenses come with image stabilization (IS/VR/IBIS). This allows you to shoot at slower shutter speeds without introducing blur from hand movement.
But remember:
- Stabilization helps with camera shake, not with subject motion
- Always turn it off when using a tripod — otherwise it can introduce blur
Bonus tip: When shooting handheld in low light, breathe out slowly and gently press the shutter — don’t jab it.
6. Use a Tripod for Maximum Sharpness
If sharpness is your top priority — especially for landscapes, product shots, or long exposures — nothing beats a tripod.
Tripods remove hand shake entirely, allowing you to:
- Use slower shutter speeds
- Keep ISO low
- Use narrow apertures for deep focus
Pair your tripod with a remote shutter release or use a 2-second timer to avoid camera movement when pressing the shutter.
Pro tip: Hang a weight from your tripod’s center column for more stability, especially in wind.
7. Mirror Lock-Up & Silent Shooting
For DSLR users, the mirror inside the camera flips up when you take a photo — and that movement can cause micro-vibrations that reduce sharpness.
Enable mirror lock-up mode or live view shooting to minimize this.
Mirrorless shooters can use electronic shutter or silent shooting modes, which also reduce internal vibrations and noise.
It’s a small difference — but when shooting at high resolutions or long exposures, every bit helps.
8. Use High-Quality Lenses
Camera settings can only take you so far — your lens quality plays a huge role in image sharpness. Cheap kit lenses are okay to start with, but prime lenses and higher-end zooms often deliver much better clarity.
Look for lenses known for:
- Sharpness wide open (at low f-numbers)
- Low chromatic aberration
- Minimal distortion
That said, even with basic lenses, using the sweet spot aperture (f/5.6–f/8) and proper technique will give you surprisingly sharp results.
9. Clean Your Lens and Sensor
This might sound obvious, but you’d be surprised how many “blurry” photos are caused by:
- Smudges or fingerprints on the lens
- Dust on the lens element
- Dirty camera sensor
Always carry a lens cleaning cloth or pen, and clean your gear regularly. It makes a difference.
10. Use Back-Button Focus (Advanced Tip)
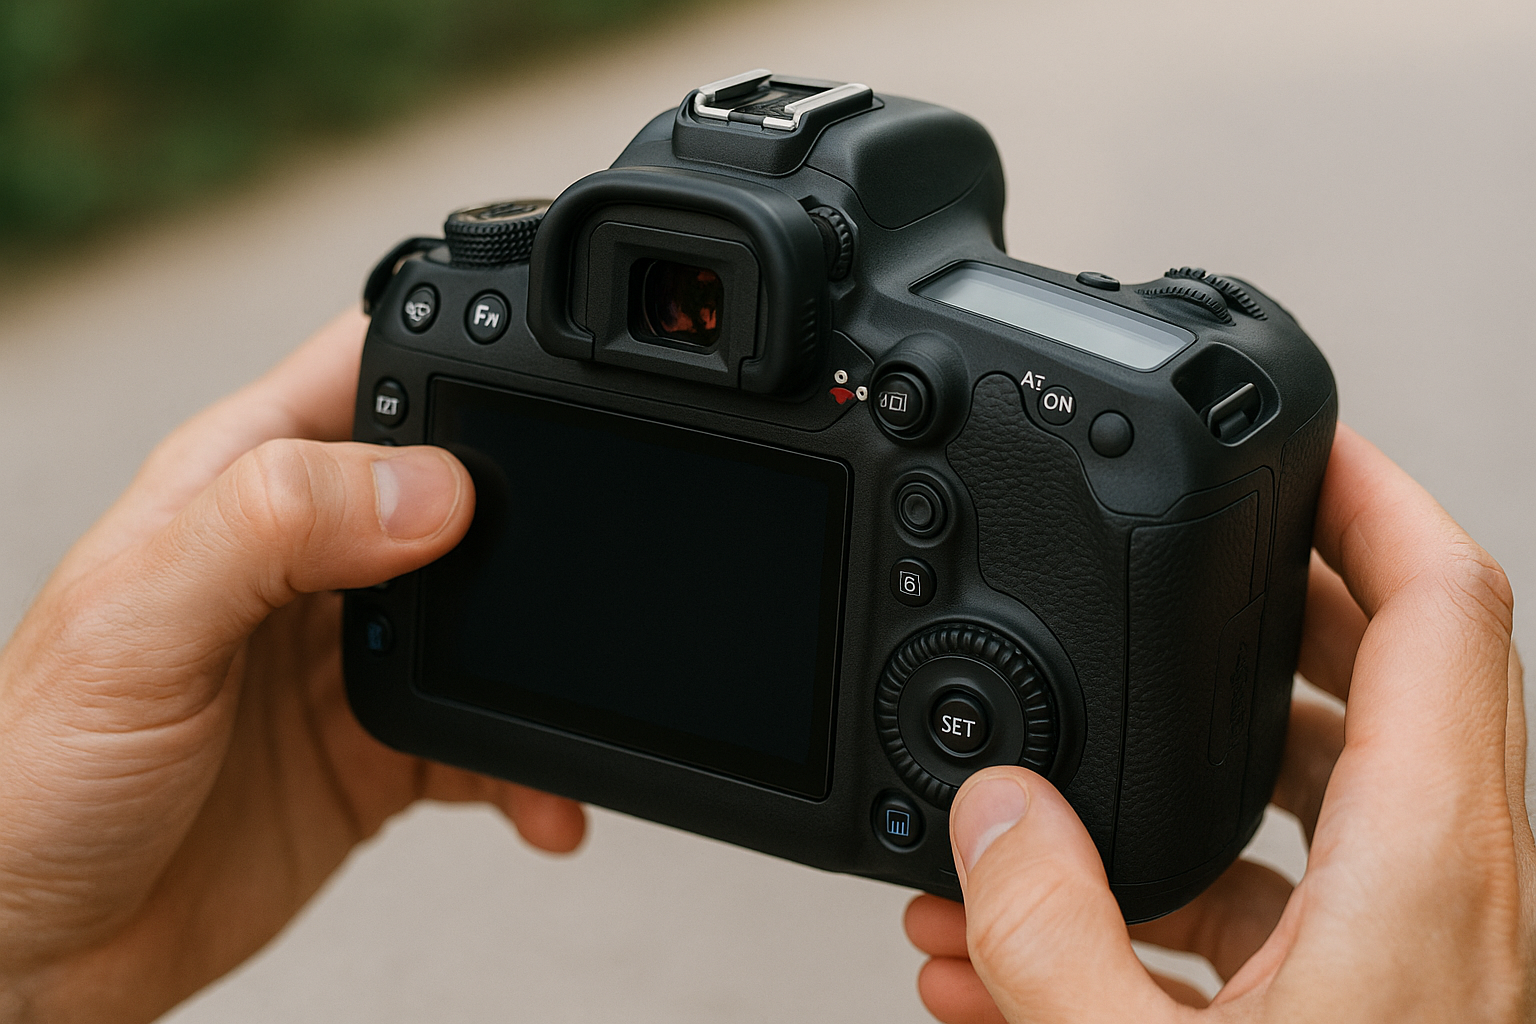
Back-button focus separates focusing from the shutter button. Instead of half-pressing the shutter to focus, you assign focus to a button on the back of the camera (usually AF-ON).
This gives you:
- More control over when the camera focuses
- The ability to lock focus and recompose
- Better performance for continuous focus tracking
It takes a little getting used to, but many professionals swear by it — especially for sports and portraits.
Bonus: Sharpness Starts with Good Technique
Even with the perfect settings, technique matters. Here are a few habits to build:
- Hold your camera properly: Tuck your elbows in, support the lens with your left hand
- Squeeze the shutter gently: Avoid sudden presses that shake the camera
- Check your images: Zoom in after each shot to ensure focus is where you want it
- Use burst mode: Take 2–3 quick shots — often, one will be sharper than the others
When Sharpness Isn’t Everything
It’s worth noting: sharpness is important — but it’s not everything. Some of the most emotional, memorable images in history aren’t technically perfect. And that’s okay.
Use sharpness as a tool — not as a rule. Know when to break it. Motion blur can convey energy. Soft focus can create mood. Technical perfection doesn’t always mean artistic impact.
Final Thoughts
Sharp, clear images aren’t just a product of fancy gear — they’re the result of smart settings, good technique, and intentional shooting. With the tips in this article, you now have the knowledge to take control of sharpness in any situation.
Start with these foundations:
- Fast enough shutter speed
- Controlled aperture
- Low ISO when possible
- Precise focus
- Stability (tripod or image stabilization)
And above all — practice. The more you shoot, the better you’ll recognize what works, what doesn’t, and how to adapt in real time.
Mastering sharpness is not about obsessing over pixels — it’s about clarity of vision. And now, you have what you need to bring that vision into focus.

