Photography doesn’t end when you press the shutter—it starts there. What separates a nice photo from a striking, professional-looking one is often the editing process. And if you’re just stepping into the world of photography, the idea of photo editing might sound technical or intimidating. But here’s the truth: it’s not about mastering dozens of tools—it’s about understanding what makes a photo work and using the right touches to bring it to life.
This guide is for beginners who want to make their photos pop—not through filters or gimmicks, but through thoughtful, artistic decisions that enhance what’s already there.
Why Photo Editing is More Than a Touch-Up
Let’s get one thing straight: editing isn’t cheating.
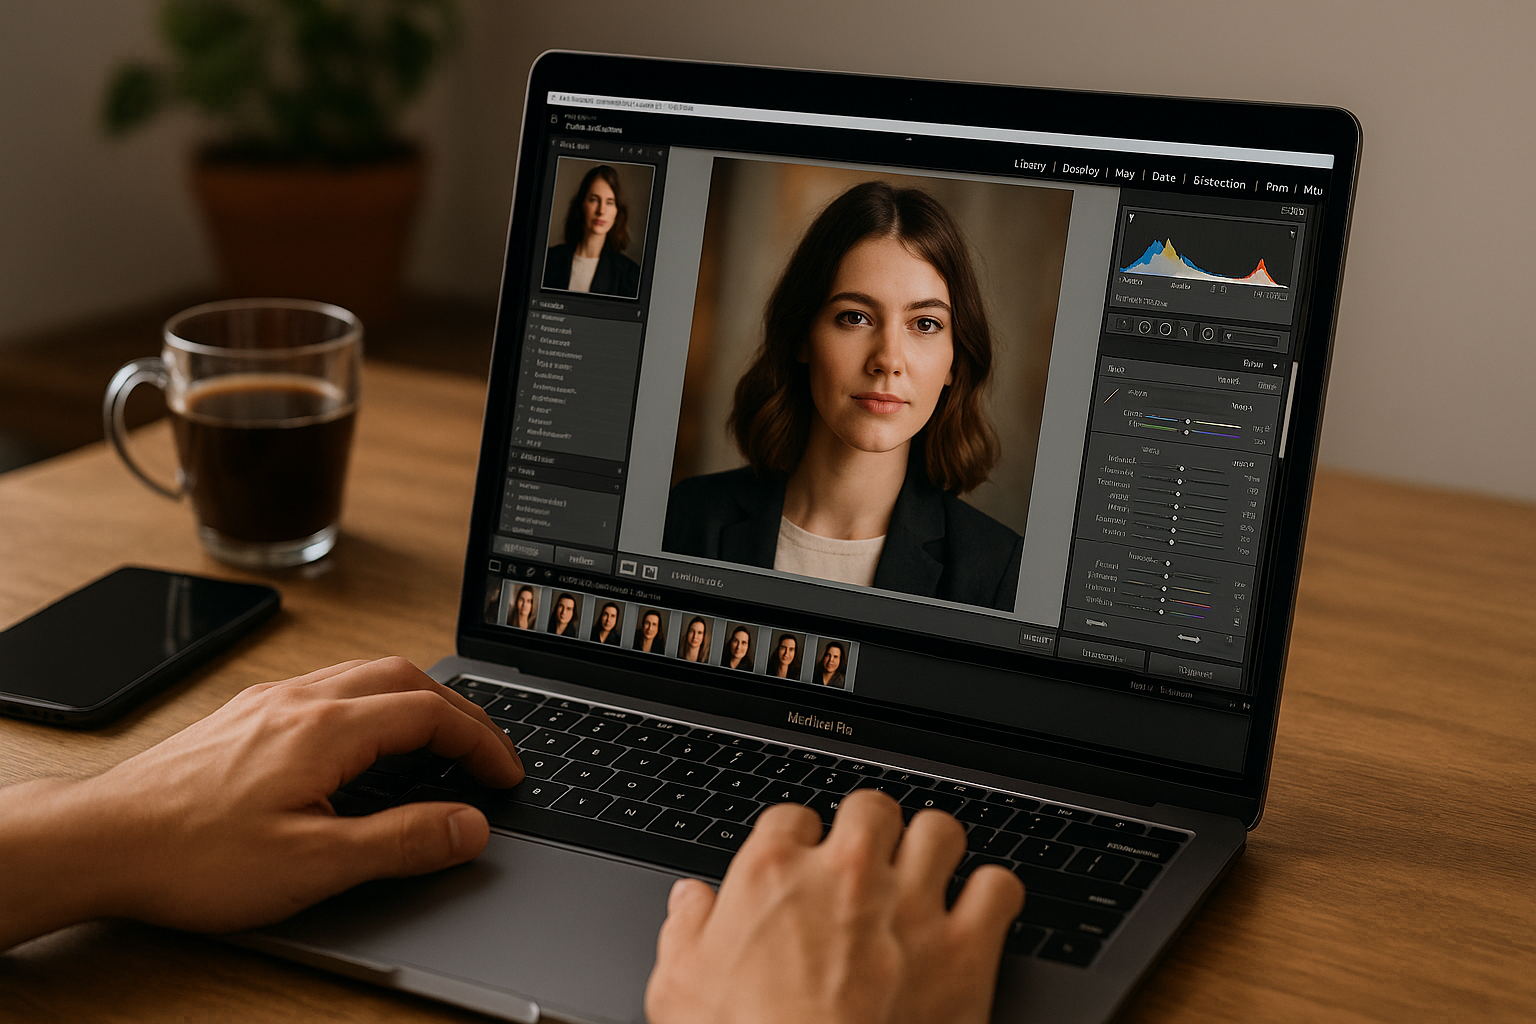
Think of editing as the digital darkroom. Back in the days of film, photographers spent hours developing photos manually, adjusting exposure, dodging and burning areas, and experimenting with tone and contrast. Today, those same techniques exist—but they’ve moved to your screen.
Editing allows you to:
- Correct technical imperfections like underexposure or skewed colors
- Highlight your subject better
- Create a cohesive style across your work
- Fix distractions in the background
- Add emotion and storytelling to your images
And perhaps most importantly, editing helps you express your voice as a photographer.
Choosing the Right Tool for the Job
You don’t need to spend a fortune to start editing. In fact, many excellent tools are free or offer generous trial versions. Here’s how to decide what fits your current level:
For Total Beginners
Snapseed: Incredibly intuitive, with pro-level tools wrapped in a clean interface.
Photoscape X: Simple layout, great for first-time desktop editors.
Lightroom Mobile (Free version): Offers sliders, presets, and non-destructive editing.
For Intermediate Growth
Lightroom (Desktop): Ideal for consistent, detailed edits and batch processing.
Photoshop: More advanced and flexible—great for retouching, composites, or commercial work.
Affinity Photo: Powerful alternative to Photoshop, but with a one-time fee.
Tip: Start small. You don’t need every tool at once—what matters is mastering the basics.
Step-by-Step Editing Workflow
Let’s break down a basic photo edit, whether you’re using Lightroom, Snapseed, or another editor.
Start with Cropping and Straightening
Remove dead space. If the horizon is tilted, fix it. Crop in a way that strengthens composition—think rule of thirds, leading lines, or symmetry.
Example: A portrait with too much headroom can be cropped to bring attention to the eyes and face.
Tweak Exposure and Contrast
Adjust brightness if the image is too dark or overexposed. Use contrast to separate lights and darks, which adds depth and sharpness to the image.
Tip: Don’t just slam the contrast slider—learn how to use highlights, shadows, whites, and blacks individually for nuanced control.
Adjust White Balance (Color Temperature)
An image too cool (blue) or too warm (orange) can feel off. Use the temperature slider to bring the image closer to how the scene felt in real life—or how you want it to feel.
Example: A sunset photo may benefit from adding warmth, even if it wasn’t as orange in person.
Add Clarity, Texture, and Sharpness
These sliders enhance fine details. But be gentle—too much texture can exaggerate skin imperfections in portraits.
Tip: Use Clarity for adding punch to landscapes, and Texture for drawing out detail in things like bark, bricks, or fabric.
Saturation and Vibrance
These adjust color intensity. Saturation affects all colors equally. Vibrance targets the more muted ones—making it the safer, more natural option.
Advice: A little vibrance can bring life. Too much saturation can turn a beach scene into a cartoon.
Use Selective Tools
Many apps offer selective edits. You can brighten just the face in a portrait, or reduce highlights in a specific area of the sky.
Example: In Lightroom, the brush and radial filter are your best friends here.
Remove Distractions
Whether it’s a trash can in the background or a pimple on someone’s face—spot healing tools let you clean things up.
Tip: Zoom in! It’s easier to fix issues when you’re working close.
Think Like an Artist, Not Just an Editor
What are you trying to say with this photo?
Editing is a chance to guide the viewer’s eye, emphasize emotion, and create atmosphere. Ask yourself:
- Should this photo feel warm and nostalgic, or cold and dramatic?
- Where do I want the viewer to look first?
- What colors support the mood I’m aiming for?
There’s no right or wrong—just make sure your edits are intentional.
Real Talk: A moody black and white portrait might hide distractions and highlight emotion. A bright, vibrant street shot may benefit from extra contrast and punchy colors.
Developing Your Own Editing Style
Style doesn’t happen overnight. But it does grow with practice. Start saving your favorite edits as presets or templates. Over time, patterns will emerge—maybe you favor high-contrast looks, or soft, pastel tones.
Your “look” becomes part of your identity as a photographer.
Keep a folder of inspiration: photographers you admire, color palettes you love, or edits that made you say “wow.”
Common Mistakes (And How to Avoid Them)
Even the best editors made these mistakes early on. Here’s what to watch out for:
Over-editing skin: It’s tempting to smooth skin into oblivion, but it ends up looking unnatural.
Too much clarity: Especially in portraits, it can make people look older or overly textured.
Crushing the blacks: Lifting shadows too much can make the image look flat or “foggy.”
Adding heavy vignettes: A soft vignette can add focus—but a strong one just feels forced.
Rule of thumb: If you can see the edit before the photo, it’s too much.
Practice: The Real Secret to Improvement
You won’t learn editing by reading about it—you learn by doing.
Take five of your own photos and edit them differently:
- Try natural vs. dramatic
- Try warm vs. cool tones
- Try black & white vs. color
Compare them side by side. Which feels more you?
Challenge: Edit the same photo in three different styles. It’ll teach you just how much power editing holds.
Editing by Genre: What Changes?
One of the biggest shifts in your editing journey will be learning how to approach different types of photography. A good edit for a landscape might look completely wrong on a portrait.
Portraits
With portraits, skin tone is everything. Overediting can easily lead to plastic-looking skin or loss of detail in the eyes.
Tips:
- Use the healing tool sparingly to remove blemishes, not character
- Brighten the whites of the eyes and sharpen the iris
- Add a subtle vignette to focus attention
Landscapes
Landscapes often benefit from bold contrast and color, but be careful not to push the saturation too far.
Tips:
- Use Dehaze to cut through atmospheric fog
- Boost clarity to make details pop
- Adjust blues and greens for realism
Street Photography
Street photography is about storytelling. Focus on emotion, light, and composition.
Tips:
- Black and white editing can enhance mood
- Use split toning for atmosphere
- Crop to emphasize story elements
The Emotional Side of Editing
Sometimes, editing is less about technique and more about how a photo makes you feel. Trust that instinct.
Ask yourself:
- Does this photo feel like the moment I experienced?
- Does it convey the energy or calm I want the viewer to feel?
- Am I editing for truth or mood?
There’s no single right answer—just make your decisions intentionally.
Example: A rainy street scene can be edited darker, with muted colors and heavy shadows to evoke loneliness. Or it can be brightened slightly to give a romantic or nostalgic vibe.
Backup, Exporting, and File Management
Once your photo is edited, it’s time to export—but don’t forget these essentials:
- Export high resolution for printing (300 DPI)
- JPEG for web, PNG for transparency, TIFF for print
- Save presets or recipes for future use
- Always back up—cloud storage or external hard drives are a must
Develop a Personal Workflow
Once you’re comfortable with the basics, form your own routine to save time and stay consistent.
Sample beginner workflow:
- Import and organize
- Select best shots
- Straighten and crop
- Fix exposure and color
- Enhance detail
- Remove distractions
- Apply style or preset
- Export and back up
Resources to Keep Learning
This is a lifelong skill. Some great places to learn more:
YouTube: Peter McKinnon, Mango Street, Sorelle Amore
Courses: Lightroom/Photoshop on Skillshare, Domestika
Communities: Reddit (r/photography), Facebook groups, Discord
You’re Not Just Editing — You’re Creating
You’re not here to slap on filters. You’re here because photography moves you. You want your work to feel polished, expressive, and real. That’s what editing gives you.
So take your time. Learn your tools. Make mistakes. Try again. Each photo you edit brings you one step closer to the photographer you’re becoming.
Your edits are your voice—so use them to say something.

