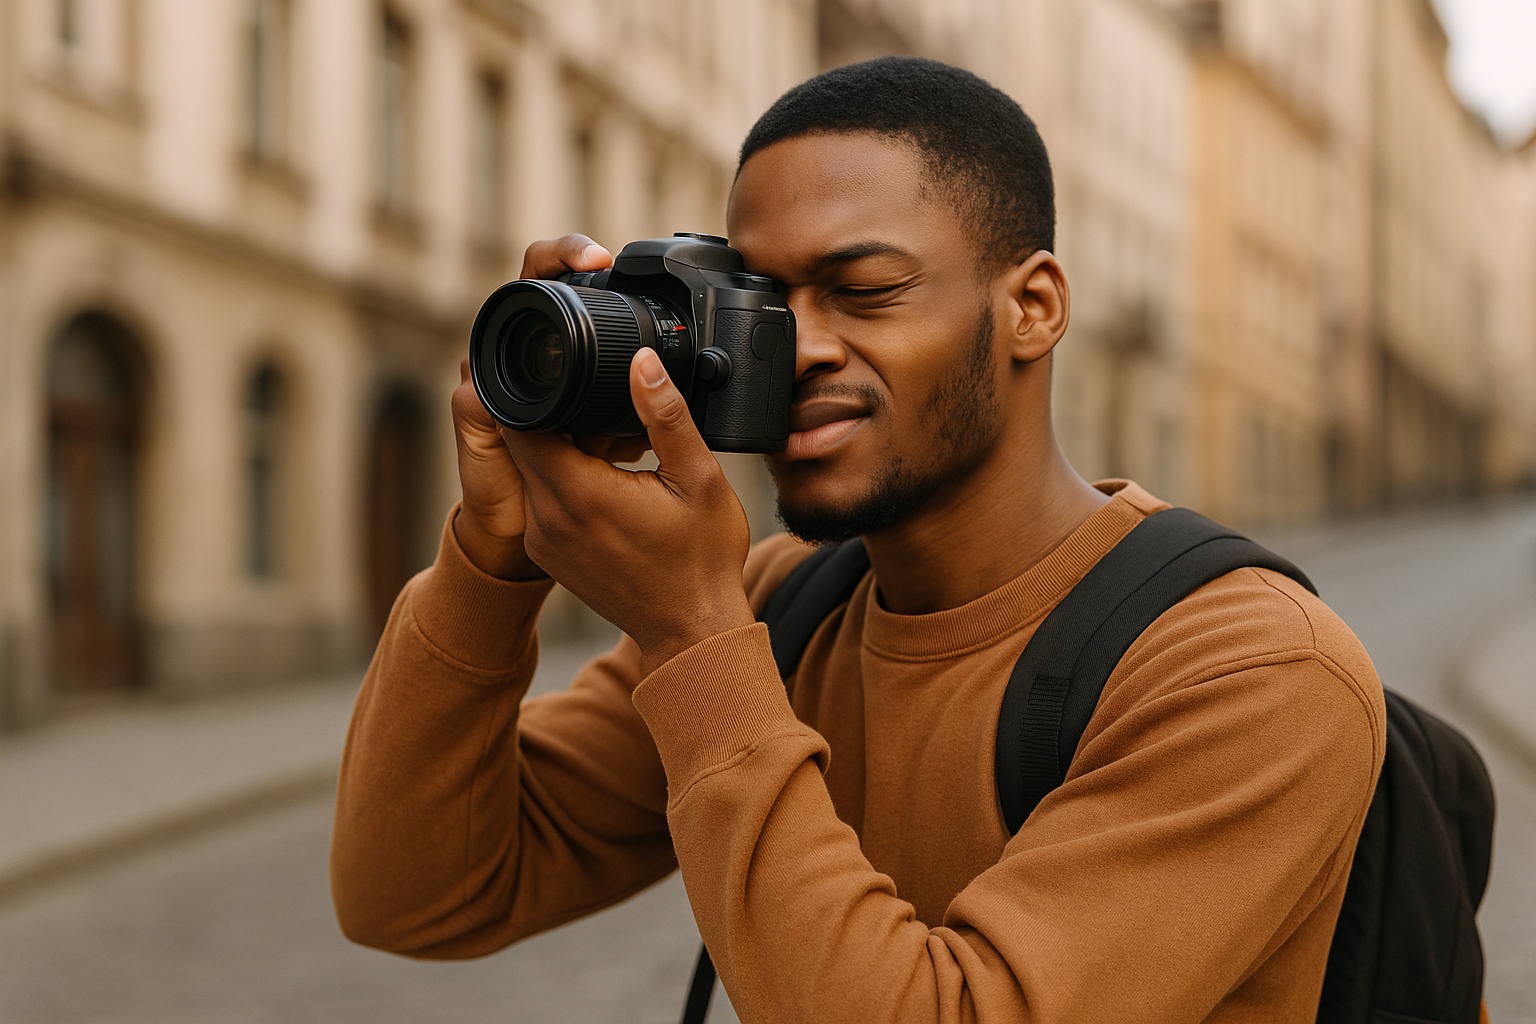
In today’s world, your smartphone is not just a device for calls, messaging, or social media—it’s also a powerful tool for photography. With camera technology constantly advancing, modern smartphones are capable of capturing high-quality images that can rival those taken with professional cameras. Whether you’re a seasoned photographer or someone just starting to experiment with photography, your smartphone can be a valuable companion for shooting beautiful photos on the go.
In this guide, we’ll explore how to use your smartphone to take stunning photos, providing actionable tips, techniques, and tricks that will elevate your smartphone photography game. Whether you’re shooting portraits, landscapes, or anything in between, these tips will help you capture images that truly stand out.
1. Understand Your Smartphone Camera’s Capabilities
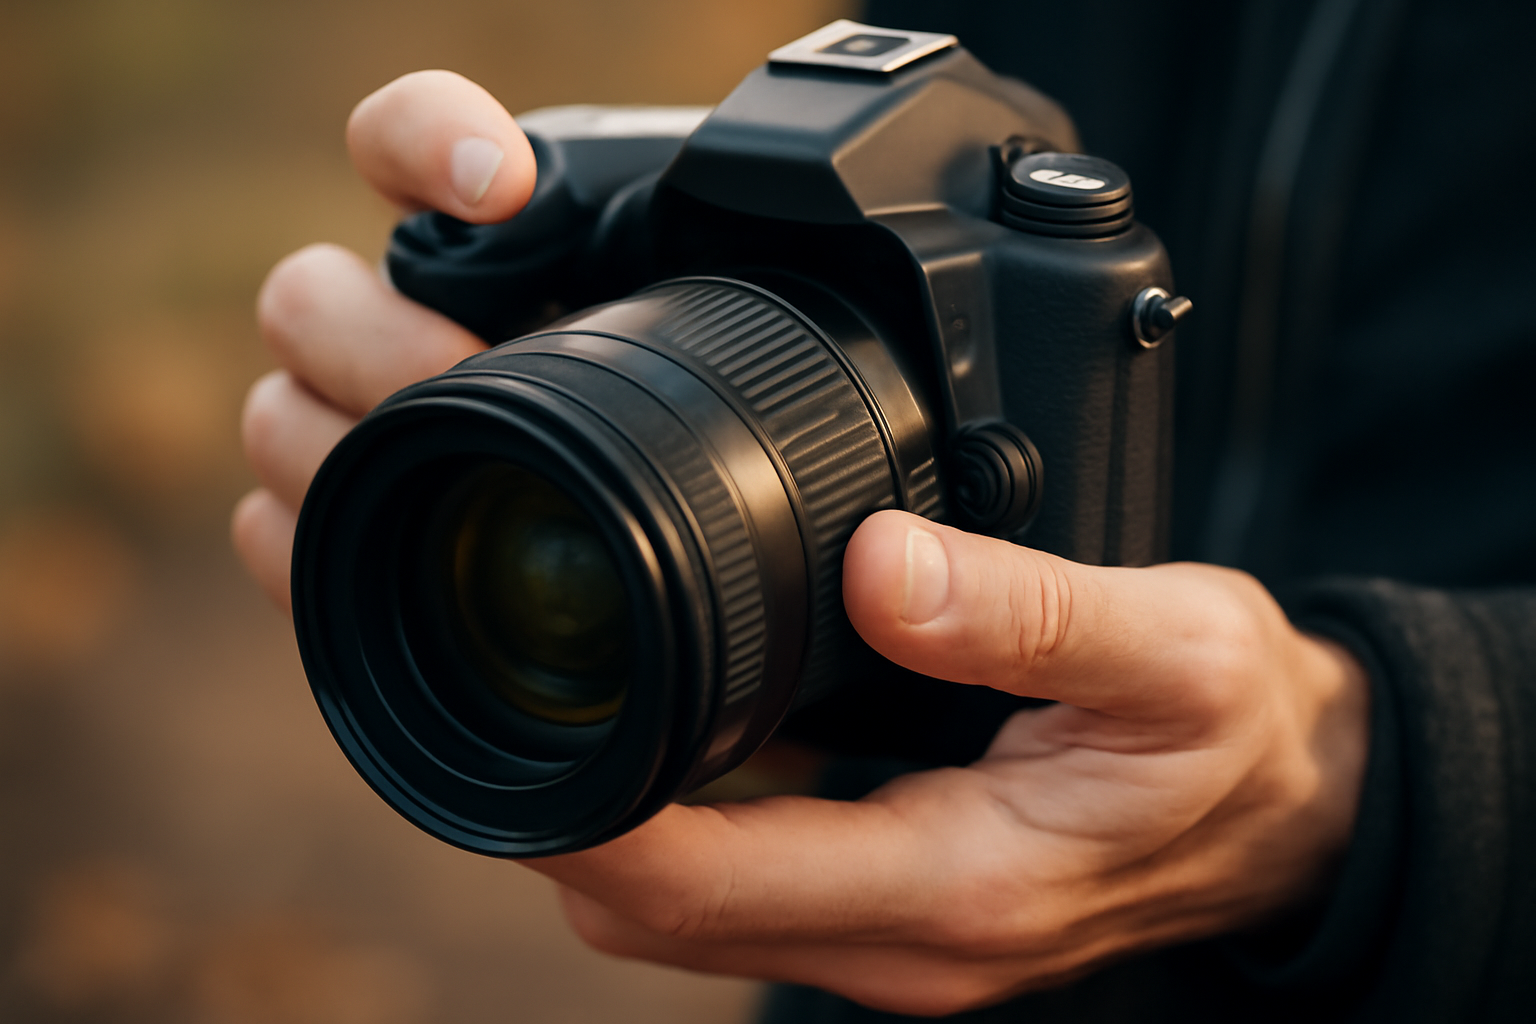
Before diving into photography tips, it’s essential to familiarize yourself with the features and settings of your smartphone’s camera. While most modern smartphones come with automatic settings, taking a moment to explore the camera’s manual settings can give you greater control over the final result.
Resolution and Megapixels
The number of megapixels (MP) in a camera determines the resolution of the image. While megapixels are important, they aren’t the only factor that affects image quality. A higher MP count gives you the ability to crop your photos without losing too much detail, but other factors, such as sensor size and lens quality, play just as significant a role.
- Practical Tip: Most smartphones nowadays come with a minimum of 12 MP, which is enough for social media and even larger prints. Focus more on learning how to work with light and composition rather than just chasing the highest MP count.
Camera Modes and Settings
Smartphone cameras often come equipped with different modes, such as portrait, landscape, night mode, and more. Many phones also feature manual settings, allowing you to control elements such as ISO, exposure, white balance, and shutter speed. These features can be incredibly useful when you want more creative control over your photos.
- Pro Tip: Take the time to explore your phone’s camera settings. Learn how to adjust ISO for low-light conditions, play with exposure compensation, and try manual focus for greater depth of field control.
2. Lighting: The Key to Beautiful Photos
Lighting is the most important element of photography. Without good lighting, even the best camera can produce dull, unappealing images. Smartphones may not have the same high-performance lenses as professional cameras, but they can still capture stunning photos if you understand how to make the most of available light.
Natural Light: Your Best Friend
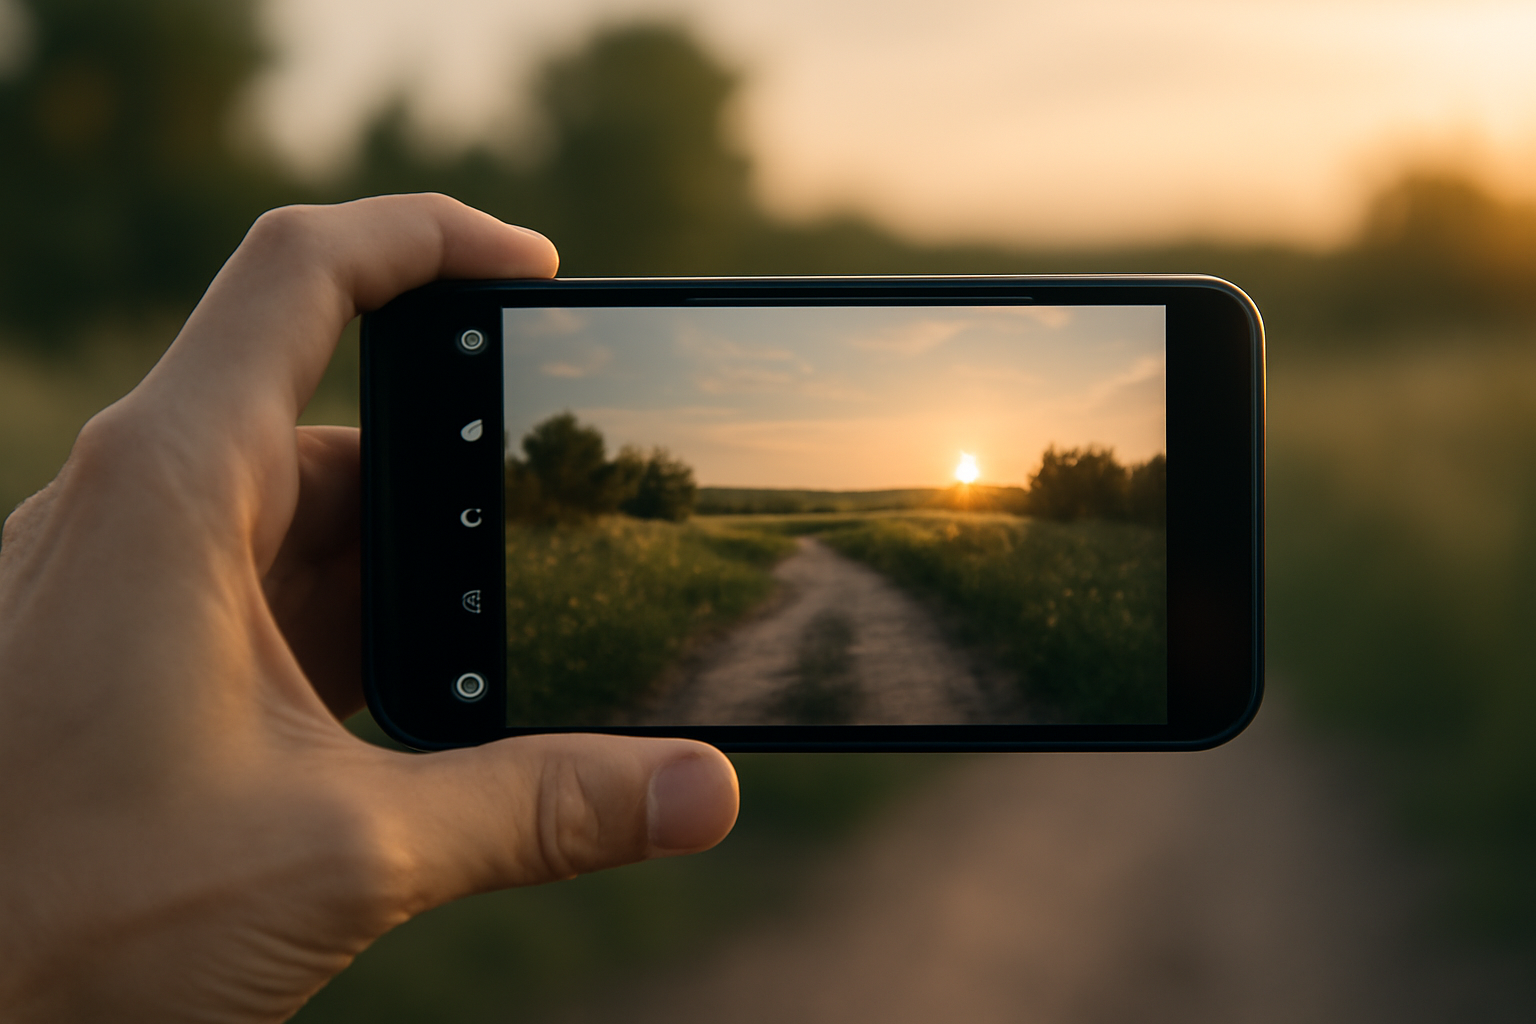
Natural light is often the best light source for smartphone photography. The soft, diffused light that comes from cloudy days or early mornings and late afternoons (golden hours) will make your photos look more vibrant and less harsh. The key is to position your subject so that it’s well-lit but not directly in harsh sunlight unless you’re looking for strong shadows.
- Pro Tip: Shoot near a window or outdoors during golden hour (the time shortly after sunrise or before sunset) for soft and flattering light. Avoid shooting under direct sunlight unless you want strong shadows, which can add drama to your photos.
Avoid Using the Flash
Using your smartphone’s built-in flash can often result in flat, overexposed photos. The harsh light can create unflattering shadows, especially in portraits. Whenever possible, try to avoid the flash and instead rely on natural or ambient light. If you absolutely must use artificial light, consider getting an external light source to soften the effect.
- Practical Tip: If you’re shooting indoors and need more light, consider using a portable LED light or a ring light. These lights provide soft, even illumination and will improve the overall quality of your photos.
3. Master Composition: Making Your Photos More Engaging
Composition is the art of arranging elements within the frame to create an aesthetically pleasing and balanced image. Great photos don’t just happen by chance—they’re carefully composed.
The Rule of Thirds
One of the most fundamental compositional techniques in photography is the rule of thirds. Imagine dividing your image into a 3×3 grid. Place your subject along these lines or at the intersections of these lines for a more balanced and dynamic shot. The rule of thirds helps avoid centering your subject and adds a sense of movement and flow to your images.
- Pro Tip: Most smartphones have a grid overlay in the camera app that will help you align your shots according to the rule of thirds.
Leading Lines
Leading lines are natural or man-made elements in your frame that guide the viewer’s eye toward the main subject of your photo. Roads, fences, rivers, or architectural lines can all act as leading lines to create depth and focus.
- Practical Tip: Look for paths, streets, or bridges that lead to your subject, especially when shooting landscapes or architecture. This will add a sense of scale and perspective to your photos.
Framing Your Subject
Another excellent compositional technique is framing your subject with surrounding elements. This can include doorways, windows, trees, or any object that can encircle or partially cover your subject. Framing helps draw the viewer’s attention directly to the subject and adds depth to the image.
- Pro Tip: When taking portrait photos, try framing the subject with objects like doorways, archways, or even shadows to make the subject stand out.
4. Focus and Depth of Field: Bringing Your Subject to Life
Depth of field refers to the area in your photo that is in focus. A shallow depth of field, where the background is blurred and the subject is sharp, can add a professional touch to your smartphone photos, making them look more polished and engaging.
Portrait Mode
Many smartphones come equipped with a portrait mode, which automatically blurs the background, mimicking the effect of a DSLR camera with a large aperture. This is perfect for isolating your subject and creating beautiful, soft bokeh (the blurred background).
- Pro Tip: When using portrait mode, ensure your subject is well-lit and in focus to get the best results. Avoid cluttered backgrounds, as they may distract from the subject.
Manual Focus and Adjusting Aperture
Some smartphones offer manual focus, allowing you to control which part of your scene is in sharp focus. If your phone doesn’t have manual focus, you can tap the screen to adjust focus on your desired subject. Additionally, experimenting with aperture settings (if available) will help you control how much of the scene is in focus.
- Practical Tip: To achieve a shallow depth of field with your smartphone, try getting closer to your subject and ensuring there’s some distance between the subject and the background.
5. Editing Your Photos: Enhancing and Refining Your Images
Once you’ve taken your photo, the next step is editing. With the right editing tools, you can enhance your photos and bring out their full potential. Smartphone apps like Adobe Lightroom, Snapseed, and VSCO offer professional-level editing features that allow you to adjust exposure, contrast, saturation, and sharpness.
Basic Adjustments
The first step in editing is usually making basic adjustments such as cropping, straightening, and adjusting exposure. A slight increase in exposure can help brighten your image, while lowering it can add mood and drama.
- Pro Tip: Use the histogram in your editing app to ensure your exposure is balanced, avoiding overly bright or dark areas.
Fine-Tuning the Colors
Next, you can adjust the colors to enhance the mood of your photo. Increasing the vibrance can make the colors pop without making them look unnatural, while tweaking the white balance can correct any color imbalances caused by the lighting.
- Practical Tip: Don’t go overboard with filters—subtlety is key. Aim for edits that enhance the photo while keeping it natural.
6. Using Accessories to Improve Your Shots
Smartphone photography can be further enhanced with the help of accessories. These tools can help you achieve more professional-looking photos with minimal effort.
External Lenses
Clip-on lenses can be attached to your smartphone’s camera to provide different perspectives, such as wide-angle, macro, or telephoto. These lenses are lightweight and portable, making them an excellent option for on-the-go photographers.
- Pro Tip: A macro lens is perfect for capturing small details such as flowers, insects, or textures. A wide-angle lens allows you to capture more of the scene, ideal for landscapes.
Tripods and Stabilizers
Even though smartphones are more portable than traditional cameras, stabilizing them is important to prevent shaky shots, especially in low-light conditions. A small tripod or a handheld stabilizer can improve the quality of your photos, ensuring sharper images and smoother video footage.
- Practical Tip: Use a tripod when shooting long-exposure shots or when capturing video to avoid camera shake. A stabilizer can also help achieve smooth footage while filming.
Conclusion: Capture the World Around You with Your Smartphone
Your smartphone camera is a powerful tool, and with the right techniques, you can take stunning photos that rival those of professional photographers. By understanding your phone’s camera settings, utilizing proper lighting, mastering composition, and making the most of editing tools and accessories, you can capture high-quality images with ease.
Whether you’re documenting everyday moments, shooting stunning landscapes, or capturing intimate portraits, the possibilities with your smartphone are endless. Remember, the most important part of photography is to practice, experiment, and have fun. So, the next time you’re out and about, make sure your phone is ready to capture the world around you!