For many photographers, flash is one of the most intimidating tools. Beginners often imagine that using an external flash will make their photos look harsh, artificial, or “overlit.” You’ve probably seen those images — subjects washed out, red eyes glowing, shadows harshly cast against walls. But when used properly, an external flash can completely transform your photography. It gives you control over light, helps you shoot in challenging conditions, and opens creative possibilities that natural light alone can’t always provide.
The key is not just owning a flash but knowing how to use it well. This guide will walk you through everything you need to know — from the basics of equipment to techniques that make your flash look natural, flattering, and professional.
Why Use an External Flash?
You might wonder why you need a flash at all when cameras today perform so well in low light. The answer is simple: control.
Benefits include:
- Consistency: Natural light changes constantly, but flash provides stability.
- Flexibility: You can shoot indoors, at night, or in mixed lighting without compromise.
- Creative options: From dramatic lighting effects to subtle fill, a flash gives you more tools.
- Sharper images: A flash helps freeze motion and reduce blur in low-light conditions.
Think of flash not as a last resort, but as an artistic choice.
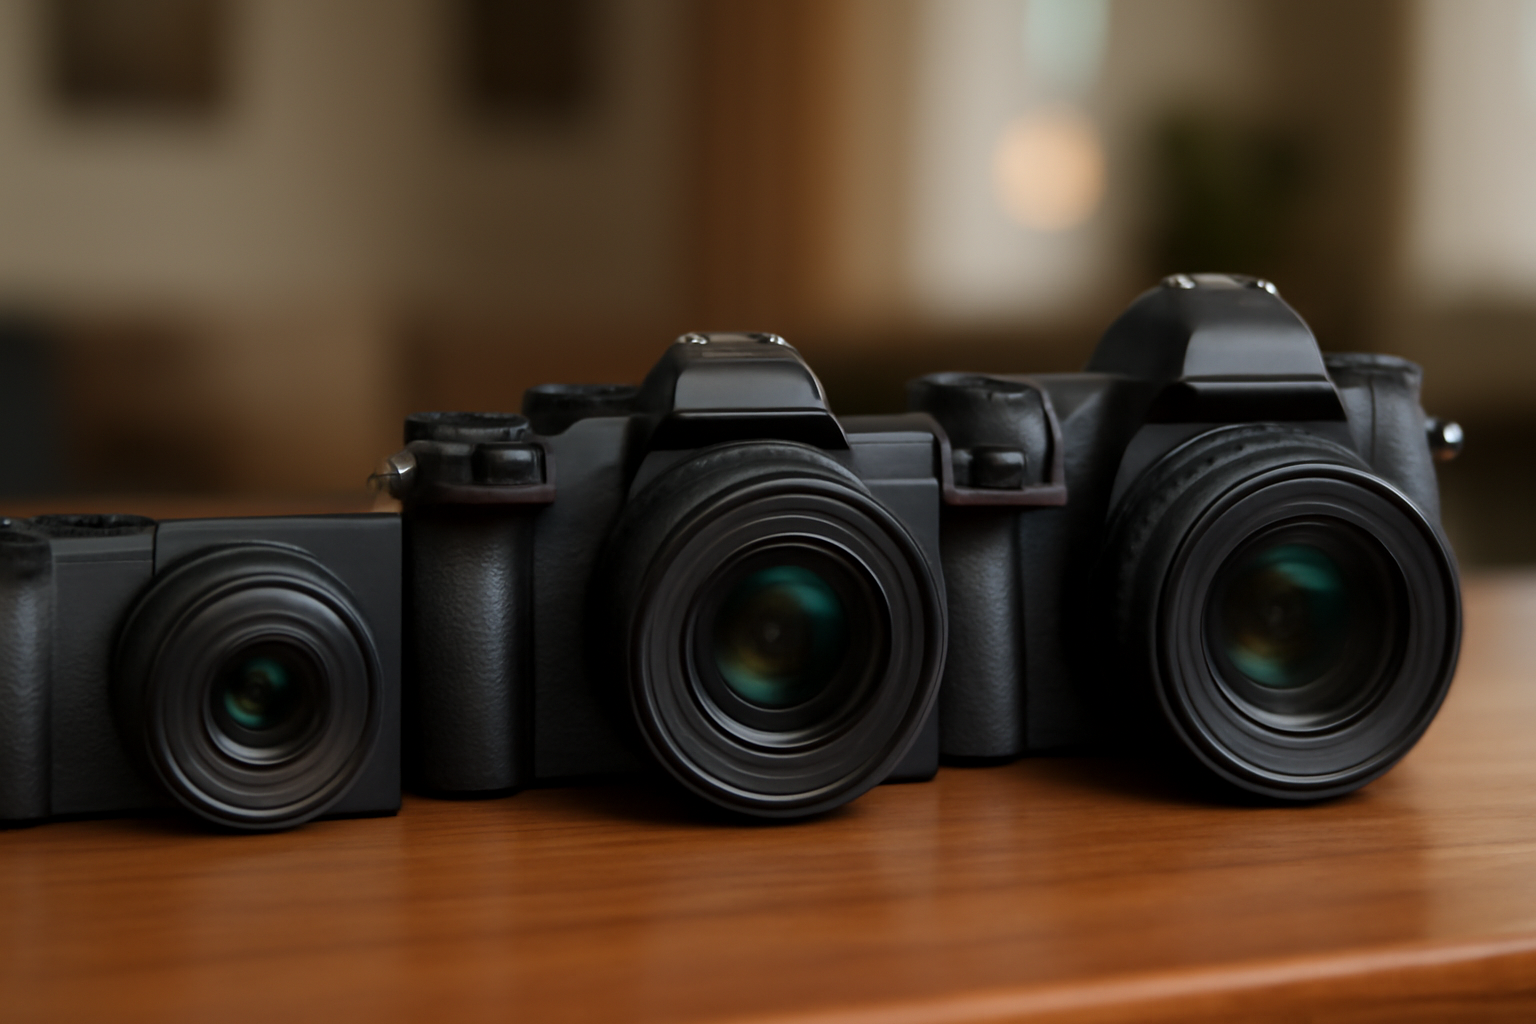
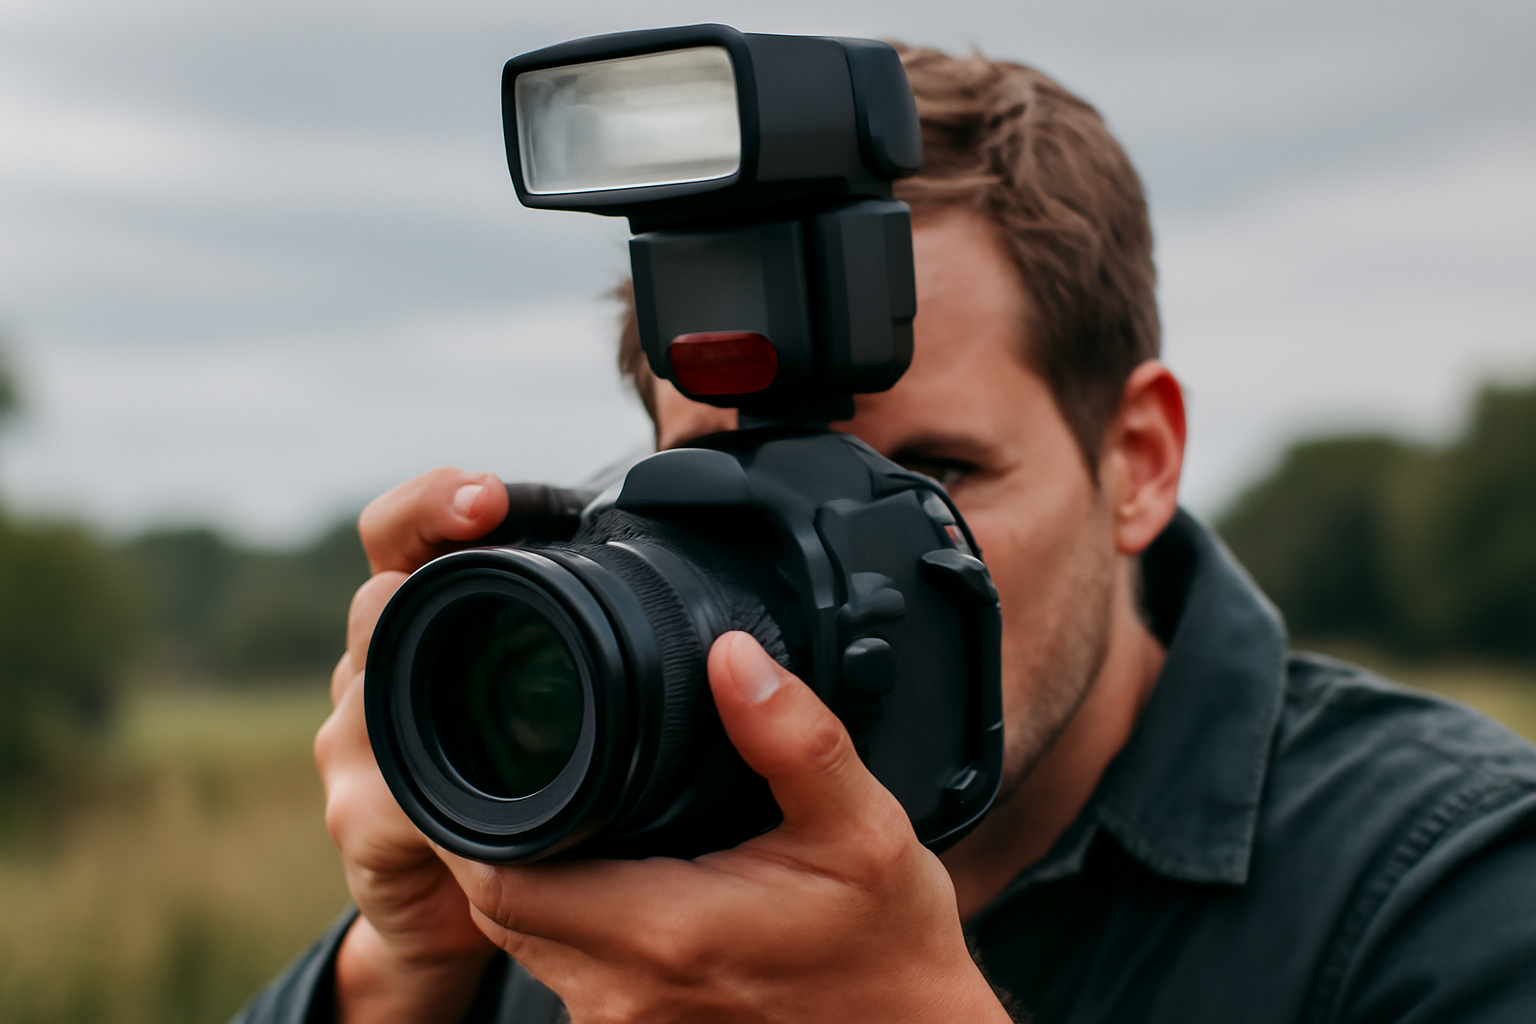
Step 1: Get to Know Your Flash
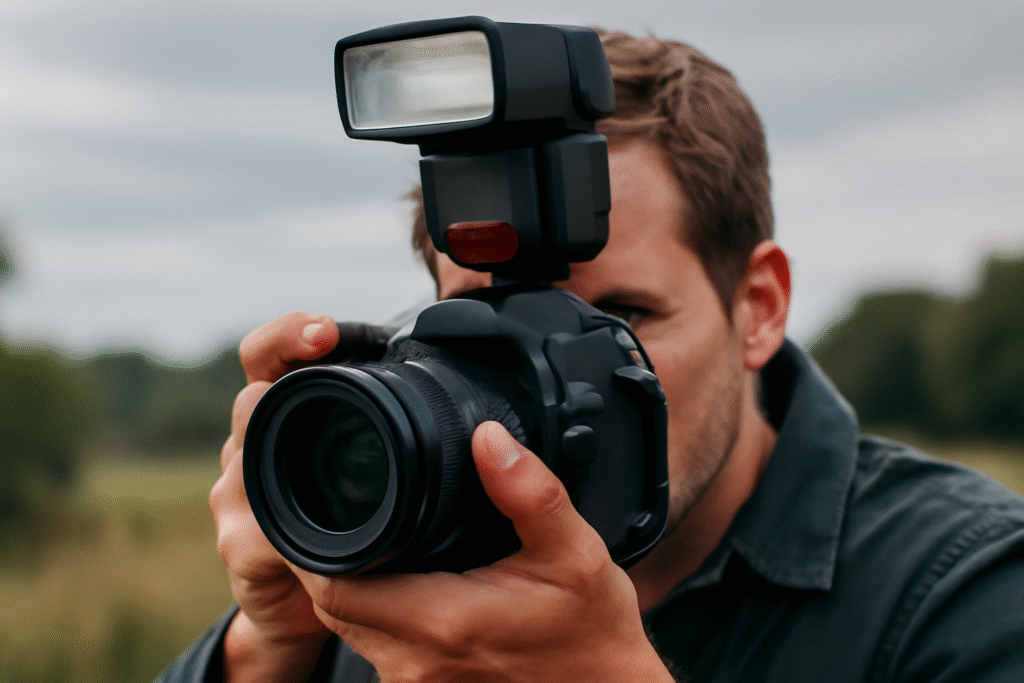
An external flash is often called a “speedlight” (for on-camera units) or a “strobe” (for larger studio lights). Unlike your camera’s built-in pop-up flash, external flashes are more powerful, flexible, and adjustable.
Key parts:
- Flash head: The part that emits the light, usually rotatable and tiltable.
- Hot shoe: The connector that mounts the flash to your camera.
- Controls: Buttons or screens that let you adjust power, mode, and zoom.
- Diffuser panel and bounce card: Often built-in to soften light or redirect it.
Spend time exploring these controls before your first shoot. Familiarity will make everything easier.
Step 2: Understand Flash Modes
Flashes can operate in different modes, and choosing the right one is essential.
- TTL (Through the Lens): The camera calculates flash power automatically based on your exposure. Great for beginners and fast-paced environments.
- Manual: You set the flash power yourself, often expressed as fractions (1/1 for full power, 1/2, 1/4, etc.). Ideal for consistent results and creative control.
- Multi/Stroboscopic: Fires multiple times during one exposure, useful for creative effects.
Start with TTL, then practice manual once you’re comfortable. Manual control may feel slower at first, but it teaches you how light behaves.
Step 3: Learn to Bounce the Flash
Direct flash pointed at your subject is rarely flattering. It creates flat, harsh light and strong shadows. Instead, bounce the flash.
How to bounce:
- Tilt the flash head upward toward the ceiling.
- Angle it toward a nearby wall.
- Use white or neutral-colored surfaces for the cleanest results.
Bouncing diffuses the light, spreading it out and softening shadows. It’s one of the simplest yet most powerful flash techniques.
Pro tip: Avoid bouncing off colored walls — they can cast unwanted tints onto your subject.
Step 4: Diffuse the Light
When bouncing isn’t an option, diffusion is your best friend. A diffuser softens the light by spreading it out.
Options include:
- Clip-on plastic diffusers (often included with your flash).
- Small softboxes designed for speedlights.
- DIY solutions like white plastic containers or tissue paper.
Even a simple diffuser dramatically improves the quality of light, making it look more natural.
Step 5: Control Flash Power
Learning to adjust flash power is crucial. Too much power makes your subject look blown out. Too little leaves them underexposed.
General guideline:
- Start with 1/16 or 1/8 power for indoor portraits.
- Increase as needed in larger spaces or outdoors.
- Remember that flash exposure is influenced by distance — the closer your subject, the less power you need.
Practice adjusting in small increments and reviewing the results. Soon it will become intuitive.
Step 6: Balance Flash with Ambient Light
One mistake beginners make is letting the flash completely overpower the existing light, making photos look artificial. Instead, learn to balance flash with ambient light.
Steps:
- Expose for the background first — set your ISO, shutter speed, and aperture for the ambient environment.
- Add flash to illuminate your subject without overpowering the scene.
This balance creates images that look natural, as though your subject belongs in the environment rather than pasted on top of it.
Step 7: Master Fill Flash
Fill flash is one of the most underrated techniques. It’s not about lighting the whole scene but gently brightening shadows.
When to use fill flash:
- Shooting portraits outdoors on a sunny day when shadows fall across the face.
- Backlit situations where the subject’s face is darker than the background.
- Any time you want to add catchlights (sparkle) in the eyes.
Keep the flash power low — just enough to lift shadows without being obvious.
Step 8: Experiment with Off-Camera Flash
Mounting your flash on the camera limits your creativity. Off-camera flash opens up a whole new world.
How to do it:
- Use wireless triggers or your camera’s built-in wireless system.
- Place the flash to the side, above, or behind your subject.
Off-camera flash gives you control over direction, allowing for dramatic side-lighting, rim lighting, or even backlighting.
Even one off-camera flash can mimic studio-style lighting when used thoughtfully.
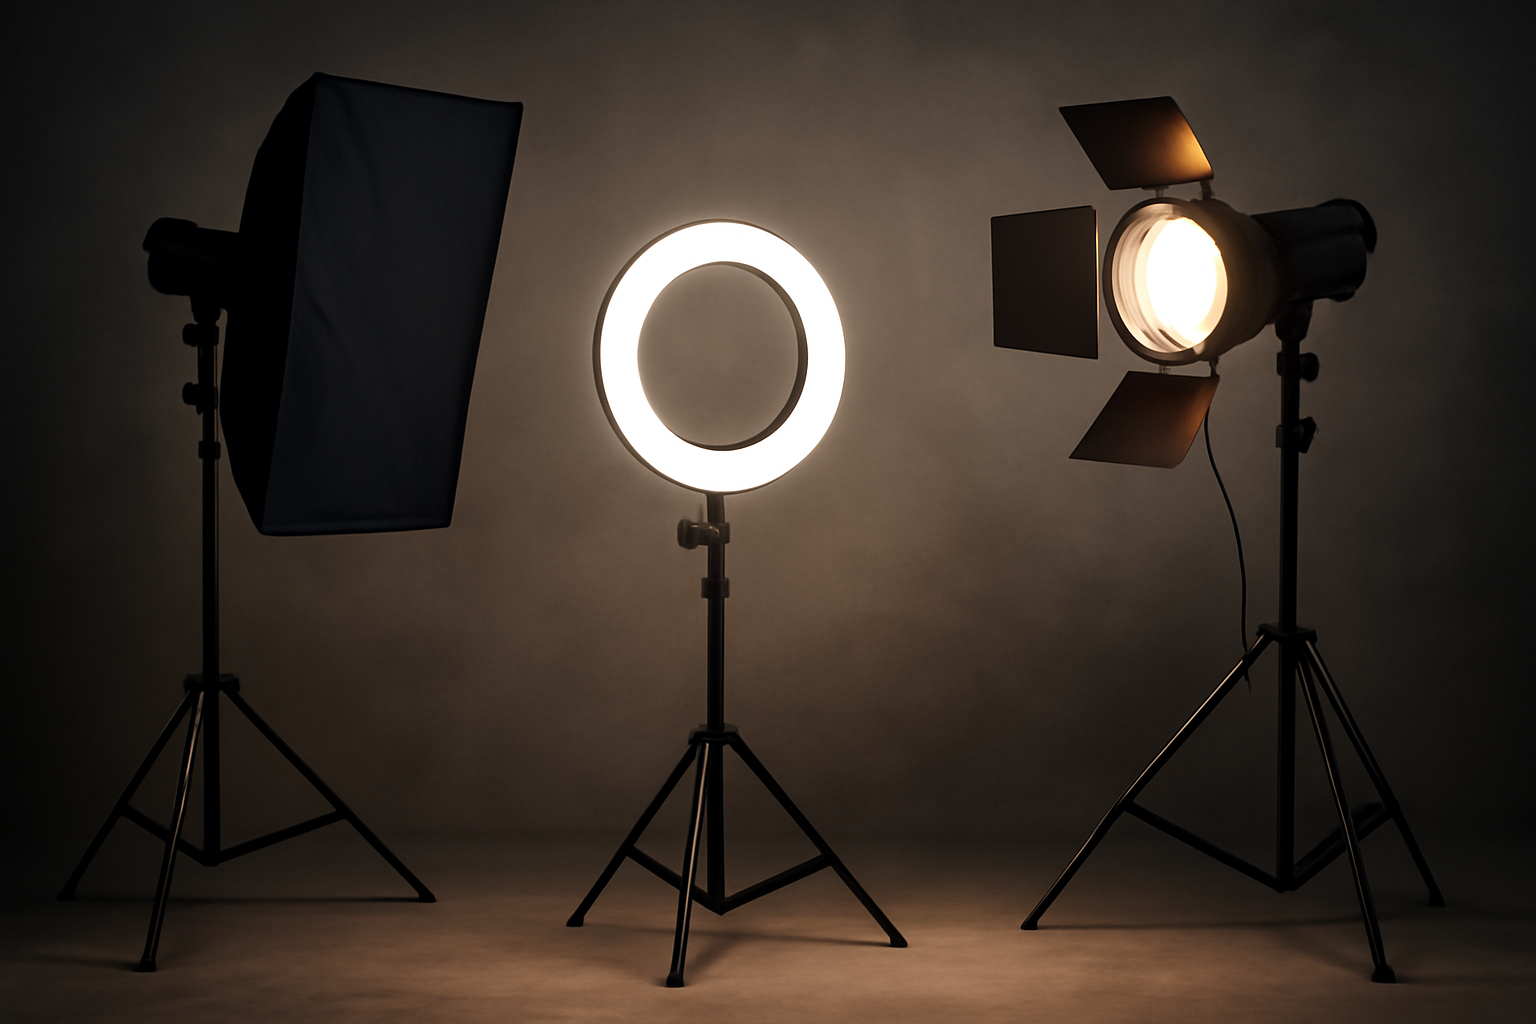
Step 9: Shape Light with Modifiers
Modifiers change the character of your flash, making it softer, harsher, or more directional.
Popular modifiers:
- Umbrellas: Inexpensive and great for soft, wide light.
- Softboxes: More controlled than umbrellas, ideal for portraits.
- Grids: Focus the light into a narrow beam, useful for dramatic effects.
- Gels: Colored filters that let you match or contrast with ambient light.
Experiment with modifiers to discover what fits your style.
Step 10: Use Flash Creatively
Flash isn’t just for exposure problems — it’s a creative tool.
Ideas to try:
- Freeze motion with high-speed sync.
- Use gels to add color and mood.
- Backlight your subject for a glowing rim of light.
- Mix flash with long exposures for light trails.
Don’t think of flash as technical only. Think of it as artistic.
Step 11: Practice Indoors and Outdoors
Indoors, flash gives you control where natural light is scarce. Outdoors, flash helps you fight harsh sunlight or add drama.
Indoors tips: Bounce off ceilings or walls whenever possible.
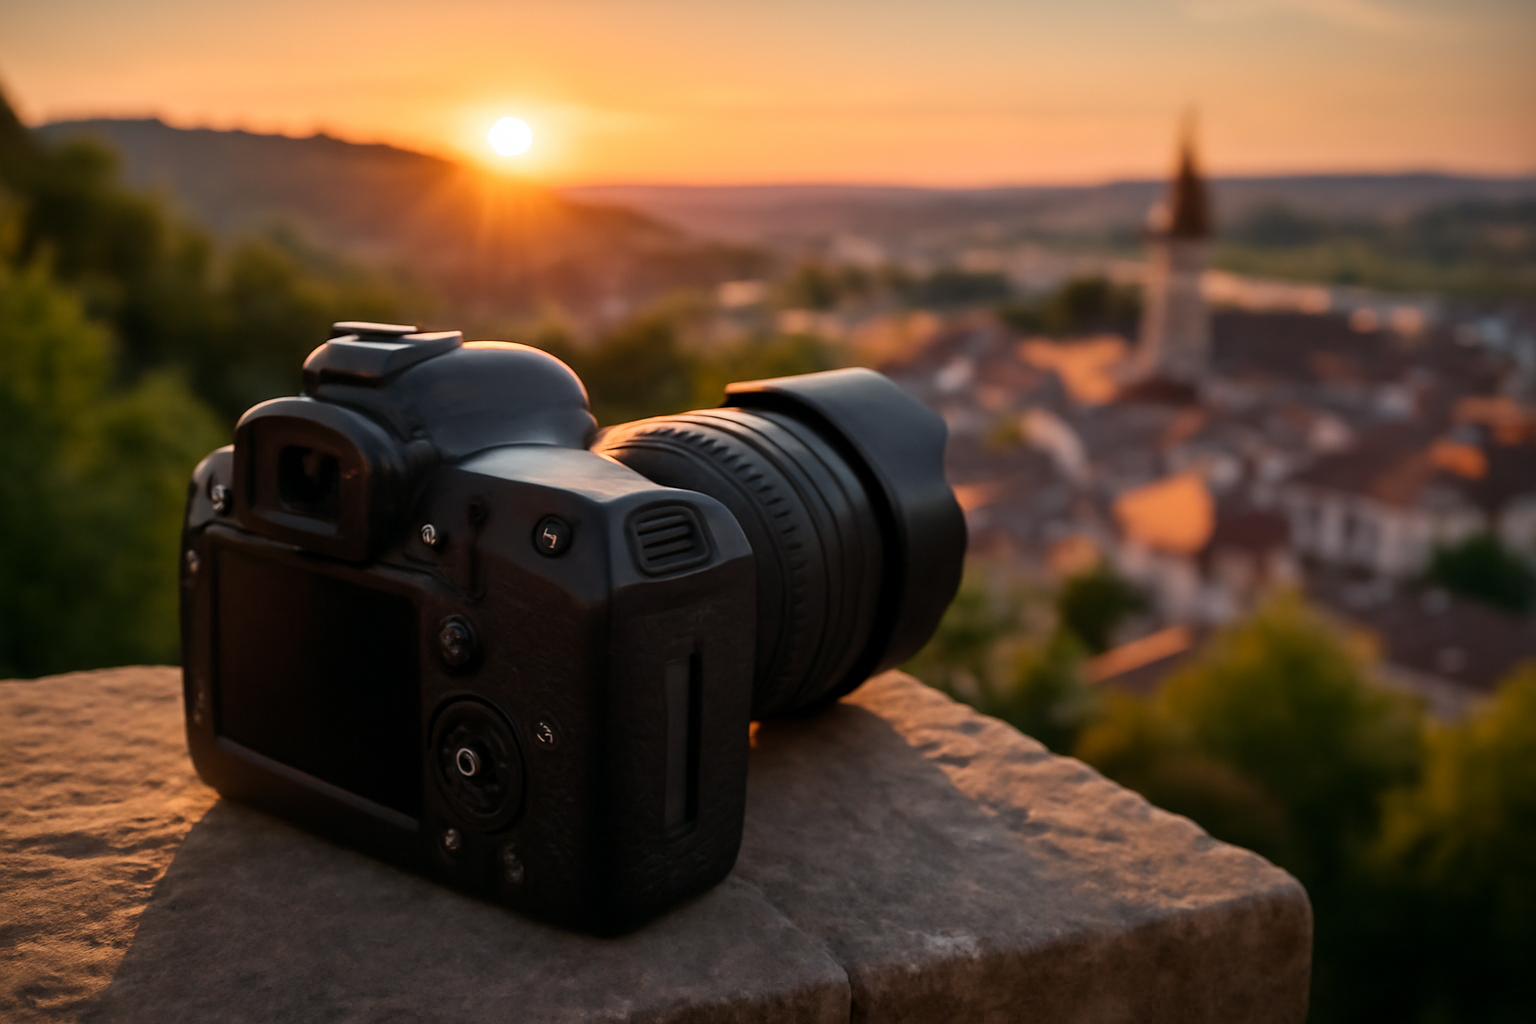
Outdoors tips: Use flash as fill, especially during midday sun, or to light your subject against a sunset.
The more environments you practice in, the more comfortable you’ll become.
Step 12: Avoid Common Mistakes
Beginners often stumble with flash. Here are pitfalls to watch for:
- Direct frontal flash: Creates harsh light and red-eye.
- Overpowering the ambient: Makes images look fake.
- Ignoring distance: Flash intensity drops quickly the farther you move from the subject.
- Not checking results: Always review and adjust on the spot.
Awareness of these mistakes is half the battle.
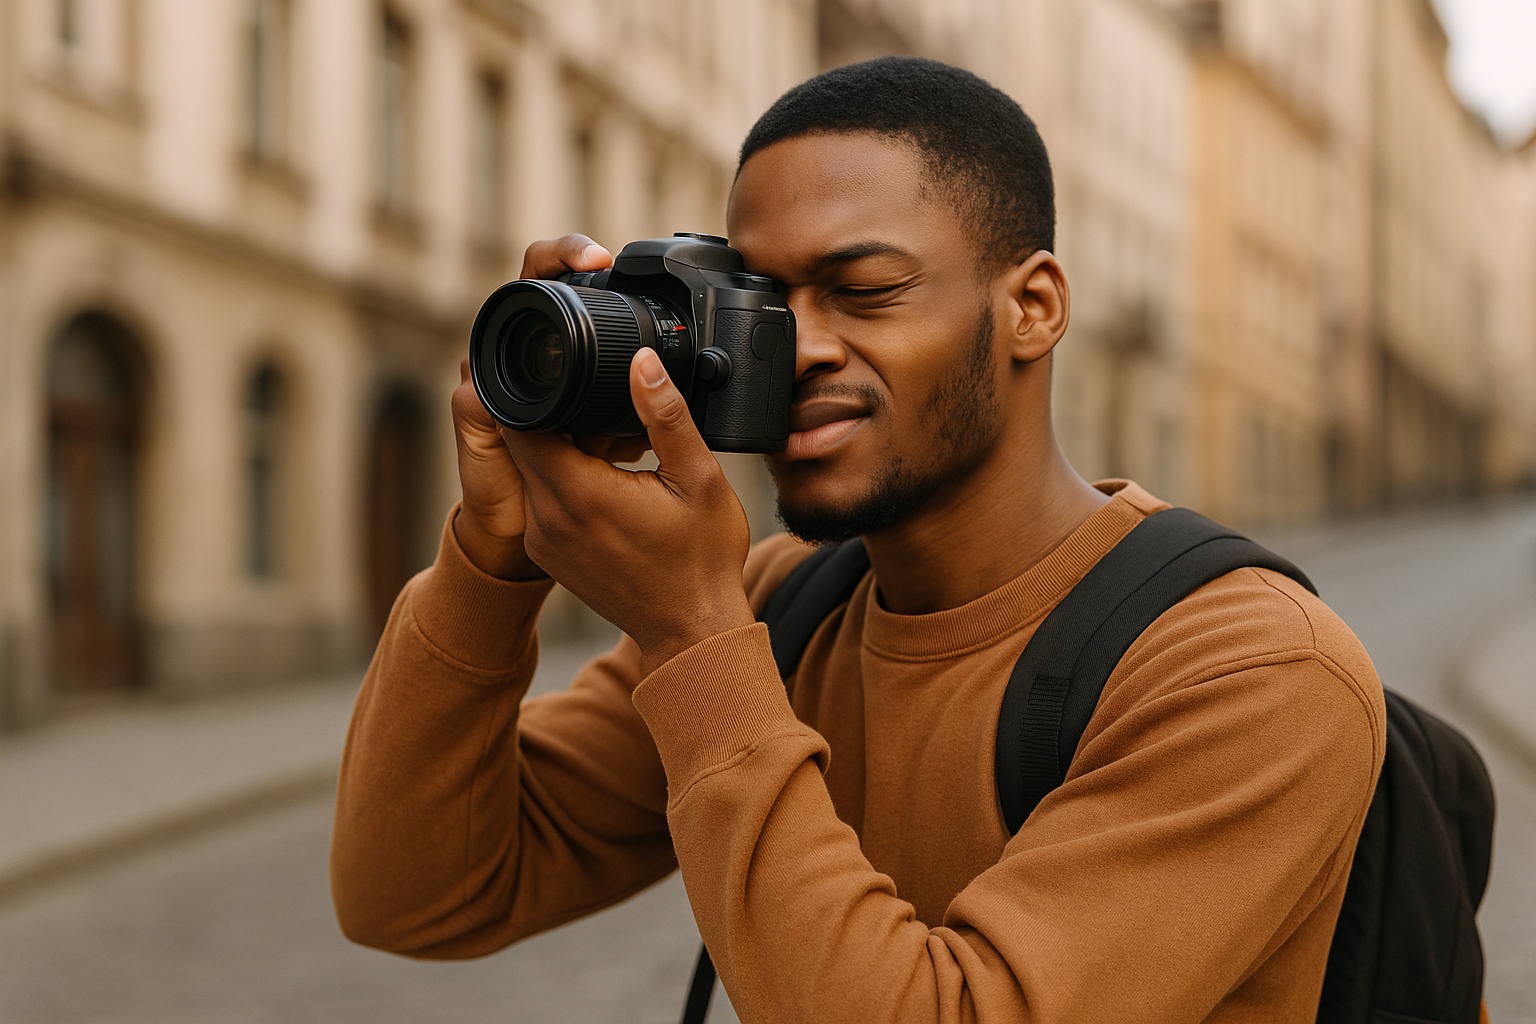
Practice With Real-Life Scenarios
It’s one thing to experiment with flash on a still object in your living room, but the real test comes when you apply those skills in real situations. Take your flash to a family gathering, a friend’s birthday, or even a casual photo walk at night. These environments give you unpredictable conditions — moving subjects, mixed light sources, and limited time to adjust settings.
Each scenario forces you to react quickly and think creatively. Over time, you’ll become more confident and less reliant on trial and error.
Learn to Mix Flash With Different Light Sources
A challenge many photographers face is balancing flash with existing artificial light, such as tungsten lamps or fluorescent bulbs. These lights often create color casts that don’t match your flash.
Solutions:
- Use gels on your flash to match the color temperature of the room lights.
- Adjust your camera’s white balance to blend the sources more naturally.
- Embrace the contrast — sometimes mixing warm and cool tones creates a cinematic feel.
This skill is invaluable for event photography, where you rarely control the environment.
Build a System of Experimentation
The best way to master flash is to treat it as a playground. Create small projects, like “shooting portraits using only one flash and one reflector,” or “making three different moods with the same subject by changing light angles.”
By setting mini-challenges, you’ll not only build technical mastery but also spark creativity. A single flash can look endless different ways depending on how you use it.
Learn From Professionals
Finally, study how experienced photographers use flash. Watch behind-the-scenes videos, read interviews, or observe lighting diagrams in photography books. You’ll notice a common theme: professionals rarely use flash straight on. They shape, diffuse, bounce, and balance it — always treating light as part of the story.
Learning from others shortens your path, but remember: true mastery comes when you experiment for yourself.
Bonus: Build Confidence Through Repetition
Like any skill, flash photography requires practice. Start small. Photograph everyday objects with your flash at different angles, powers, and modifiers. Compare results and take notes.
Repetition builds instinct. Soon you’ll know exactly how to position your flash without overthinking.
Bonus: When to Invest in More Gear
One flash is plenty for a long time. But if you fall in love with flash photography, you may eventually want:
- A second flash for multi-light setups.
- A set of wireless triggers for more reliability.
- Larger modifiers for softer light.
- Strobes for bigger projects or studio setups.
Invest gradually. Focus on mastering technique before expanding your kit.
Final Thoughts: Making Flash Your Friend
An external flash doesn’t have to be intimidating. When used with intention, it becomes one of the most versatile tools in your photography arsenal. It gives you the power to create light when there is none, shape it to your vision, and elevate your images beyond what natural light alone can offer.
The secret is simple: don’t fear the flash. Learn it, practice it, and use it creatively. With time, you’ll discover that what once seemed technical and scary is actually your ticket to more professional, more expressive, and more memorable photographs.