First impressions matter — and in today’s digital world, your first impression often happens online. Before recruiters read your résumé or explore your LinkedIn profile, their eyes go straight to your photo. A professional image signals competence, approachability, and confidence. A poor photo, on the other hand, can unintentionally create doubt, no matter how strong your skills and experience are.
The good news? You don’t need an expensive studio or a professional photographer to get a great résumé or LinkedIn headshot. With preparation, awareness, and a few simple techniques, you can create a photo that captures your personality and professionalism.
Why Your Photo Matters More Than You Think
Studies show that profiles with photos receive significantly more views and engagement. Recruiters, clients, and potential employers are more likely to trust and remember someone with a clear, professional image.
Your photo isn’t just decoration — it’s part of your personal brand. It communicates professionalism, personality, and attention to detail. It’s not about looking perfect. It’s about looking like the best, most authentic version of yourself.
Step 1: Define the Right Tone for Your Industry
Different industries have different expectations. A lawyer’s photo should look more formal than a graphic designer’s. Before taking your headshot, think about your field and audience.
Examples:
- Corporate roles (finance, law, consulting): Classic suit, neutral background, serious but approachable expression.
- Creative fields (design, marketing, media): Business casual or creative outfits, colorful or textured backgrounds, warm expression.
- Tech and startups: Polished but less formal — think collared shirt without a tie, or smart casual with a friendly vibe.
Research LinkedIn profiles of professionals in your target role or company. Aim to match or slightly elevate the standard.
Step 2: Choose the Right Outfit
Your clothing should complement your role and not distract from your face.
Tips:
- Stick to solid colors. Patterns and logos can be distracting.
- Choose colors that contrast with your background.
- Avoid bright white if shooting against a white wall.
- Darker tones often look polished, but add a pop of color if it suits your personality.
- Make sure your clothes are clean, pressed, and fit well.
For most cases, a blazer or collared shirt works perfectly. Accessories should be minimal — less is more.
Step 3: Grooming and Preparation
Small details can elevate or ruin a photo.
- Hair: Neat and styled, even if casually.
- Skin: Natural makeup or none at all. Use powder to reduce shine if possible.
- Glasses: Clean lenses and avoid frames that cast shadows.
- Beard: Trim or shave for a clean look.
- Rest: A good night’s sleep helps reduce dark circles and tension.
Think of your preparation as similar to preparing for an interview.
Step 4: Select the Right Background
The background should be simple and professional.
Options:
- A plain wall (white, gray, or neutral).
- An office-like setting with blurred depth of field.
- Outdoor backgrounds with greenery or soft tones — as long as it doesn’t overpower you.
Avoid clutter, messy rooms, or overly dramatic settings. The focus should always remain on you.
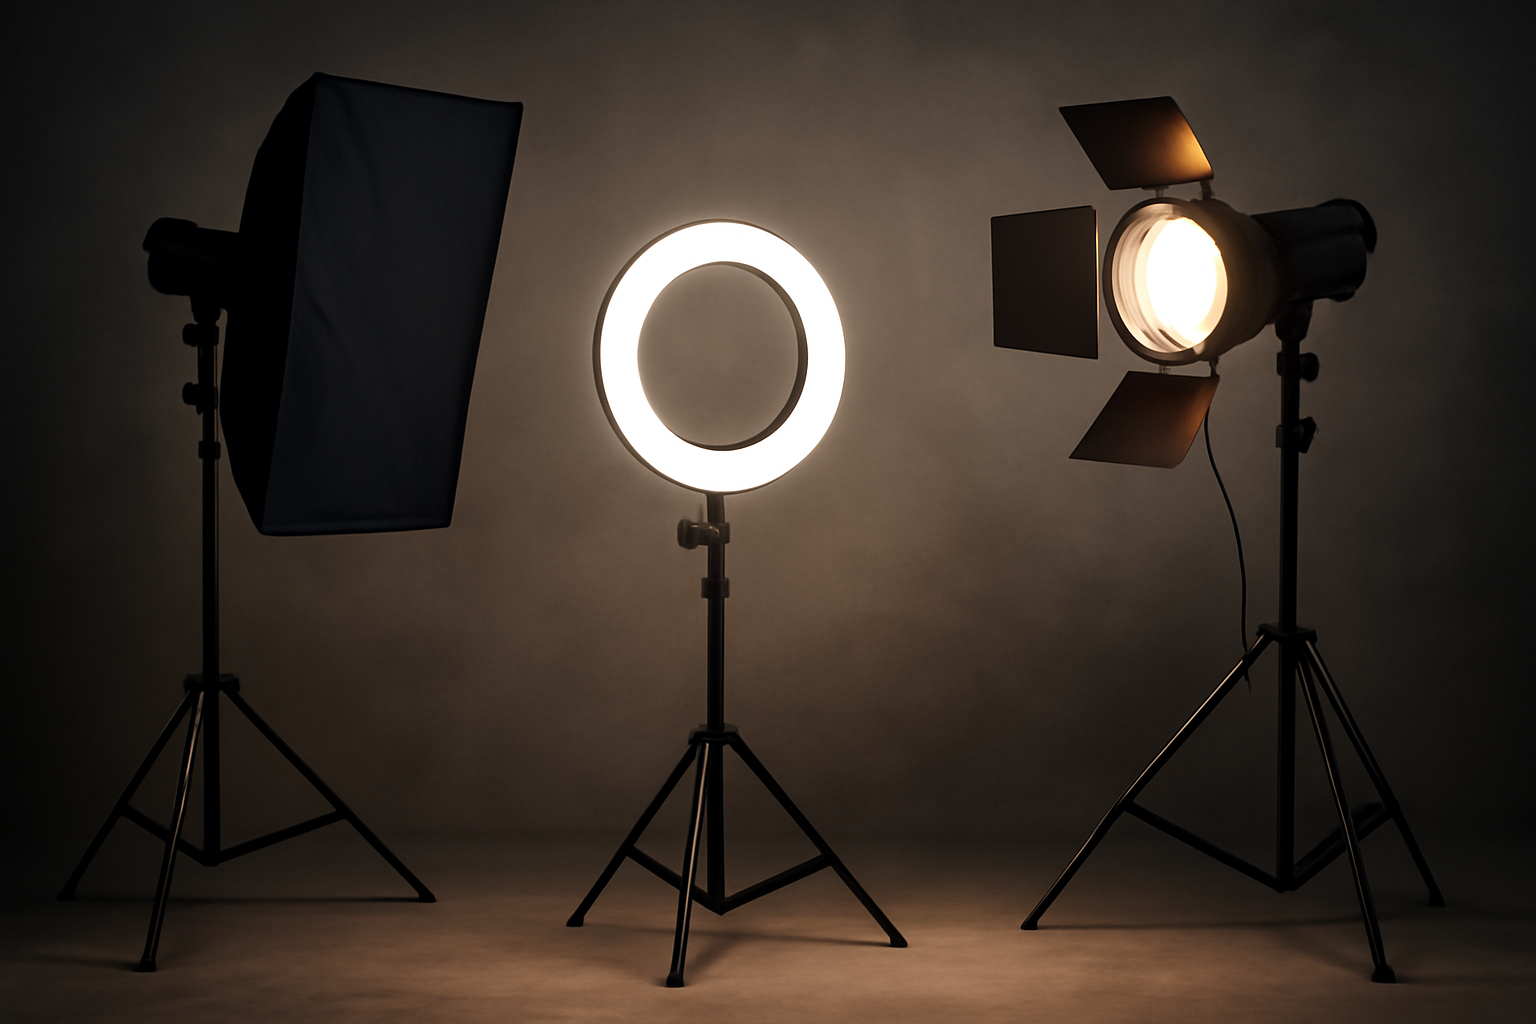
Step 5: Master the Lighting
Lighting is the most important technical factor. Bad lighting can make you look tired, harsh, or unprofessional.
Best option: natural light. Face a large window for soft, even illumination. Avoid direct sunlight, which creates harsh shadows. If outdoors, shoot in the shade or during golden hour.
Artificial light works too, especially with ring lights or softboxes. Position the light in front of you at eye level for flattering results.
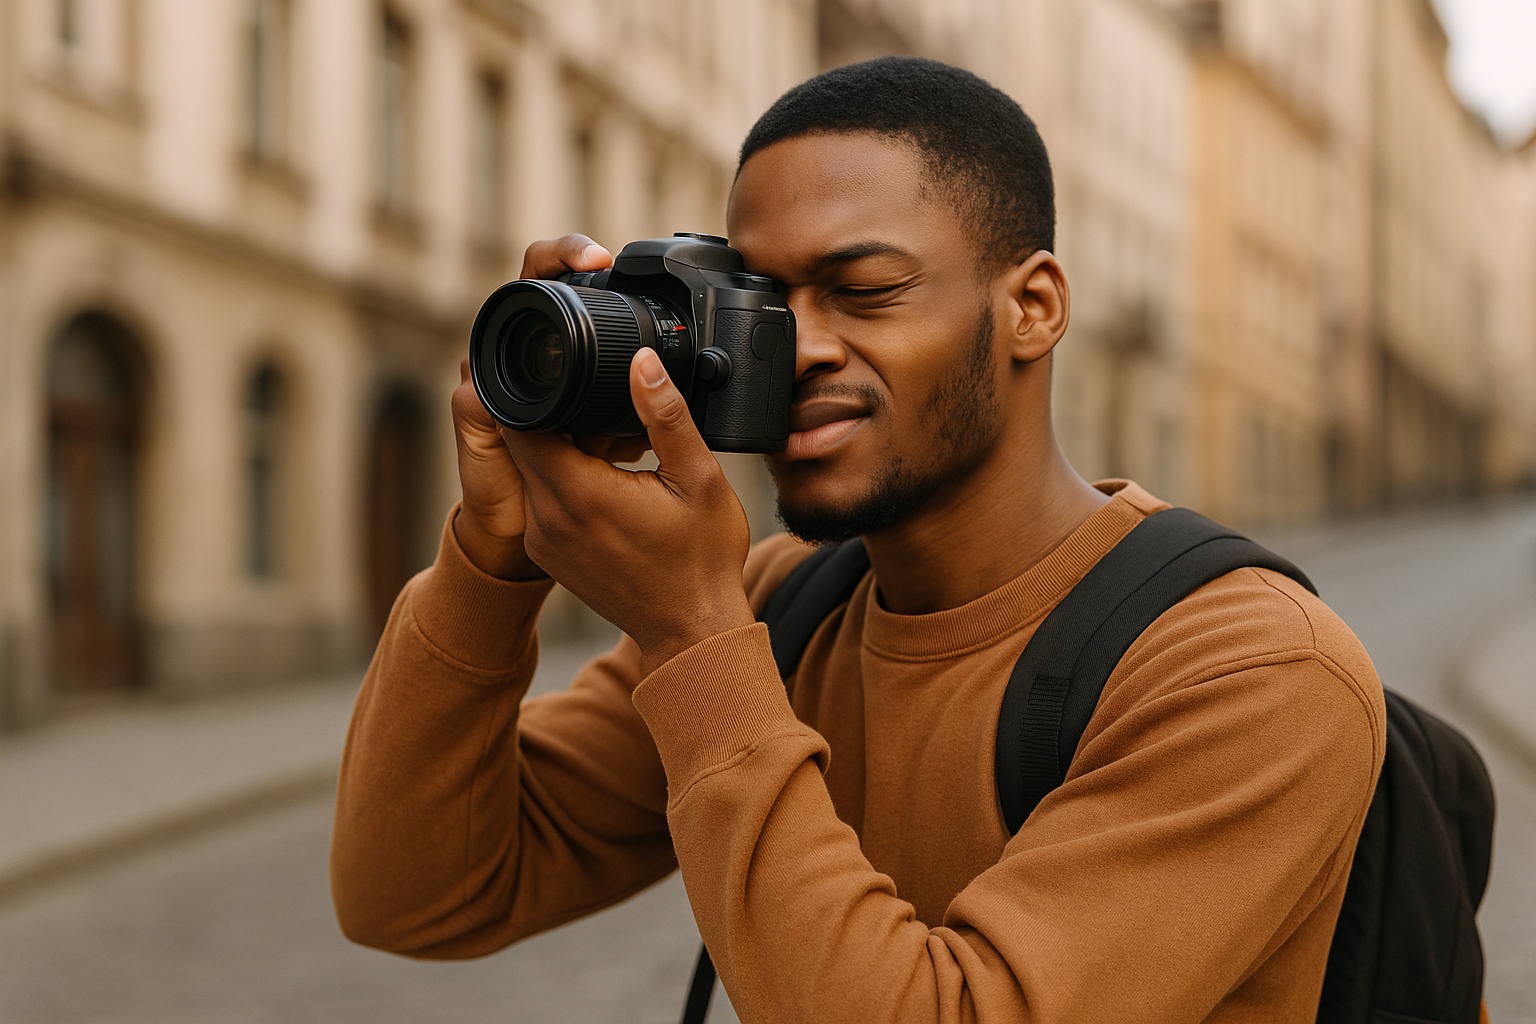
Step 6: Choose the Right Angle and Framing
Headshots are about your face and expression, not your entire body.
Guidelines:
- Frame from chest or shoulders up.
- Keep the camera at eye level.
- Avoid extreme angles (from above or below).
- Leave a little space above your head for balance.
Slightly turning your shoulders instead of facing the camera straight on creates a natural, dynamic look.
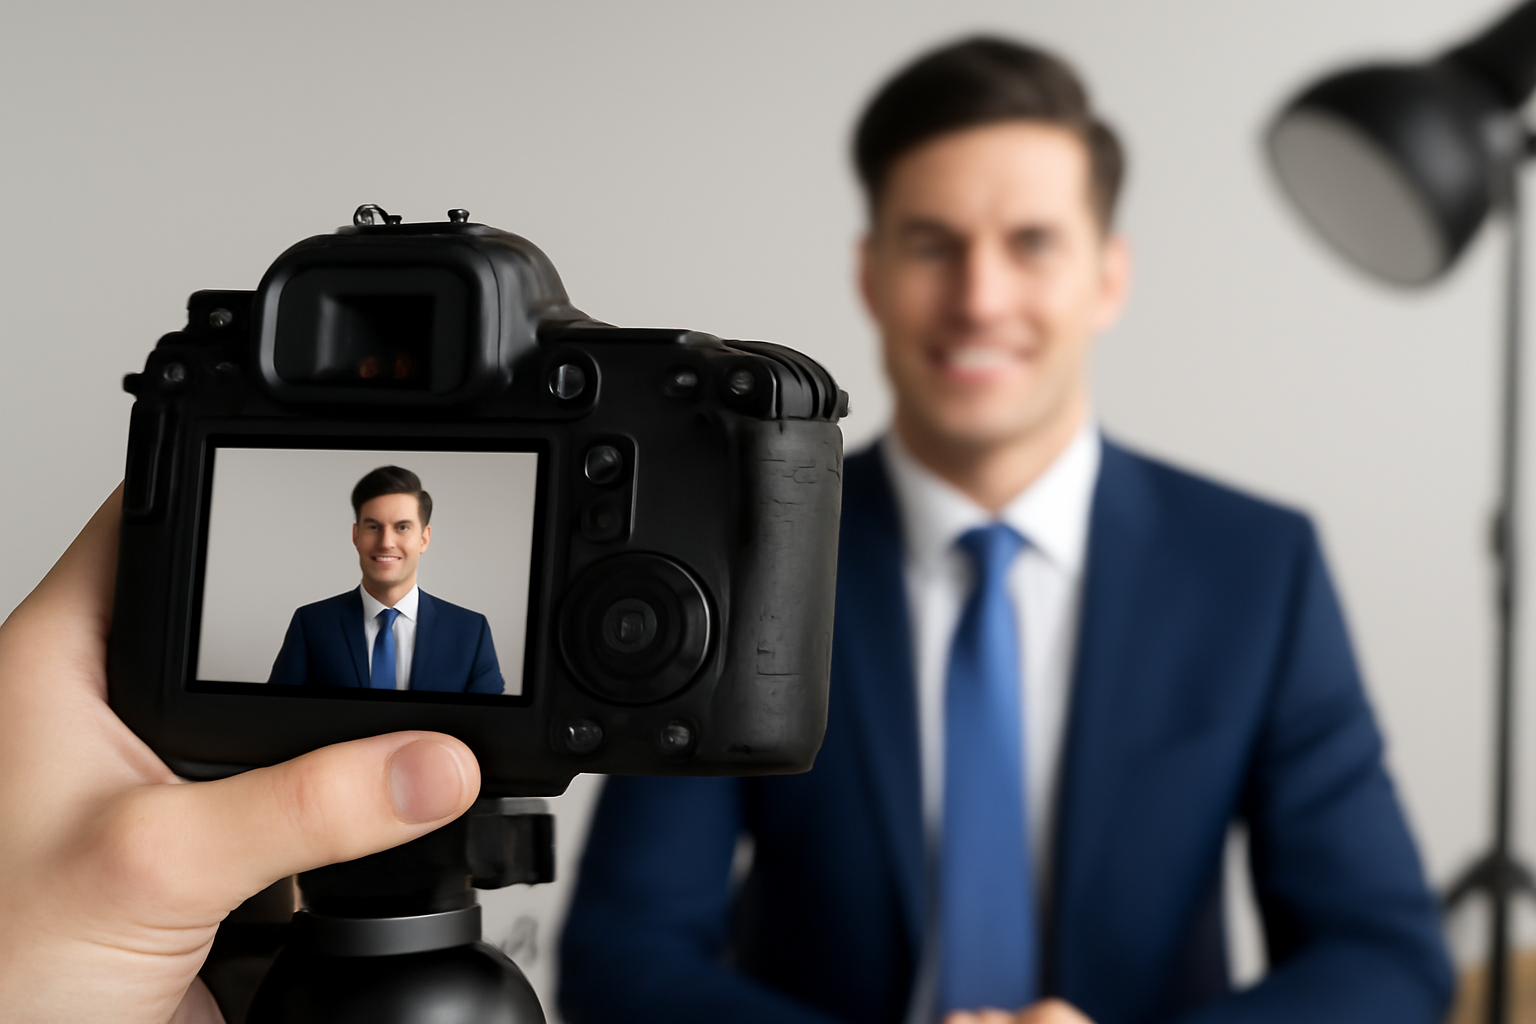
Step 7: Focus on Expression
Your expression should reflect professionalism and approachability. A stiff or overly serious look can create distance, while a casual grin might feel unprofessional in formal industries.
Tips:
- Practice in a mirror to find your most natural smile.
- Think of something positive before the photo — genuine emotions show.
- Aim for “friendly confidence”: approachable, but not casual.
Remember: People hire people they feel they can trust. Your expression should build that trust.
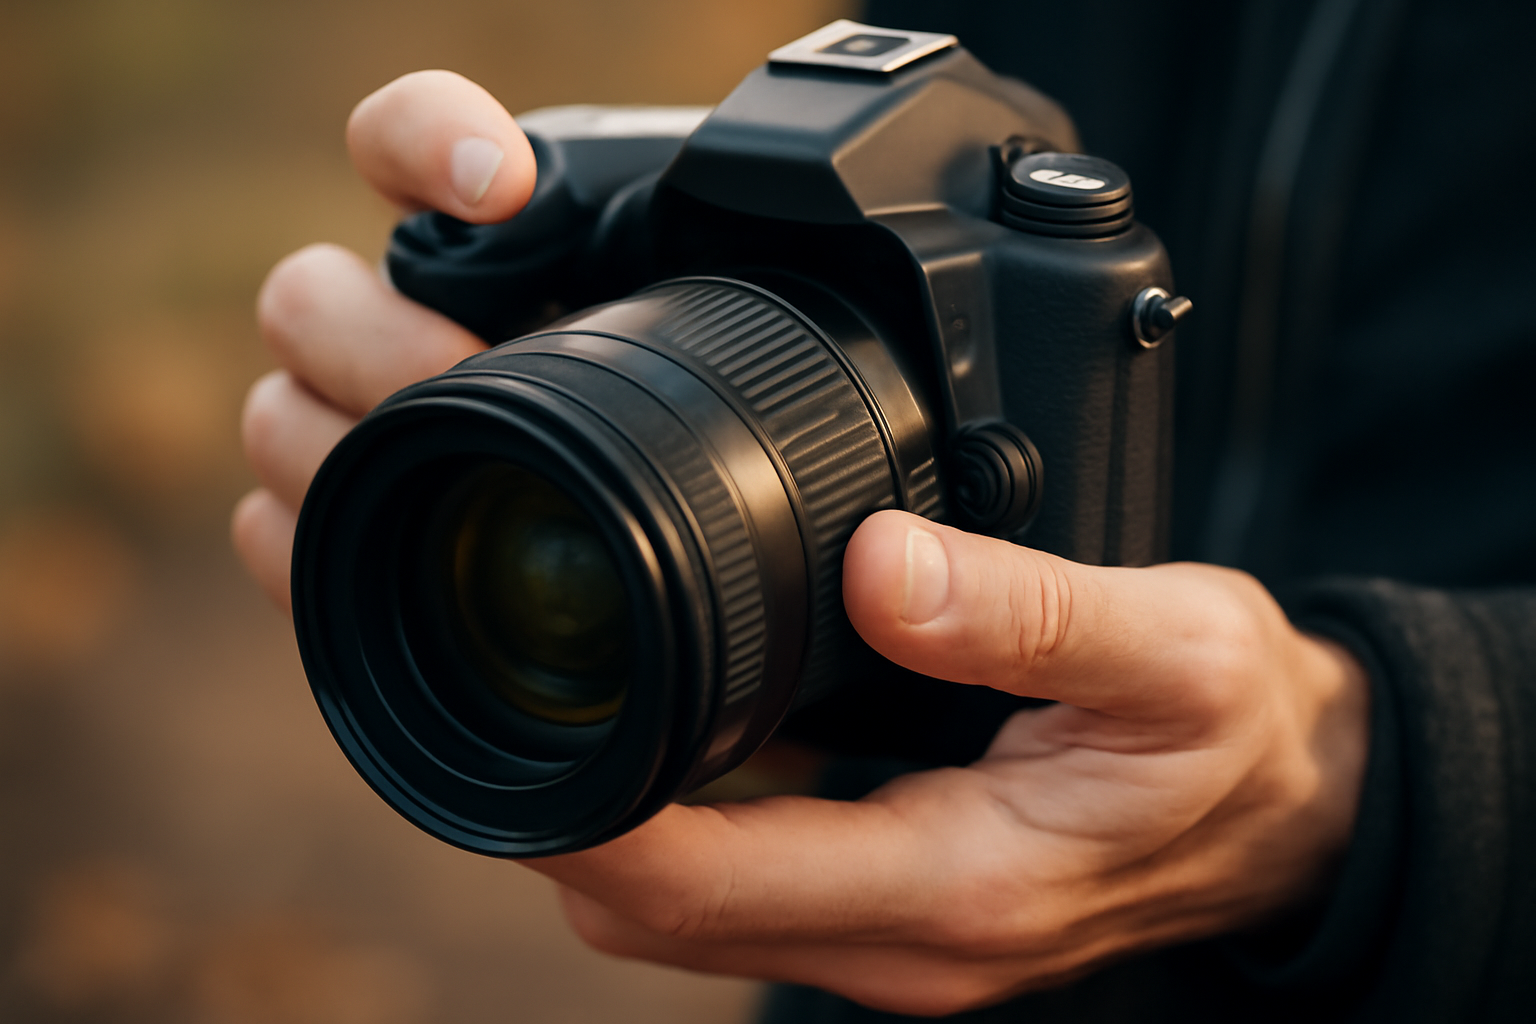
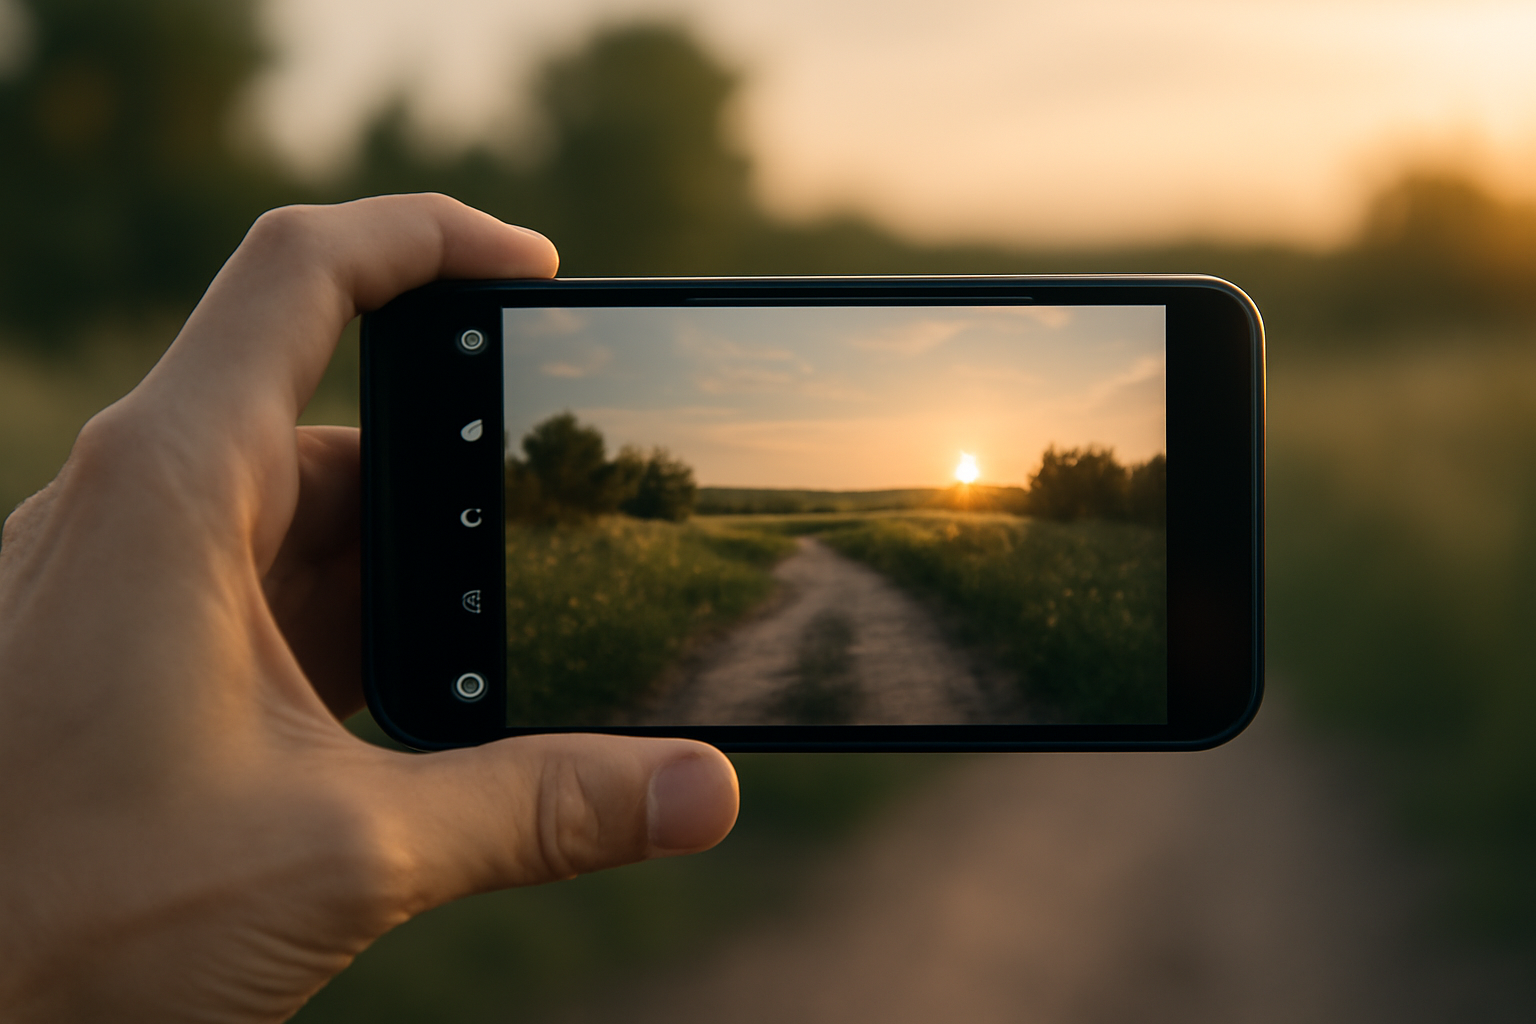
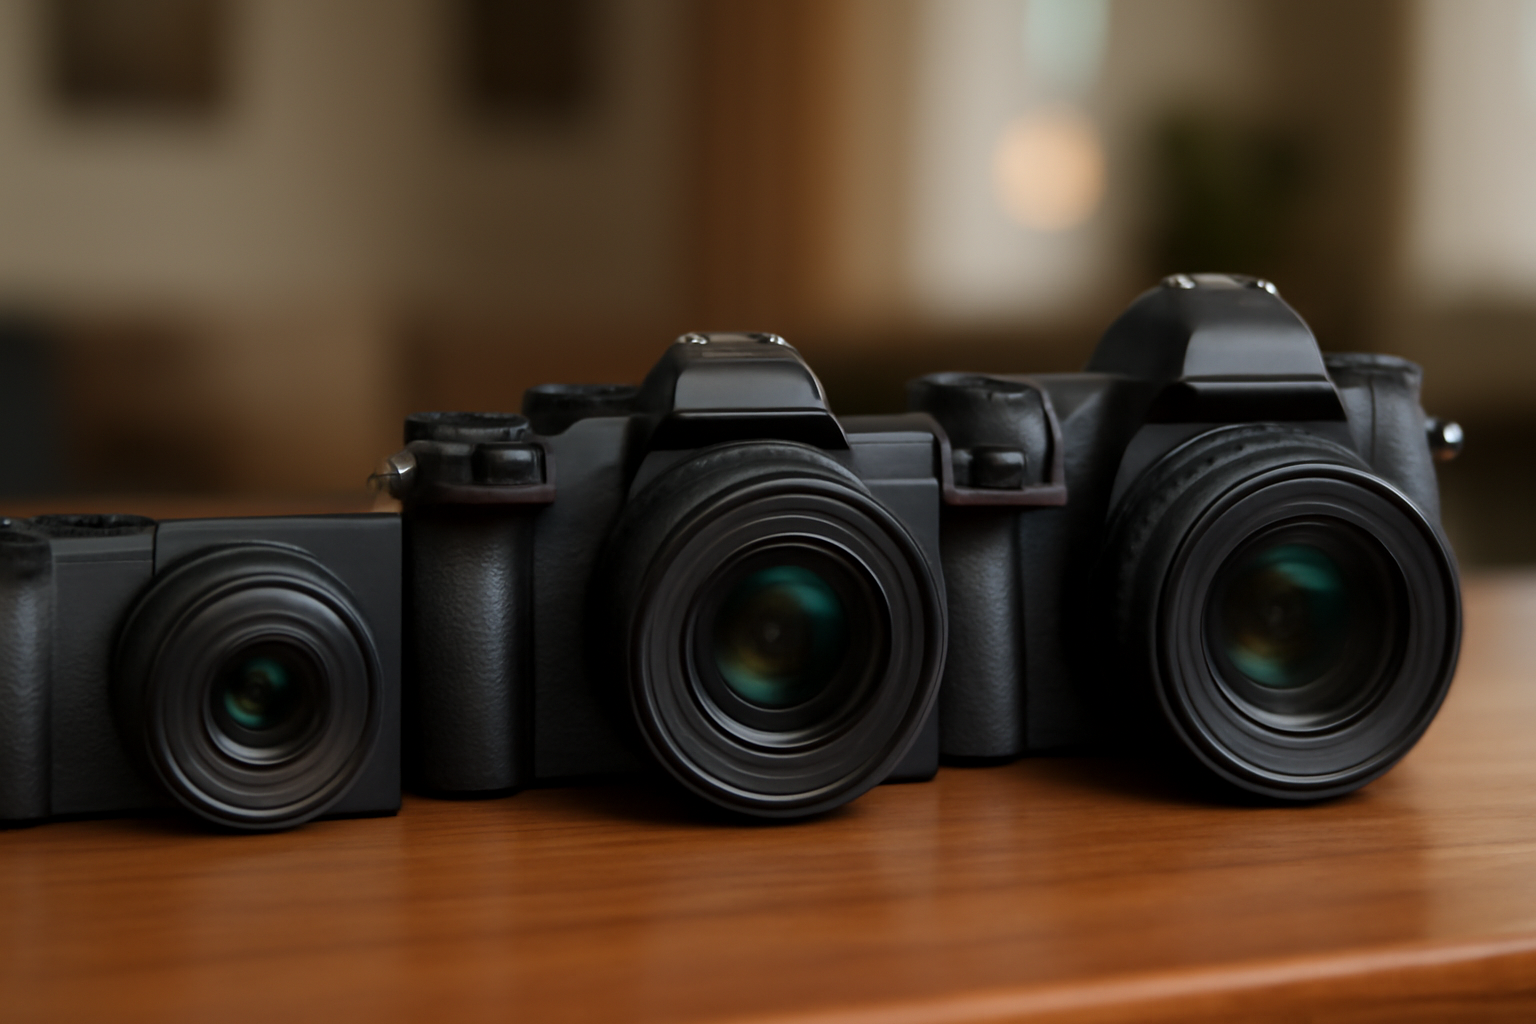
Step 8: Use Proper Equipment (Even on a Budget)
You don’t need the latest DSLR, but equipment can help.
- Camera: A smartphone with portrait mode works well if used correctly.
- Tripod: Essential for stability.
- Remote shutter or timer: So you don’t look rushed.
- Lens: If using a camera, a 50mm or 85mm lens is ideal for flattering portraits.
If you can’t access professional gear, focus on lighting and composition — they matter more than the camera.
Step 9: Practice Posing
Standing in front of the camera without guidance often feels awkward. Practice subtle variations.
Ideas:
- Slight lean forward — shows engagement.
- Head slightly tilted — adds warmth.
- Shoulders relaxed — avoid stiffness.
- Try both smiles and neutral expressions to see which fits your industry best.
Take multiple shots, review them, and adjust.
Step 10: Editing for a Polished Look
Editing isn’t about changing who you are — it’s about refinement.
Basic edits: Adjust brightness and contrast for clarity. Correct color balance so skin tones look natural. Crop tightly for focus on your face. Retouch distractions, like flyaway hairs or lint, but avoid heavy filters.
Your photo should look like you on your best day, not like a different person.
Step 11: Common Mistakes to Avoid
Even strong résumés can be undermined by poor photos. Watch out for:
- Selfies with obvious arm extension.
- Cropped group photos where other people’s shoulders are visible.
- Busy or messy backgrounds.
- Harsh flash creating unflattering shadows.
- Overly casual outfits (tank tops, hoodies, beachwear).
A professional photo shows effort and intention. Cutting corners is noticeable.
Step 12: Update Regularly
Your LinkedIn or résumé photo should reflect who you are now. Using a picture from five years ago can be misleading.
General rule: update every two to three years, or sooner if your appearance changes significantly. Consistency across platforms matters too. Use the same photo for LinkedIn, your résumé, and professional websites to build recognition.
Practice Before the Big Shoot
One overlooked tip is practicing before committing to your final LinkedIn or résumé photo. Set aside a short session where you experiment with backgrounds, outfits, and expressions without pressure. Review the images later and make notes about what works best.
This “trial run” helps you avoid wasting time on shoot day and gives you confidence because you’ve already seen which setups are most flattering.
The Importance of Body Language
Headshots capture more than your face — they also communicate subtle cues through posture and body language. Slouching, crossing your arms tightly, or tensing your jaw can make you seem closed off or nervous.
Instead:
- Keep your shoulders back but relaxed.
- Lean slightly forward to show attentiveness.
- Use open body language — it makes you look approachable.
Small details in body language can change how recruiters perceive your confidence.
Test and Compare
Don’t stop at one photo. Take at least 20–30 variations: different smiles, slight angle changes, and a mix of expressions. You’ll be surprised by how much difference tiny adjustments make.
Once you have a selection, compare them side by side. Ask a trusted friend or colleague which photo feels most professional and approachable. Sometimes others see qualities in your image that you overlook.
Think About Cultural Context
If you’re applying internationally, remember that expectations for headshots vary. Some countries expect résumé photos, while others don’t. On LinkedIn, cultural norms also influence perception.
For example:
- In some regions, formal attire is expected even for creative roles.
- In others, a friendly, casual photo works better.
Always research the market you’re targeting and adapt accordingly.
Keep Accessibility in Mind
A good headshot should also be practical for digital platforms. Make sure the file size is optimized for online uploads, the resolution is high enough for printing, and the crop works well in both LinkedIn’s circle and larger formats.
Accessibility also means checking that your photo looks consistent across devices. A great image on desktop might appear too dark or cropped awkwardly on mobile.
Bonus: DIY vs. Professional Photographer
Should you hire a professional? If you can afford it, professional headshots are a great investment. But with the right approach, you can create excellent photos yourself.
DIY tips:
- Enlist a friend to take the shot if possible.
- Test multiple outfits and backgrounds.
- Take many variations — small changes matter.
Professional photographers bring expertise, but DIY allows flexibility and saves money. Both are valid paths depending on your resources.
Bonus: Adapt for Different Uses
One headshot can be versatile if edited smartly. LinkedIn requires a clear, professional crop. Résumés need smaller, high-resolution images. Personal websites allow more creative or environmental portraits. Think ahead about where else your photo may appear and prepare variations accordingly.
Final Thoughts: Presenting Your Best Self
A great photo for your résumé or LinkedIn doesn’t require perfection — it requires intention. When you take the time to plan your outfit, control your environment, and capture a natural but professional expression, you send a clear message: you care about how you present yourself.
That attention to detail builds trust before anyone even reads your qualifications. It says, “I am reliable, confident, and ready for the opportunity.”
Your photo is often the first impression. Make it count. Because in a world where countless profiles compete for attention, the right image can help open the door to the career you deserve.