For many photographers, the idea of having a personal studio feels like a dream reserved for professionals with big budgets and large spaces. But here’s the truth: you don’t need a warehouse or endless funds to build your own studio. With a bit of planning, creativity, and resourcefulness, you can set up a functional, inspiring home photo studio that helps you grow your craft and take your work to the next level.
Your home doesn’t have to look like a commercial studio. What matters is creating a controlled environment where you can experiment with lighting, backgrounds, and composition at any time. The freedom of having your own studio space means you’re never waiting on location availability or perfect weather — you can create whenever inspiration strikes.
Let’s walk through how to set up your first home photo studio step by step, from choosing the space to selecting gear, without breaking the bank.
Step 1: Choosing the Right Space
The first step is deciding where your studio will live. Many beginners assume you need a dedicated room, but that’s not always true. A studio can exist in a corner of your bedroom, a basement, or even a living room you rearrange temporarily.
Factors to consider:
- Size: More space is helpful, but you don’t need a giant room. Even a small area can work if you’re strategic.
- Light: Look for a space with access to natural light, ideally from a window, if you plan to use daylight.
- Flexibility: Choose a place you can rearrange easily — somewhere you won’t mind moving furniture when necessary.
- Storage: You’ll need a spot for stands, backdrops, and props when not in use.
Tip: Don’t overthink it. Many great photographers started in their garage or bedroom. The key is working with what you have.
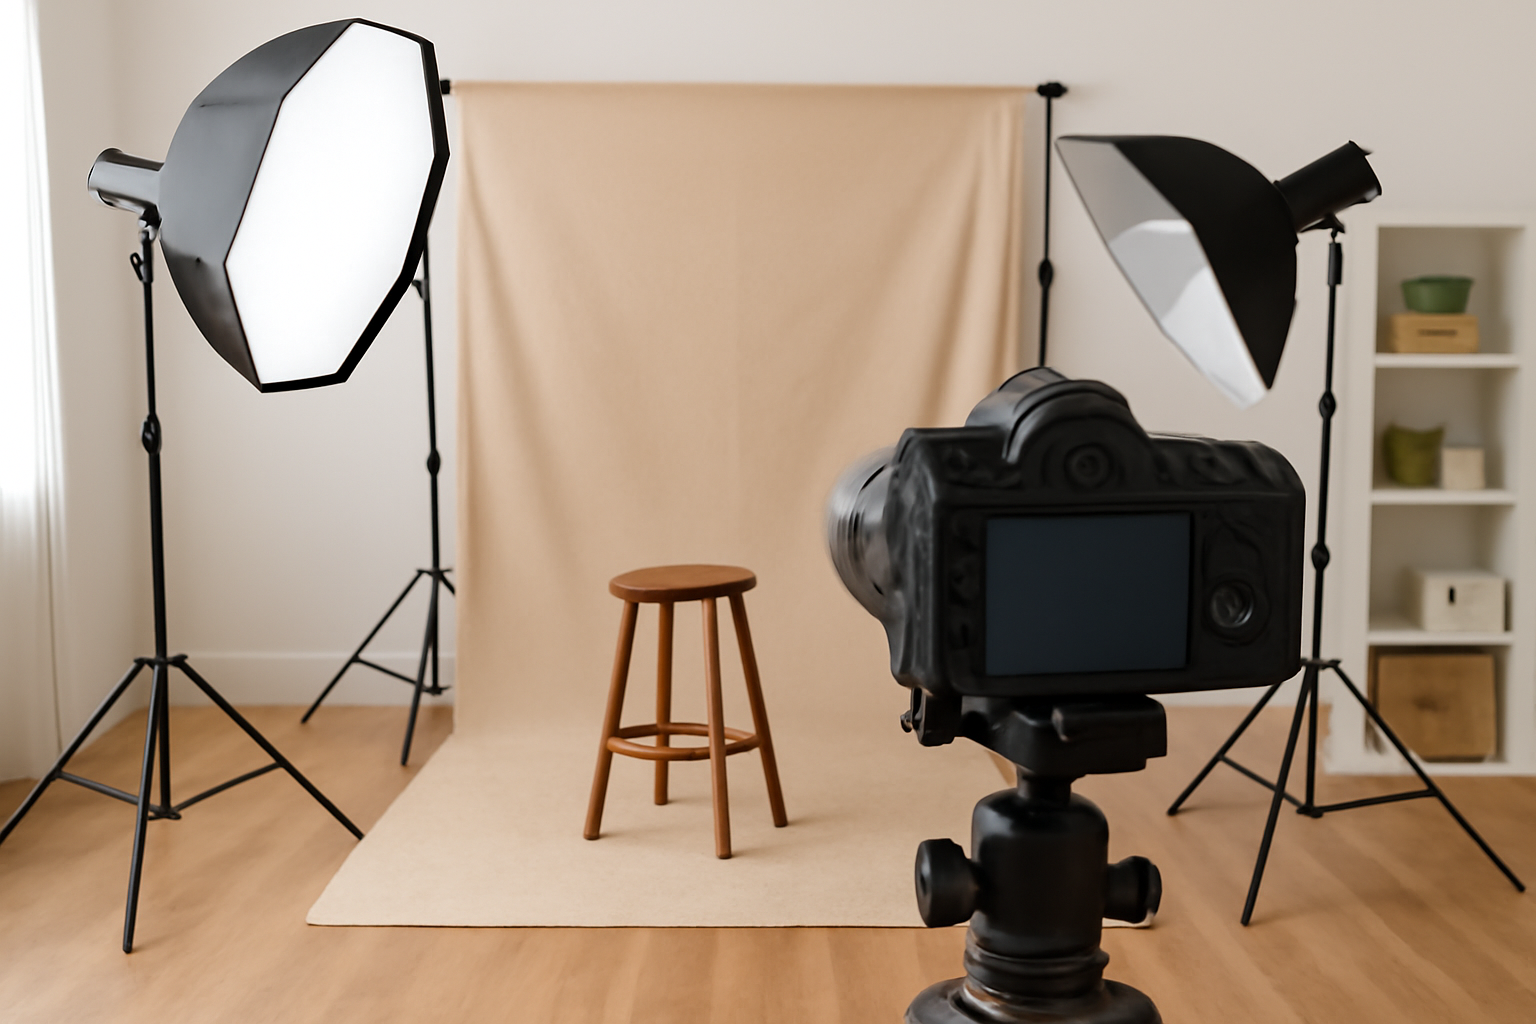
Step 2: Decide on Natural Light or Artificial Light
Lighting is the backbone of any photo studio. Your choice depends on your style and budget.
Natural light studio: If you have a large window with good daylight, you can create beautiful photos with minimal gear. Use sheer curtains to diffuse harsh light and experiment with reflectors (or even white cardboard) to bounce light onto your subject.
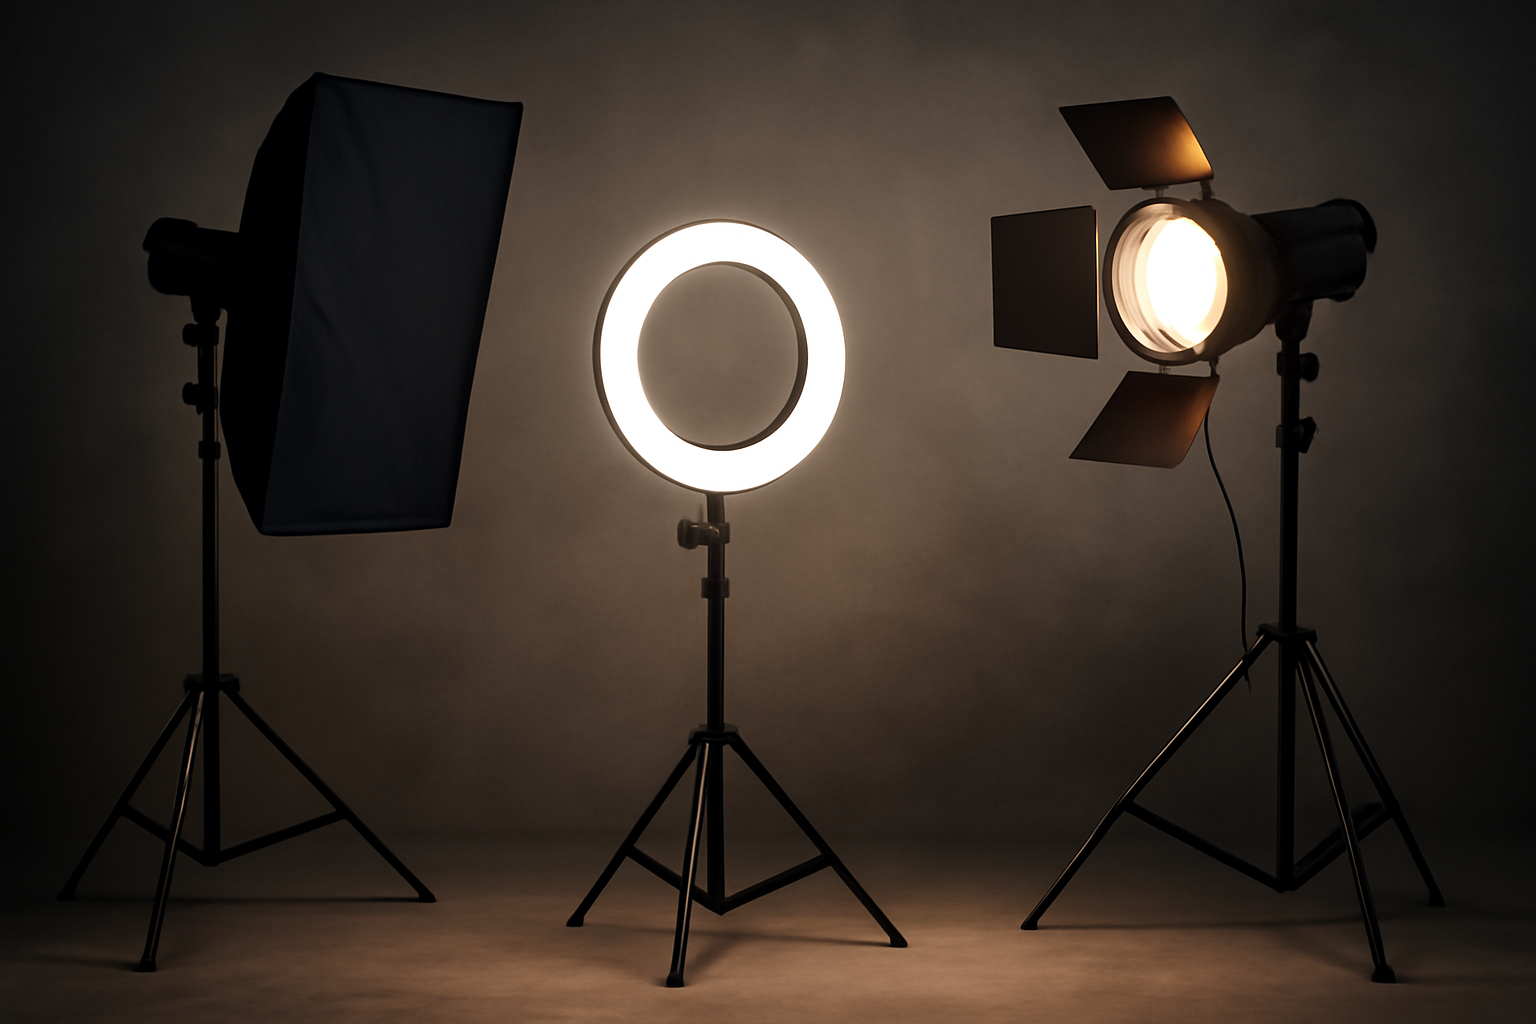
Artificial light studio: If you want consistency and flexibility, invest in artificial lights. Start small — you don’t need four fancy strobes. A single softbox or continuous LED light can already give you professional results.
Most beginners benefit from a hybrid approach: using natural light when available and adding one or two artificial lights for control.
Step 3: Backgrounds That Don’t Break the Bank
Your background sets the tone of your image. But you don’t need expensive rolls of seamless paper or elaborate setups.
Affordable background ideas:
- Plain walls: A clean, neutral-colored wall works perfectly.
- Fabric: Sheets, curtains, or blankets can serve as backdrops.
- DIY paper rolls: Large craft paper taped to the wall makes an inexpensive seamless background.
- Portable backdrop stands: If your budget allows, invest in a collapsible backdrop system. It gives you flexibility and a professional look.
Experiment with colors, textures, and patterns. A simple background is often better, especially when you’re focusing on lighting practice.
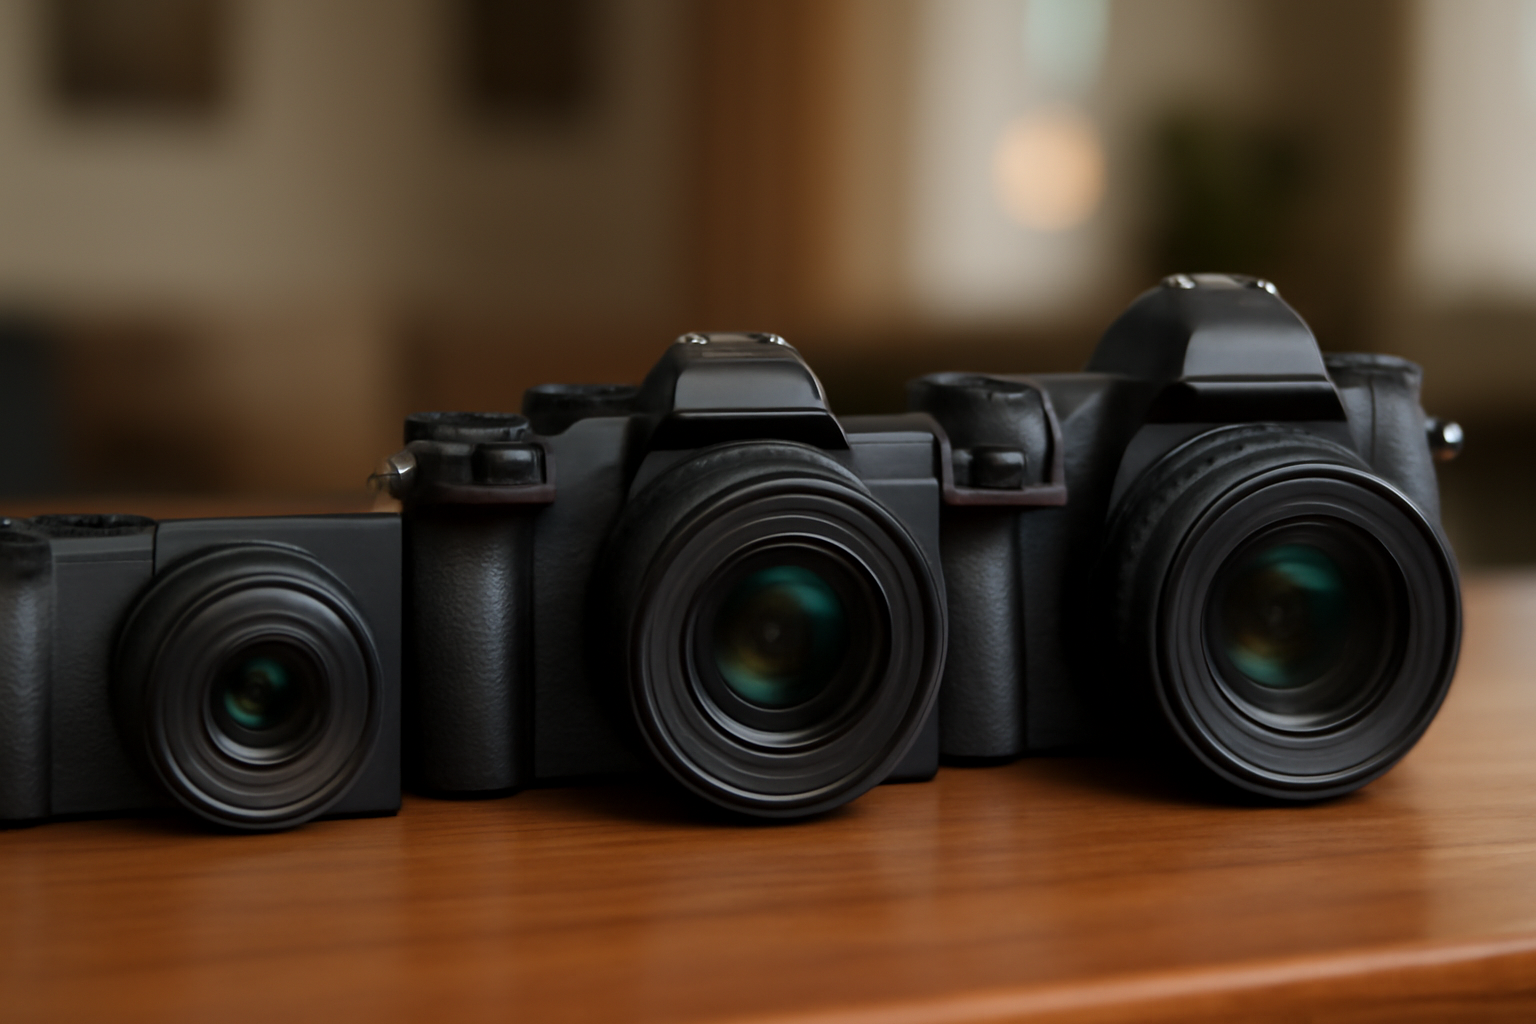
Step 4: Essential Gear for a Starter Studio
Don’t let gear intimidate you. You can set up a functional home studio with just a few essentials.
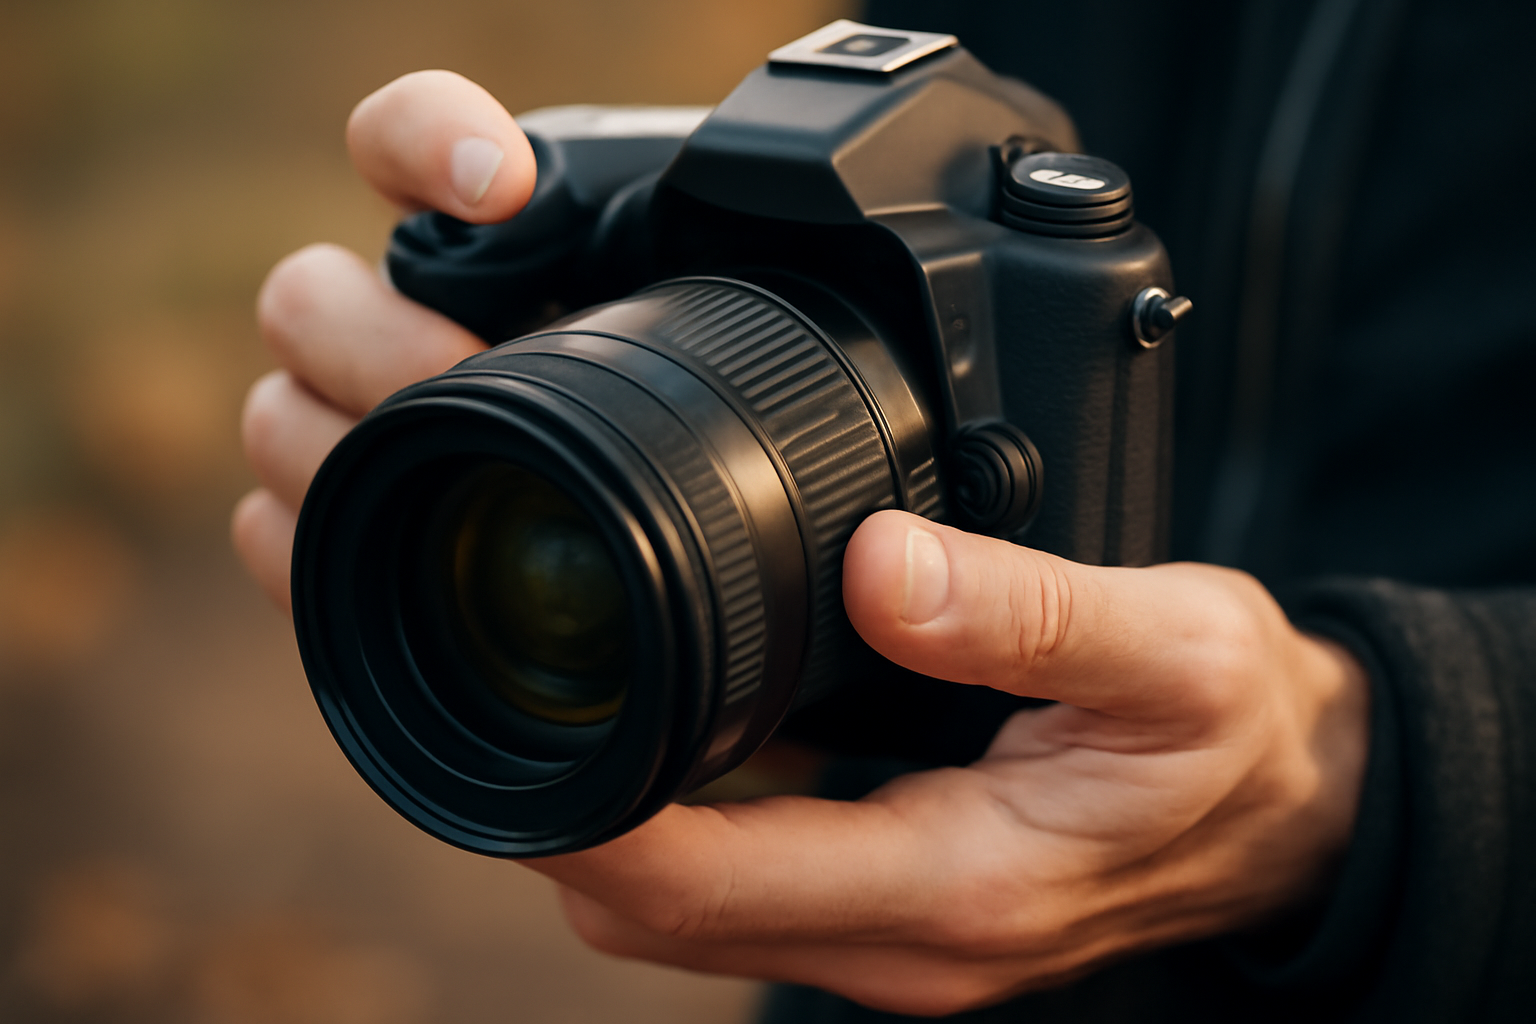
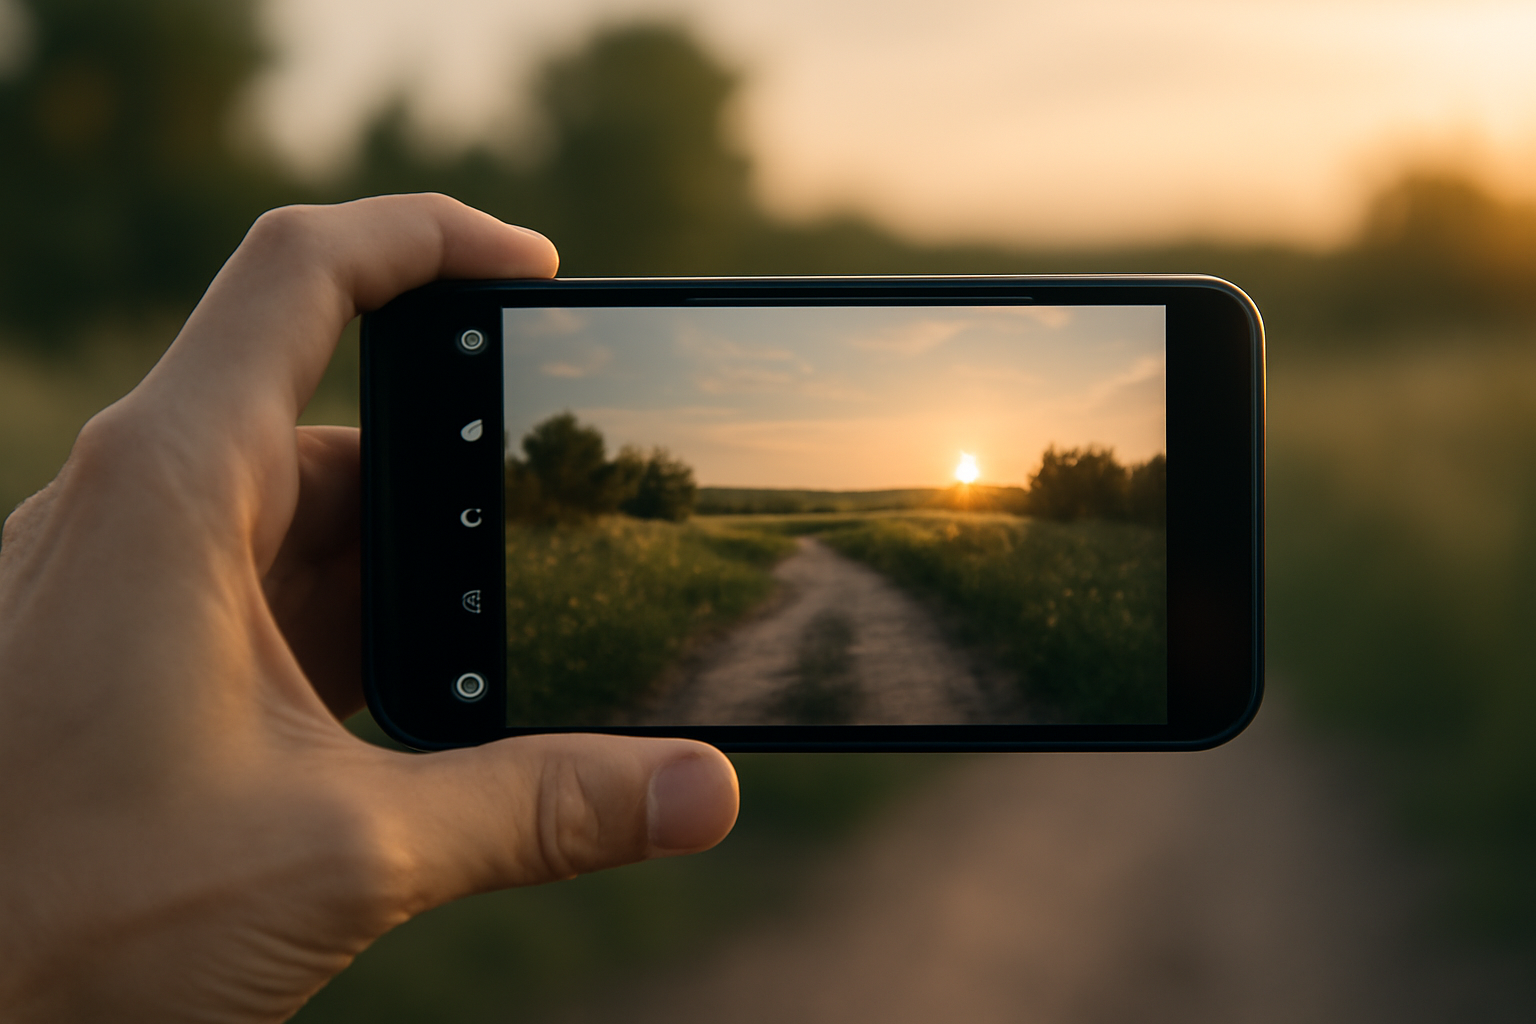
- Camera and lens: Whatever you already own is fine. A 50mm prime lens is versatile for portraits.
- Tripod: Keeps your shots steady and allows self-portraits.
- Lighting: Start with one continuous LED or strobe light with a softbox or umbrella.
- Reflectors: Buy a 5-in-1 reflector or use household items like white foam boards.
- Backdrop: Fabric, paper, or a collapsible backdrop.
- Light stands: Affordable and essential for holding lights and modifiers.
Start small and upgrade as your needs grow. A single light and reflector can already produce stunning results.
Step 5: Organizing Your Studio
A cluttered space can limit your creativity. Even in a small studio, organization matters.
Tips for efficiency:
- Use baskets or boxes to store props and cables.
- Keep a drawer for small accessories like clamps, tape, and spare batteries.
- Invest in a clothing rack if you plan to shoot portraits with outfit changes.
- Label your gear for quick access.
The smoother your workflow, the more energy you’ll have for creating.
Step 6: Learn to Control Light
A studio’s main advantage is control. Unlike outdoor photography, you decide where light comes from, how strong it is, and what mood it creates.
Practical exercises:
- Place your light at different angles (front, side, back) and observe how shadows change.
- Experiment with distance — moving a light closer softens shadows, while moving it farther hardens them.
- Use reflectors to fill in shadows or create contrast.
- Try one-light setups first. Master them before adding more lights.
The goal isn’t just technical mastery — it’s learning how light shapes emotion.
Step 7: Incorporating Props and Furniture
Props and furniture help tell stories in your studio. Again, you don’t need expensive items. Look around your home.
Ideas:
- Chairs or stools for portraits
- Plants for natural touches
- Everyday objects reimagined as artistic props
- Mirrors for creative reflections
Be selective. Too many props create clutter. Choose items that support your vision.
Step 8: Sound and Atmosphere
A studio isn’t only about visuals. The atmosphere matters.
Consider:
- Music: Create playlists that relax or energize your subjects.
- Temperature: Make sure the space is comfortable — especially for long shoots.
- Privacy: A studio should feel safe and inviting for your subjects.
Small details go a long way in creating a professional environment at home.
Step 9: Budget-Friendly Hacks
Many beginners hesitate because they think a studio is too expensive. But resourcefulness beats budget.
Hacks to try:
- Use clamp lamps from a hardware store with daylight bulbs.
- Clip white bedsheets to make giant diffusers.
- Repurpose cardboard as reflectors or flags.
- Build DIY backdrops with painted wood panels.
Your creativity in building the space reflects your creativity in shooting.
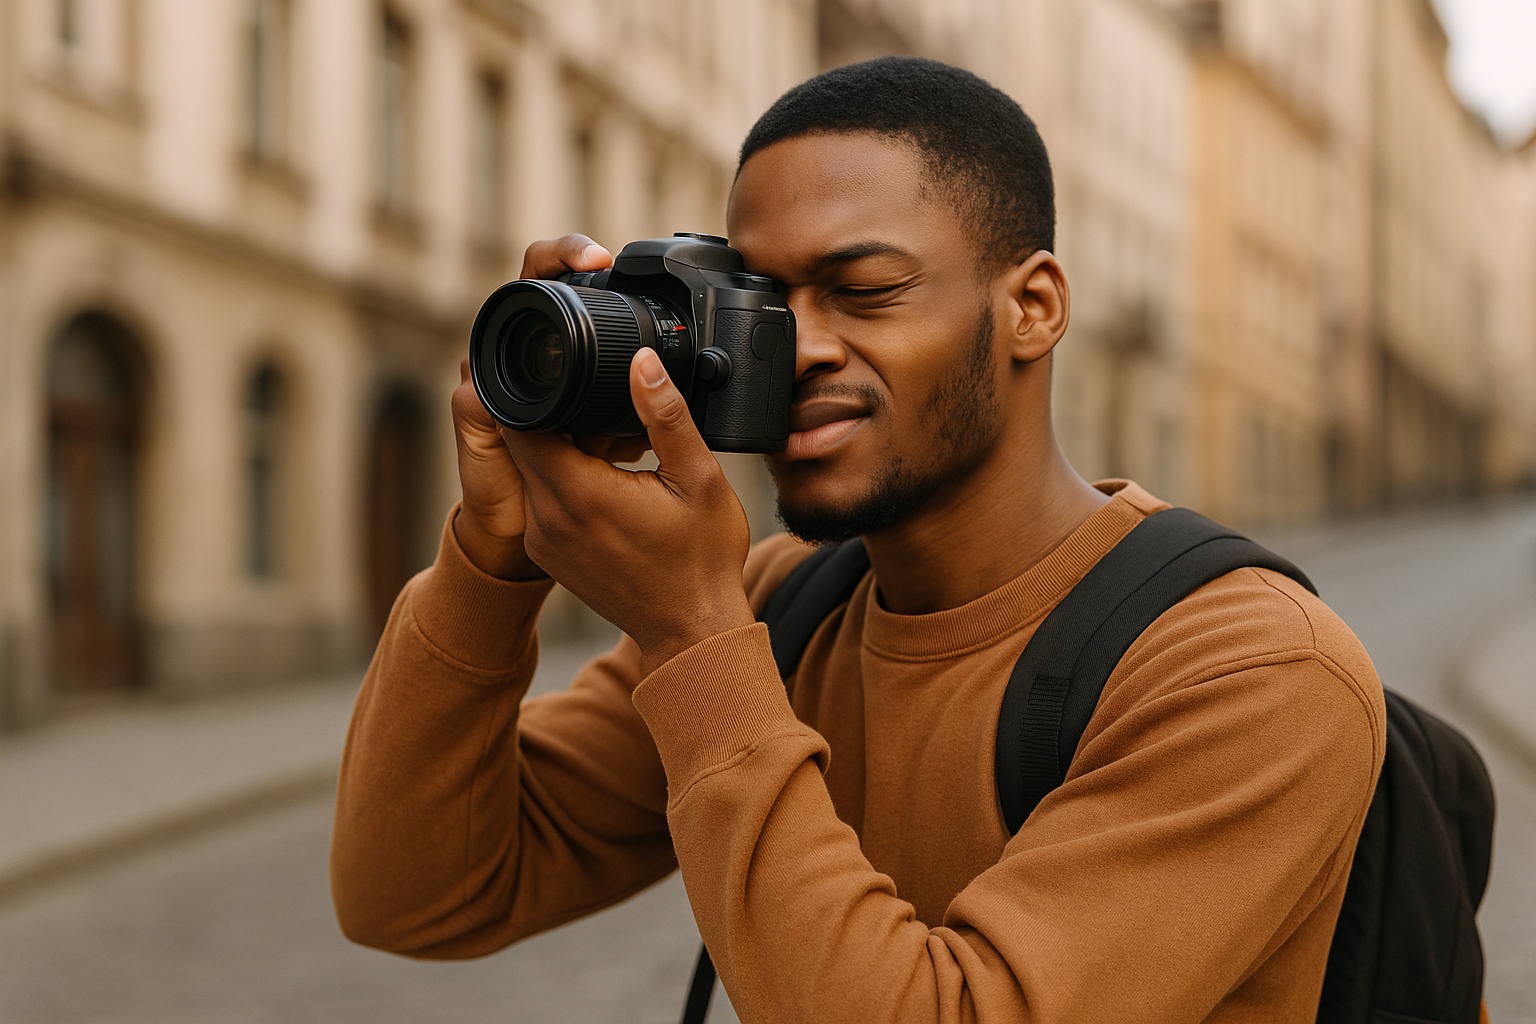
Step 10: Practice Before Inviting Others
Before bringing friends or clients into your studio, practice on yourself.
Take self-portraits to test lighting, composition, and angles. Experiment until you’re confident. When people see you know how to use the space, they’ll trust you more.
Step 11: Evolve Your Studio Over Time
Your first home studio won’t be perfect. And it doesn’t have to be. Start small, use what you have, and upgrade gradually.
As your skills grow, you might add:
- A second light for more complex setups
- More backdrop colors
- Professional modifiers like beauty dishes or grids
- Storage solutions to keep everything organized
A studio is a living space. It should evolve with your vision.
Step 12: Make It Personal
Finally, remember that your home studio is yours. It doesn’t need to look like anyone else’s. Add personal touches that inspire you — artwork on the wall, a favorite lamp, or a color scheme that reflects your style.
A space that feels authentic will motivate you to use it more often.
Bonus: Learn to Work With Small Spaces
Many photographers feel limited by the size of their home. But small studios can be incredibly effective.
Tips for small spaces:
- Use wide-angle lenses carefully to make the room feel larger.
- Push furniture to the sides during shoots.
- Focus on close-ups and creative framing instead of wide shots.
- Invest in collapsible gear that stores easily.
Small doesn’t mean less professional. It means more intentional.
Bonus: Document Your Studio Journey
As you set up and refine your studio, document the process. Take behind-the-scenes photos or videos. Share them online. Not only does this inspire others, but it also reminds you of how far you’ve come.
Your first home studio may look modest, but it represents independence, creativity, and growth.
Experiment With Different Types of Photography in Your Studio
A home studio isn’t just for portraits. Once you’ve set up the basics, you can explore different photography genres without leaving your house.
- Product photography: Try shooting everyday objects like mugs, books, or jewelry. It’s great practice for lighting and composition.
- Food photography: Use your dining table, natural light, and a few props to create mouthwatering images.
- Pet portraits: If you have pets, your studio can become a playful space to capture their personalities.
- Creative projects: Experiment with abstract shots, light painting, or double exposures.
Using your studio for multiple styles keeps your practice exciting and helps you discover what truly inspires you.
Learn to Troubleshoot Common Issues
Every studio, no matter how advanced, comes with challenges. Knowing how to troubleshoot makes your workflow smoother.
Common problems and solutions:
- Harsh shadows: Move your light closer or add a diffuser like a white sheet.
- Color casts: Switch to daylight-balanced bulbs or adjust white balance in-camera.
- Limited space: Use a backdrop stand positioned diagonally to maximize depth.
- Flat images: Add a reflector or rim light to create separation between subject and background.
By practicing problem-solving, you’ll become more confident and adaptable when shooting.
Invite Others Once You’re Comfortable
After experimenting on your own, invite a friend, family member, or neighbor to model in your studio. Real people bring energy and spontaneity that self-portraits can’t always provide.
Tips for hosting your first studio session:
- Communicate clearly and guide your subject gently.
- Show them test shots so they feel included in the process.
- Keep the session short and fun to avoid fatigue.
- Offer them edited photos as a thank-you.
Practicing with others helps you develop not only technical skills but also people skills, which are just as important in photography.
Final Thoughts: Your Studio, Your Playground
Setting up your first home photo studio isn’t about having the biggest space or the fanciest equipment. It’s about creating a controlled environment where you can practice, experiment, and grow on your terms.
Every corner rearranged, every backdrop clipped to the wall, every DIY reflector is part of your story as a photographer. Don’t wait until you feel “ready” or “professional.” Start where you are.
Because a studio is not just a space. It’s a playground for your creativity. And when you have a place to play every day, your photography will thrive.