Photographing narrow spaces is one of the biggest challenges for those working with interior composition, architecture, or even lifestyle in compact apartments. In these situations, limited space can result in flat images, lacking the dimensionality that makes a photo visually engaging. However, with the right techniques, it’s possible to create depth and turn these constrained scenes into rich and expressive compositions.
In this article, you’ll learn how to create depth in photos of small spaces using composition principles, camera settings, lens choices, light control, and visual tricks that expand the perception of space. Let’s dive in.
Why Depth Is Essential in Interior Photography
Depth in an image has the power to draw the viewer in. It conveys the sensation that the scene goes beyond the flat surface of the photo, leading the observer through different layers within the image. In narrow spaces, this effect is even more valuable, as it helps avoid the “flat” appearance typical of small rooms.
When depth is well executed, even the smallest space can feel larger, more inviting, and full of character. This is especially important for photographers working with interior design, real estate, architecture, or lifestyle-focused social media in compact homes.
Understanding the Illusion of Depth
Photography is a two-dimensional medium. However, the illusion of depth can be created using several techniques that manipulate perspective, layering, lighting, and focus. When well applied, these techniques help the viewer perceive layers within the scene, making the image more dynamic and engaging.
Composition Techniques to Create Depth
Converging Lines
Use architectural lines or elements of the space (like floors, walls, windows, or furniture) to guide the eye toward a vanishing point. Converging lines create a sense of distance and depth, even in very tight spaces.
Example: A photo taken from the corner of a hallway, with walls and flooring leading the eye toward a door in the distance.
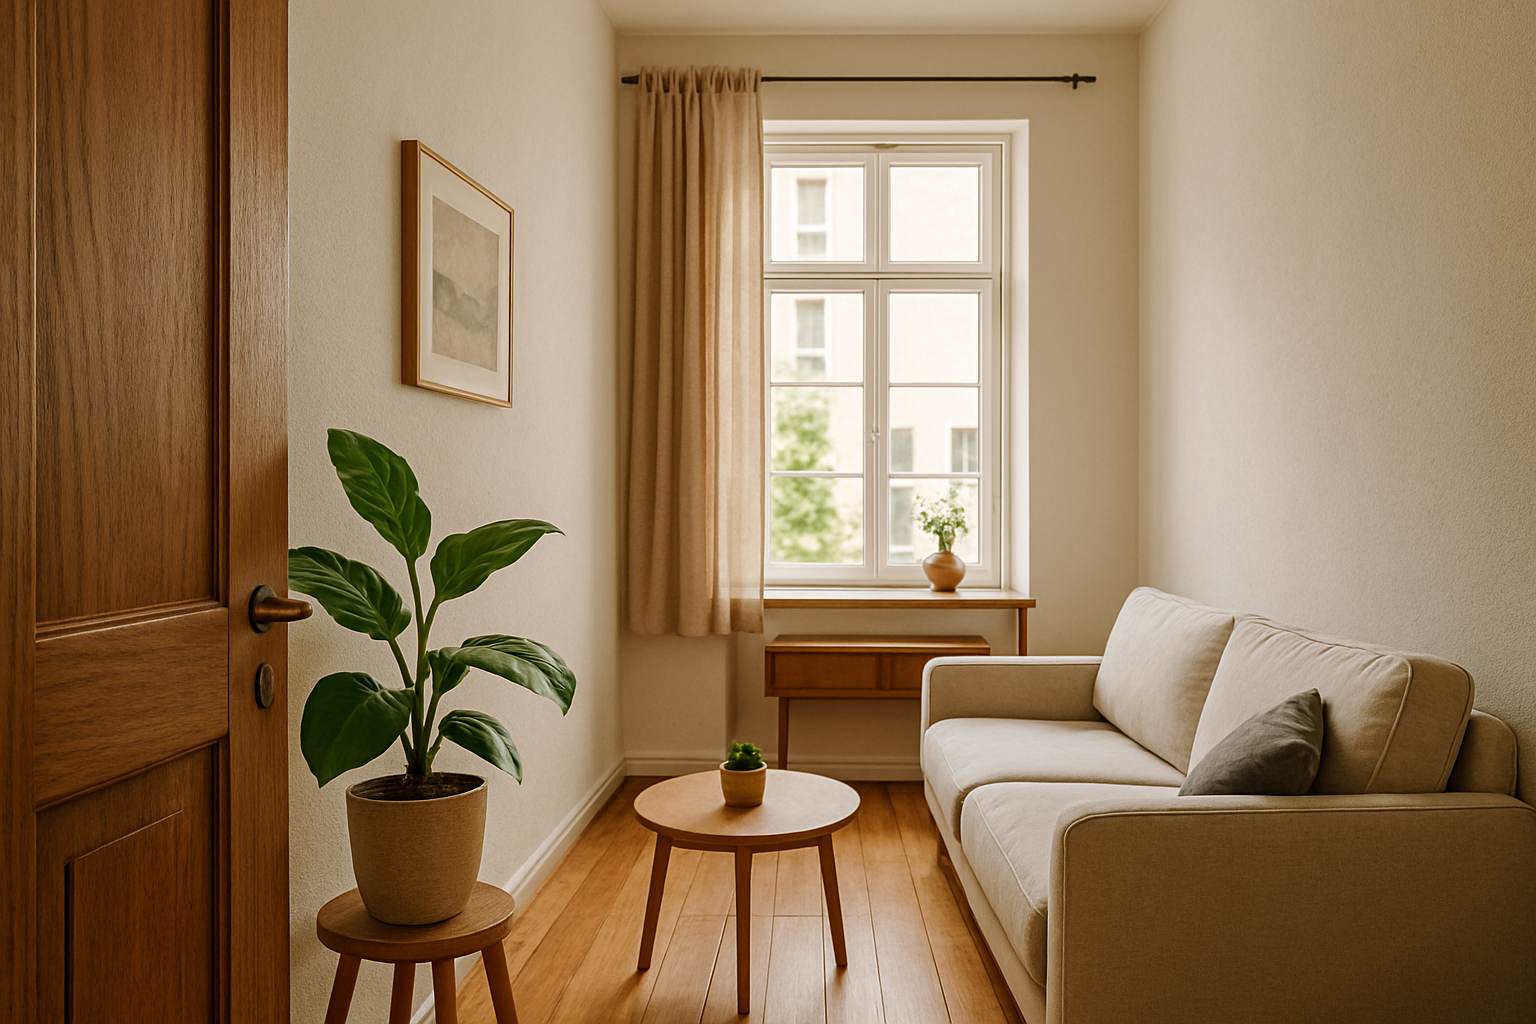
Foreground, Middleground, and Background Layers
Create three distinct planes in your composition:
- Foreground: Could be a decorative object, a chair, or a plant near the lens.
- Middleground: Usually the central furniture or main elements of the room.
- Background: The farthest part of the room, such as a wall, window, or artwork.
This technique helps visually organize the space and gives the photo a clear sense of spatial depth.
Object Overlap
Include partially overlapping objects. When viewers see one object blocking part of another, their brain naturally perceives distance between them — a simple yet powerful way to suggest depth.
Natural Framing
Use doorways, windows, mirrors, or architectural features to create internal frames. These frames add layers to your composition and guide the viewer’s eye through the image.
Choosing the Right Lenses
Wide-Angle Lenses
Wide-angle lenses (14mm–24mm on full-frame cameras) are ideal for small spaces because they capture more of the scene and enhance perspective lines. However, be cautious of distortion, especially around the edges.
Pro tip: Keep the camera level to avoid exaggerated vertical distortion, often seen in tight interior shots.
Moderate Aperture
Use apertures around f/4 to f/8 to maintain a good depth of field and ensure sharpness across multiple elements in the scene. This keeps more of the space in focus and supports the layered composition.
Light Control: A Key to Perceived Depth
Use Side Lighting
Side lighting is excellent for highlighting textures and creating soft shadows. It helps define volume, especially in furniture and decor, contributing to the image’s three-dimensional look.
Add Accent Lights
Support lighting — like lamps, floor lights, or LED strips — can help create zones of light and shadow, adding contrast and enhancing depth. Avoid flat, even lighting, which can reduce dimensionality.
Composition and Eye Movement
Strategic Angles
Avoid shooting directly into walls, which flattens the scene. Instead, favor diagonal angles, which increase the sense of perspective. Position yourself in corners or use furniture lines to lead the viewer’s eye into the space.
Include Human Elements
Having a person in the shot — sitting, walking, or interacting with the space — helps the viewer gauge scale and creates a point of interest that adds visual depth.
Color and Texture as Subtle Depth Tools
Contrast Between Planes
Use contrasting colors between foreground and background. Lighter tones in the back and darker ones in the front (or vice versa) can emphasize spatial distance.
Variety of Textures
Mix materials like wood, fabric, glass, and metal to stimulate visual layering. Texture adds complexity and prevents the scene from appearing flat.
Post-Production for Depth
Local Contrast and Clarity
In Lightroom or Photoshop, boost clarity and local contrast selectively to bring volume to certain elements and separate them from the background.
Soft Vignetting
Apply a subtle vignette to darken the image’s edges, guiding the viewer’s eye toward the center — where most layers typically are. Use this technique carefully to maintain a natural look.
Selective Blur
In editing, you can simulate depth of field with gradual blur from front to back. This should be done subtly and realistically to mimic real lens behavior.
Use Bokeh Strategically
With a wide aperture (f/1.8 or f/2.8), you can focus on a foreground element while softly blurring the background. This contrast helps isolate the subject and gives the image a layered effect.
In interior photography, use this effect with care so you don’t lose important context in the background.
Mirrors: More Than Just Reflection
Well-placed mirrors reflect light, simulate continuity, and add dimension. Avoid placing them directly in front of the camera. Instead, shoot from angles where the mirror reflects parts of the room not visible in the frame.
Design Elements That Help Build Depth
- Furniture with visible legs: Creates the illusion of space under the object.
- Directional-pattern rugs: Lead the eye through the scene.
- Full-height curtains: Increase the perception of height and spatial continuity.
Creative Techniques to Reinforce Depth
Tripod + Long Exposure
In low-light small spaces, using a tripod with long exposure and low ISO helps you capture more detail across the frame and improves sharpness between layers.
Focus Stacking
Take multiple shots focused on different planes (foreground, middle, background) and blend them. The result is an ultra-sharp image with strong depth perception.
Warm vs. Cool Light Contrast
Introduce warm tones in the foreground and cooler tones in the background (or vice versa) to separate planes through color temperature. This adds depth and mood to the scene.
Case Study: Photographing a Narrow Bathroom
Imagine a 1.5m x 2m bathroom with no window. Use a wide-angle lens (18mm), soft side lighting, and a plant in the foreground. Add a light behind the mirror for background contrast. The result? Three defined layers and a visually deep, balanced image — even in a tiny room.
Smartphone Photography Tips
You can still create depth with a phone. Here’s how:
- Use Portrait Mode to simulate depth of field;
- Avoid digital zoom (it flattens layers);
- Tap to focus on different elements;
- Use Lightroom Mobile to adjust light, clarity, and contrast;
- Include layered subjects like doors, plants, and shelves.
Practical Checklist
- ✅ Foreground, middleground, and background defined
- ✅ Diagonal or corner-based composition
- ✅ Use of side or directional light
- ✅ Avoid clutter
- ✅ Smart use of blur and focus
- ✅ Color contrast and texture variety
- ✅ Gentle post-processing for natural depth
Small Spaces, Big Visual Impact
Creating depth in photos of narrow spaces doesn’t require expensive gear or massive rooms. With technical knowledge, creativity, and smart composition, you can turn limited space into visually powerful scenes.
The next time you’re photographing a small kitchen, narrow hallway, or tiny bathroom, try applying these techniques. You’ll be amazed at the results — and so will your viewers.


