Introduction
Flash photography is a powerful and versatile tool that can elevate the quality of an image—or completely compromise it if not properly controlled. One of the biggest challenges when using flash is avoiding harsh shadows and light blowouts, issues that directly affect the aesthetics and readability of the photo.
This guide is designed to help both beginners and experienced photographers understand how to master flash use technically and creatively, extracting the full potential of this resource without sacrificing natural lighting.
Why Is Flash Still Essential in Photography?
Advantages of Flash in Different Contexts
Flash allows safe shooting in low-light environments, maintaining low ISO, freezing motion, and highlighting elements with precision. It’s a practical solution for situations where ambient light is insufficient or uncontrollable.
Moreover, flash contributes to more even lighting and fills in unwanted shadows—provided it’s properly positioned and adjusted.
When Flash Is Indispensable
- Nighttime event and wedding photography;
- Studio setups with full light control;
- Indoor portraits with limited lighting;
- Product or food photography;
- Fill light in outdoor backlighting.
Even with the advancement of low-light camera sensors, flash remains indispensable when precise lighting control is essential.
What Are Harsh Shadows and Light Blowouts?
How Flash Light Interacts with the Subject
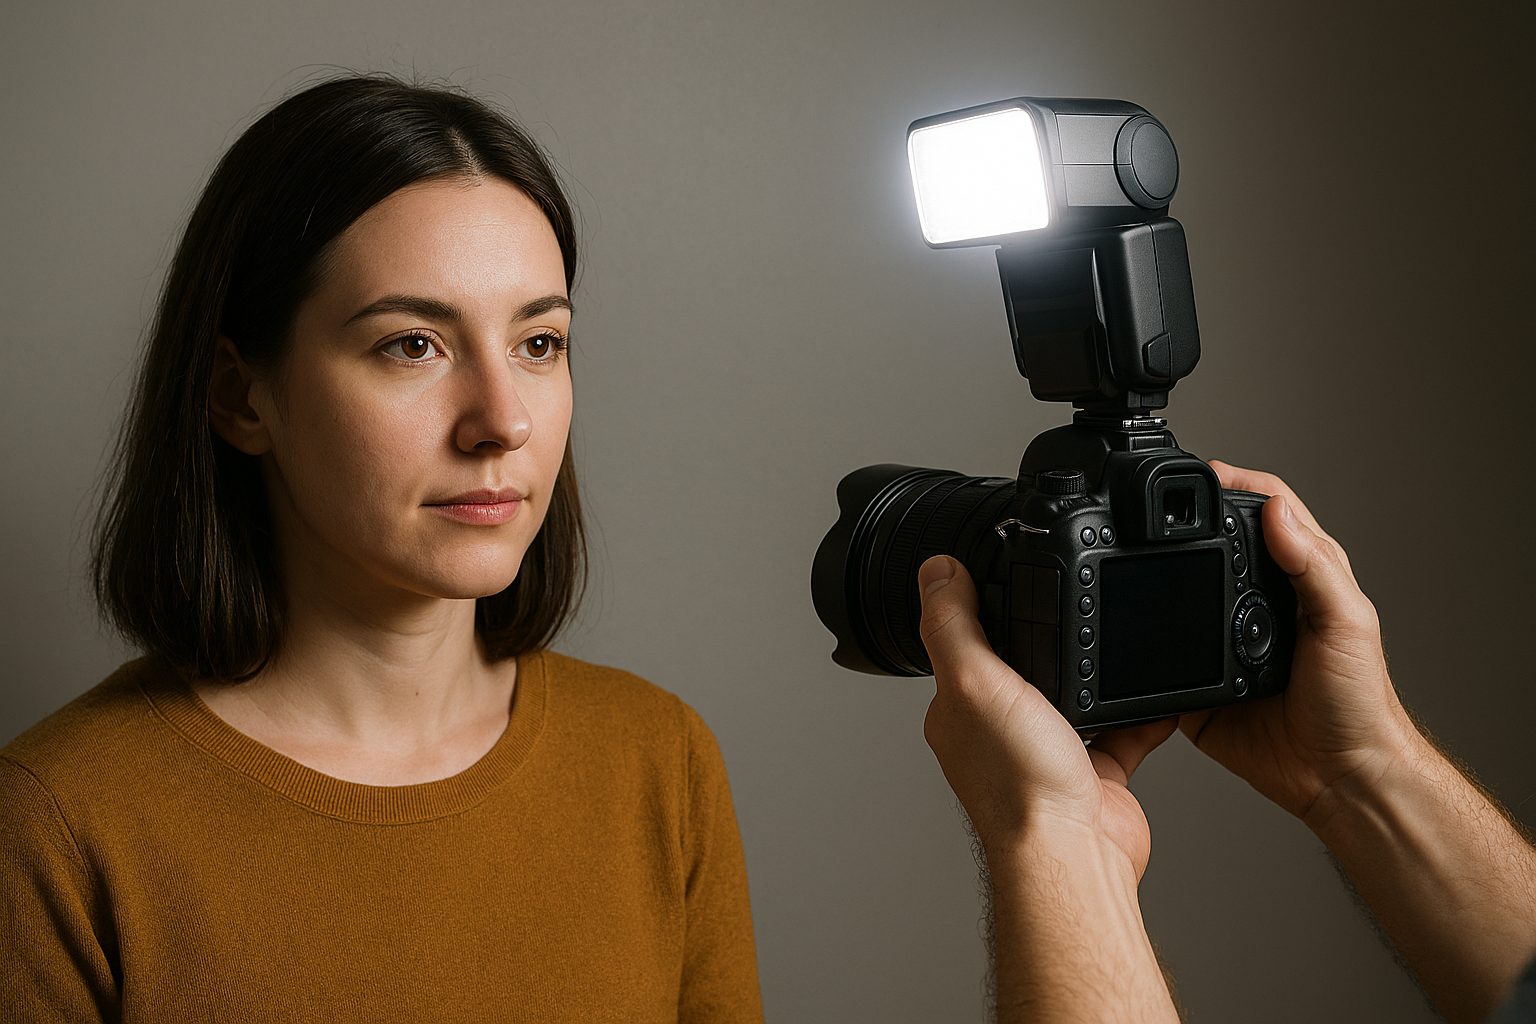
Flash emits intense, direct light that, when it hits the subject head-on, creates very marked shadows and abrupt transitions between light and dark. This is known as a harsh shadow.
Light blowouts (overexposed highlights) occur when parts of the image receive more light than the sensor can handle, resulting in completely white areas with no detail.
Main Causes of These Problems
- Using the camera’s built-in flash;
- Lack of diffusers or light modifiers;
- Excessive flash power;
- Flash positioned too close to the subject;
- Improper light direction.
Techniques to Soften Shadows Created by Flash
Using Diffusers and Softboxes
Diffusers help spread light, making it softer and less concentrated. Softboxes, umbrella diffusers, or translucent panels increase the size of the light source and reduce direct intensity, creating more enveloping lighting.
Bouncing Light off Surfaces
By pointing the flash at the ceiling or a light-colored wall, the reflected light becomes softer and more natural. This technique, known as bounce flash, avoids direct frontal lighting and creates soft, directional shadows.
Using Reflectors and Light Walls
Placing reflectors on the side opposite the flash helps fill shadows. White walls or light-colored surfaces act as natural diffusers, returning light to the scene with gentleness.
Strategies to Avoid Light Blowouts (Overexposed Highlights)
Controlling Exposure and Flash Power
Reduce flash power whenever possible. Many external flashes allow intensity adjustment in fractions (1/1 to 1/128). Adjusting aperture and shutter speed also helps prevent light overlap.
Using Histogram and Light Meter
Checking the histogram after a shot is crucial. Spikes on the right side indicate overexposed areas. Using a light meter (external or in-camera) helps accurately measure reflected light on the subject.
Manual vs. TTL Flash Mode
TTL (Through The Lens) mode automatically adjusts flash power based on camera metering, which can cause unwanted variations. Manual mode gives full control over power and consistent lighting.
Flash Positioning for More Natural Results
Direct Flash vs. Side Flash
Direct flash (pointed at the subject) often causes harsh shadows and unwanted reflections. Positioning the flash at a 45° angle creates more dimensional lighting, with volume and depth.
Off-Camera Flash
Using flash detached from the camera, controlled via radio or cable, offers full positioning freedom. Light can be directed based on creative intent, producing more refined, professional effects.
Ideal Angles and Distance
The closer the flash is to the subject, the harsher the light. Moving it back and expanding the dispersion area makes the light softer. Changing the angle (above, side, back) also affects how shadows behave.
Light Modifiers That Help Prevent Errors
Softboxes, Umbrellas, and Snoots
- Softboxes: diffuse light in a controlled way;
- Umbrellas: spread light, ideal for portraits;
- Snoots: direct light to specific areas, avoiding excess spill.
Grids and Diffusion Filters
Grids narrow the light beam, reducing spread and keeping focus. Diffusion filters reduce direct intensity and soften transitions between light and shadow.
Color Correction Gels
Gels help balance flash color temperature with ambient light, avoiding cool or warm color casts in the image. This also improves exposure consistency in mixed-light settings.
Practical Examples of Application
Indoor Portrait with Flash and Reflector
- Flash positioned at 45° above the subject;
- White reflector on the opposite side to soften shadows;
- Aperture at f/4 or f/5.6 to control depth of field;
- Flash power set to 1/8 to avoid blowouts.
Event Photography with Bounce Flash
- Flash aimed at white ceiling;
- ISO 800, shutter speed 1/125s to capture ambient light;
- Soft, natural lighting—ideal for documentary and candid shots.
Product Photography with Flash
- Side flash with softbox;
- White poster board behind and beside the product;
- Flash power adjusted to highlight textures without blowing out packaging;
- Clean results, controlled shadows, and well-lit subjects.
Extra Tips and Common Mistakes to Avoid
Avoid Using On-Camera Flash Directly
The built-in flash points directly at the subject, producing hard, flat light. Opt for external flash or bounce techniques whenever possible.
Don’t Rely Only on Auto Mode
Although convenient, auto mode doesn’t always grasp scene complexity. Manual adjustments provide better control and precision.
Don’t Ignore Scene Lighting
Balancing flash with ambient light yields more natural photos. Turn off the flash and observe the scene before shooting to assess where it’s actually needed.
Master Flash as a Creative and Expressive Tool
Mastering flash photography goes beyond technical skill—it’s about understanding light as a language. Learning to avoid harsh shadows and light blowouts is just the first step in transforming flash into a powerful aesthetic tool.
With practice, attention to detail, and creativity, flash can be used to set moods, express emotion, and build impactful images.
Invest in modifiers, practice with angles, study light behavior—and turn flash into your most versatile ally in photography.


