Introduction
The direction of light in photographic composition is one of the fundamental pillars for creating images with depth, emotion, and visual impact. Although often overlooked by beginners, the way light strikes the subject is crucial to the final result of the photograph.
This article aims to inform and inspire both beginners and professionals to understand, master, and apply the direction of light as a creative and technical element in composition.
Why the direction of light is essential in photography
The role of light in defining visual narrative
Light has narrative power. Depending on how it hits the subject, it reveals or hides details, highlights shapes, evokes sensations, and creates atmospheres. Side lighting can suggest drama or mystery. Frontal light tends to flatten volumes, conveying neutrality. Backlighting, on the other hand, can create symbolic silhouettes.
Relationship between light direction and depth perception
The direction of light is crucial for building three-dimensionality. Shadows and highlights created by lighting from different angles help the human eye interpret depth and form. Photos without directional contrast tend to look flat or lifeless.
Types of light direction and their visual effects
Frontal light: definition, advantages, and limitations
Frontal light hits the subject directly from the camera’s viewpoint. It minimizes shadows, softens wrinkles and imperfections, making it popular in beauty portraits. However, it can also flatten volumes and reduce depth.
Side light: adding texture and drama
Side lighting is highly valued for highlighting textures and creating contrast between light and shadow. It adds depth and drama to the image. Commonly used in artistic portraits and food photography where texture is key.
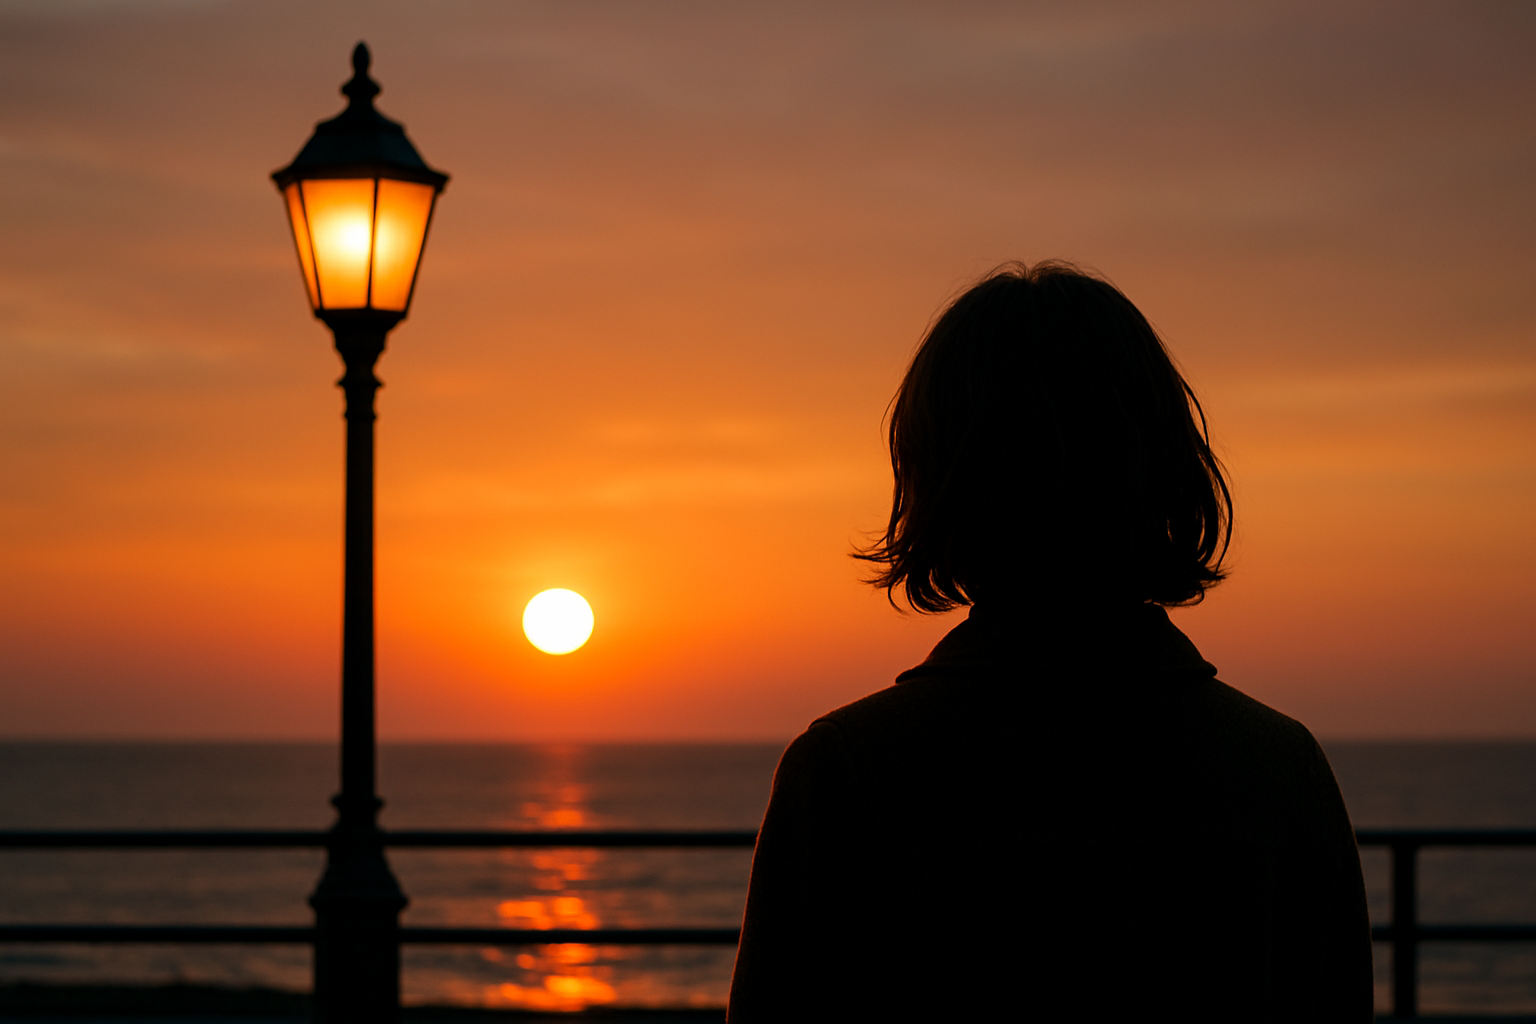
Backlight: silhouettes and atmospheres
Backlighting points toward the camera and can create silhouettes, halos, or outline highlights. When used well, this direction adds a cinematic feel and mood. It requires balancing exposure between the background and the subject.
Top and bottom lighting: special effects and symbolism
Light from above simulates sunlight or ceiling lights. It’s natural but can cast shadows over the eyes. Bottom lighting is unusual and used to create eerie or surreal effects, often seen in horror films.
How to identify and use light in different environments
Natural light: how to make the most of it
Sunlight varies throughout the day. In the morning and late afternoon, it offers soft, golden side lighting—ideal for portraits. At noon, light is harsh and overhead. Windows can serve as natural side light sources depending on the time of day.
Artificial light: control and repeatability
Artificial light offers full control over intensity, color, and direction. It can be shaped using softboxes, reflectors, or snoots. In studio setups, it’s common to use three lights: key light (main), fill light (softens shadows), and back light (creates separation), each from a different direction.
Mixing light sources: when and how to balance them
Environments with both natural and artificial light require attention to color temperature. The direction of each light source must match the creative intent. Use gels, diffusers, and reflectors to balance mixed lighting effectively.
Techniques to control light direction
Positioning the subject and light source
Moving the subject relative to the light source is the simplest way to change light direction. Small adjustments can make big differences in shadow, volume, and texture.
Using reflectors, diffusers, and flags
Reflectors fill shadows without changing the light’s direction. Diffusers soften harsh light. Flags block or redirect light, creating contrast. These tools give photographers greater technical control.
Tips to create specific effects with light direction
- Side light + reflector: soft, dimensional portraits
- Backlight + diffuser: ethereal glow
- Top light + side flag: dramatic focus on the face
Practical cases and applied examples
Portrait with soft side light
A 45° side light with a diffuser produces gentle shadows that enhance facial features. Ideal for emotional or editorial portraits.
Product shot with dimensional lighting
To highlight products, use side key light and a soft backlight to separate the subject from the background. This emphasizes volume and detail perception.
Rim light in the studio
Rim light (or kicker light) is placed behind and slightly to the side of the subject. It outlines the shoulders and hair, separating the subject from the background without lighting the face directly.
Common mistakes and how to avoid them
Poorly positioned light that flattens the subject
Avoid direct frontal light without diffusion—it removes natural shadows that convey depth.
Excessive contrast or unresolved shadows
When the light is too harsh, shadows can become distracting. Use reflectors or adjust the light angle to fix this.
Mastering light direction to create memorable images
Understanding and applying the direction of light in photographic composition is a skill that sets amateurs apart from professionals. The right direction transforms an ordinary scene into a powerful visual statement.
Study the work of photography masters, experiment with different light sources and angles, observe how light interacts with real-world scenes.
When well-directed, light becomes a visual language. And mastering this language is essential for anyone aiming to tell unforgettable visual stories.


