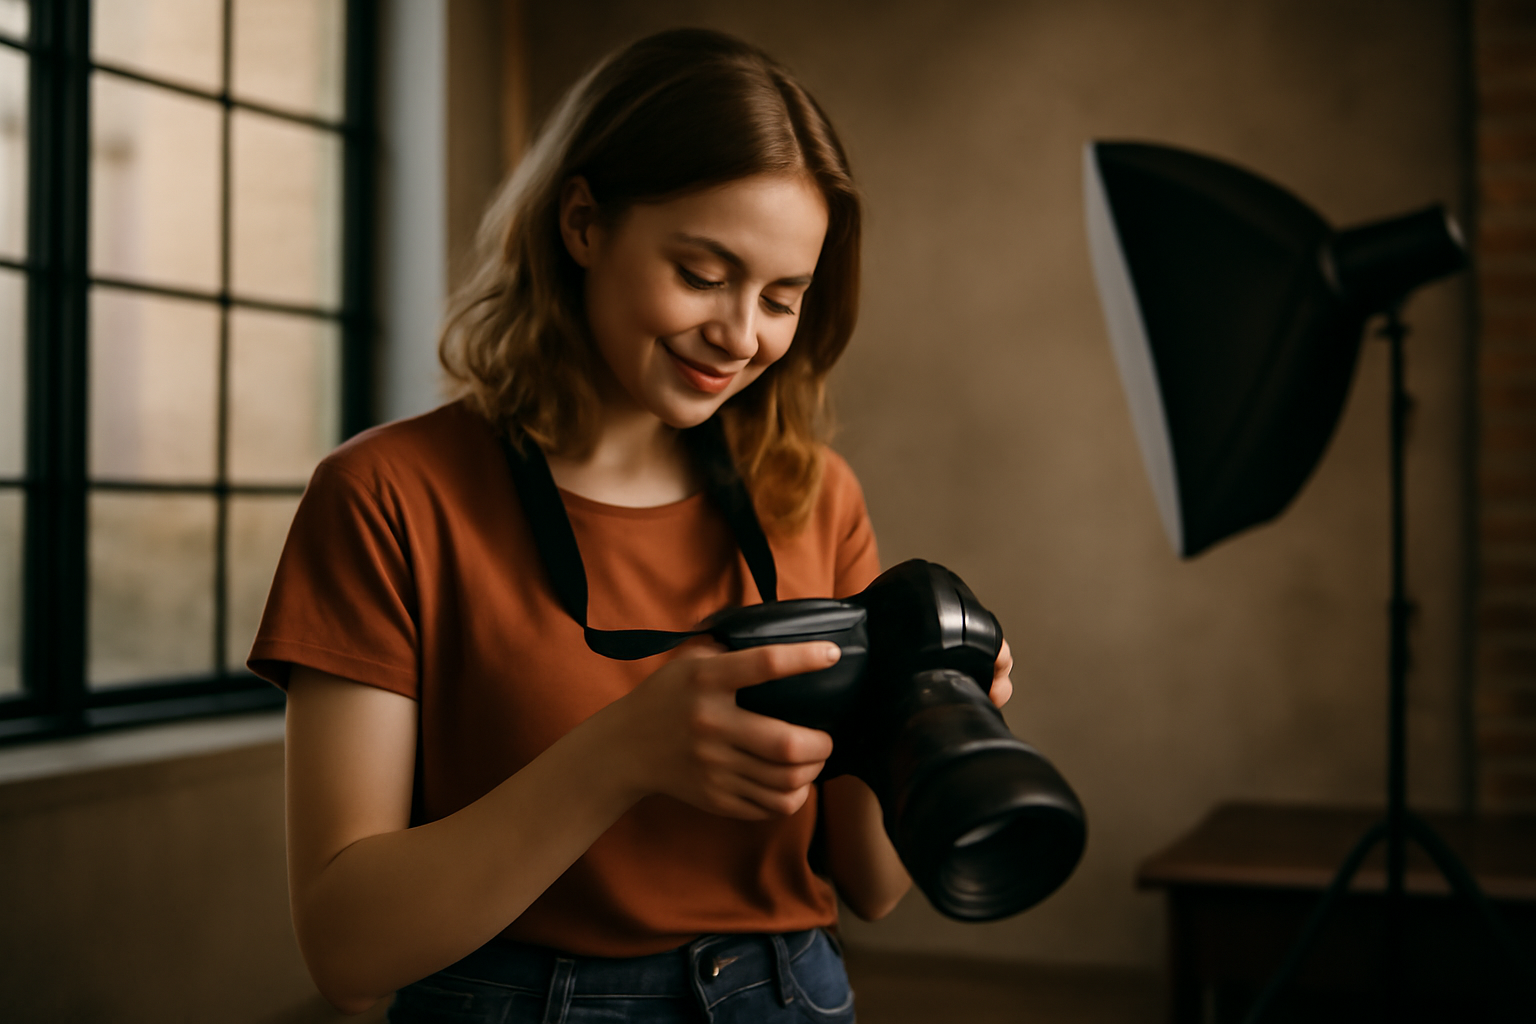
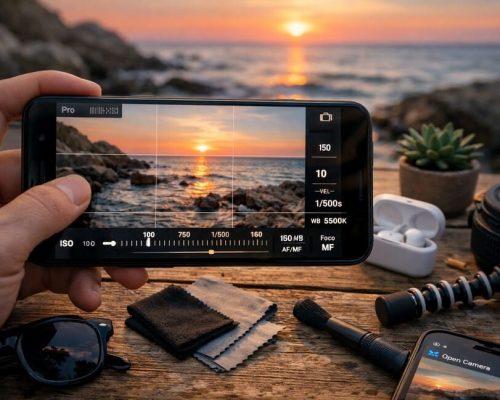
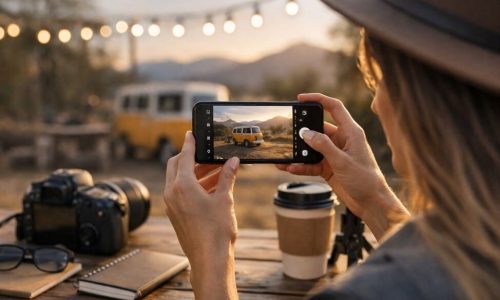
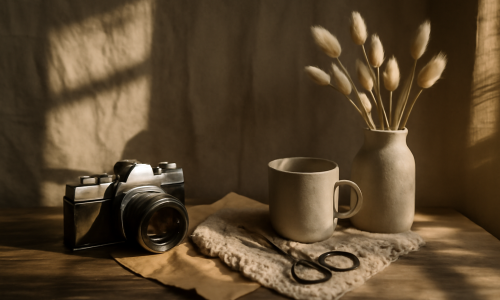
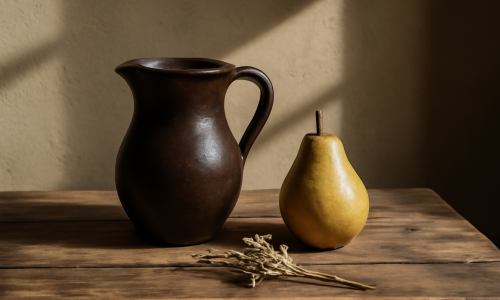
One of the most effective ways to improve your photography skills is by organizing your own photo shoots. Not commercial sessions. Not paid gigs. Just intentional, self-directed shoots created purely for growth, exploration, and practice.
This might sound overwhelming at first, especially if you’re new to photography. But the truth is: setting up your own practice shoots is easier—and more powerful—than you might think. It puts you in control of the environment, the lighting, the subject, and the creative direction. You’re not under pressure to deliver perfect results for a client. You’re free to experiment, fail, try again, and learn.
In this guide, we’ll walk step by step through how to plan, organize, and execute photography practice sessions that actually help you grow, both technically and artistically.
Why Organizing Your Own Photo Shoots Matters
Before we get into the logistics, let’s understand why organizing your own shoots is so important—especially as a beginner.
When you’re only taking photos during events or casual moments, you’re reacting to the world as it happens. That’s useful, but it’s limited. You’re not always in control of the lighting, the subject, or the timing.
When you organize a photo shoot:
- You define the conditions.
- You choose what you want to learn.
- You get to repeat, refine, and improve.
This level of control allows for focused practice, and that’s where growth accelerates. Want to learn how to shoot with harsh midday sun? Organize a shoot at noon. Want to practice low-light portraits? Set up a moody shoot in your room with one lamp. It’s your lab.
Step 1: Define the Purpose of the Shoot
Before anything else, be clear about what you’re trying to practice.
Are you learning:
- How to pose people?
- How to shoot in natural light?
- How to use reflectors?
- How to work with a specific lens?
- How to compose images for storytelling?
Being intentional about your learning goal will shape everything about your shoot: location, time, subject, gear, and editing.
Example:
Let’s say you want to learn how to shoot sharp portraits using only window light. Your decisions will look like this:
- Schedule for late afternoon when the sun is softer
- Use a location with a big window and neutral walls
- Use a 50mm or 85mm lens
- Bring a reflector if needed
- Keep other light sources off to avoid color mixing
The more specific your goal, the better your practice.
Step 2: Choose a Theme or Concept (Optional but Powerful)
Even for practice shoots, having a visual or emotional theme can help fuel your creativity and keep the session focused.
Here are some simple themes you can start with:
- “Melancholy afternoon”
- “Joy in movement”
- “Cinematic light”
- “Urban solitude”
- “Bold color contrast”
- “Vintage fashion”
You don’t need a full mood board, but collecting a few reference images on Pinterest or Instagram can guide your thinking and help you explain your idea if you’re working with someone else.
Themes are especially helpful if you struggle with creativity or decision-making during a shoot. They give you an anchor.
Step 3: Find Your Subject
Now it’s time to choose what or who you’ll be photographing.
Depending on your goal, you might shoot:
- A friend or family member
- Yourself (self-portrait practice is incredibly valuable!)
- A pet
- Everyday objects (books, cups, hands, plants)
- Street scenes or strangers (be mindful of ethics and privacy laws)
- Yourself with a tripod and remote—yes, this works too
If you’re photographing people, communicate clearly. Let them know:
- It’s a learning shoot
- There’s no pressure
- They’re free to be themselves
When your subject feels comfortable, your photos will be better—and your practice more enjoyable.
Tip:
Start with people you trust. As you build confidence, you can invite new faces through local model groups, online communities, or even Instagram.
Step 4: Select the Location
Your location doesn’t need to be fancy. In fact, some of the best practice shoots happen in the most ordinary places:
- Your living room with the curtains open
- A neighborhood alley with textured walls
- A nearby park with strong backlight
- A parking garage with great shadows
- A kitchen with overhead lighting
The key is to choose a location that fits your learning goal.
Pay attention to:
- Light direction and quality
- Colors and background elements
- Weather (for outdoor shoots)
- Distractions (crowds, noise, clutter)
If you can, visit the location ahead of time and take some test shots. It helps reduce surprises on shoot day.
Step 5: Prepare Your Gear Thoughtfully
Resist the urge to bring all your equipment. For a focused practice session, less is more.
For example:
- Practicing shallow depth of field? Bring one fast prime lens.
- Practicing manual mode? Bring your main camera and leave the flash at home.
- Practicing light control? Bring your reflectors, diffusers, or portable lights.
Clean your gear the day before. Charge all batteries. Format your memory cards. Pack your bag so you’re not fumbling during the shoot. Treat it like a real job—even if it’s just for you.
Checklist Example:
- Camera + lens (chosen based on goal)
- Extra battery and memory card
- Light meter or phone app
- Reflector or small LED light
- Water, snacks, sunscreen (for longer shoots)
- Notebook or shot list (optional)
Step 6: Create a Loose Shot List
You don’t need to storyboard every frame, but having a loose list of shots or techniques you want to try keeps your session organized and purposeful.
Your list might include:
- A tight portrait with soft side light
- A full-body shot with movement
- A silhouette against backlight
- A high-angle detail shot
- A creative blur using slow shutter
You don’t have to follow it exactly—but when you feel stuck or anxious, it gives you something to fall back on.
Step 7: Set the Mood for the Shoot
Whether you’re shooting alone, with a subject, or with a team—the energy you bring matters.
Simple ways to set the tone:
- Play music that matches the mood of your concept
- Greet your subject warmly and explain your plan
- Be relaxed—even if you’re nervous
- Embrace mistakes as part of the process
People feed off your energy. The more confident and open you are, the better the atmosphere—and the better your photos.
Step 8: Review and Adjust During the Shoot
Don’t just click away blindly. Stop periodically to:
- Review your images
- Check exposure, focus, and composition
- Ask: “Does this look like what I imagined?”
- Try alternative angles or lighting positions
If something’s not working, change it. That’s the beauty of a self-directed shoot—you’re free to experiment.
Also, take breaks! Step back and look at the scene with fresh eyes. Sometimes the best photo is right behind you.
Step 9: Reflect After the Shoot
Once your session is over, don’t rush to post or edit everything.
Instead, take 15 minutes to reflect:
- What worked better than expected?
- What challenged you the most?
- What would you do differently next time?
- Which image feels the most “you”?
This kind of reflection helps you absorb the learning and make better decisions in your next shoot.
You can even write a quick summary in a notebook or voice memo. Over time, this becomes a goldmine of insight into your growth.
Step 10: Edit with Intent and Purpose
When editing practice photos, don’t aim for “likes.” Aim for learning.
Use this time to:
- Try different styles of color grading
- Compare black and white vs color versions
- Practice skin retouching techniques
- Work on consistency between images
- Create different crops and analyze composition
Editing is where your photos take on their final mood—so experiment with purpose.
And remember: not every photo needs to be posted. Some of your best lessons come from “failed” shots.
Bonus: Schedule Practice Shoots Regularly
Don’t wait for inspiration. Don’t wait for a perfect location. Don’t wait for the newest lens.
Make practice shoots a routine part of your photography journey.
You can start small:
- One shoot per month
- 30-minute mini session every Sunday
- Weekly self-portrait challenge
- A monthly theme project
By creating a habit around intentional practice, your confidence will grow, your creativity will expand, and your style will naturally evolve.
Bonus: Collaborate with Others
Once you’re comfortable planning your own shoots, consider collaborating with others:
- Models
- Makeup artists
- Stylists
- Other photographers
Even for unpaid sessions, collaboration brings new perspectives and keeps things fresh. Just make sure to communicate roles, expectations, and boundaries clearly.
And always credit your collaborators.
Final Thoughts: Practice with Purpose
Organizing your own photo shoots to practice isn’t just a technique—it’s a mindset. It’s about stepping into the role of a creator, not just a camera operator. It’s about owning your growth.
Every shoot you plan, no matter how simple, is an opportunity to:
- Solve creative problems
- Explore your voice
- Learn new tools
- Discover new obsessions
- Take one step closer to the photographer you want to become
So go ahead—pick a goal, grab your camera, and make it happen. You don’t need permission. You don’t need the best gear. You just need to start.
Because the best way to grow is to create. And the

