Portrait editing is one of the most popular areas in photography, and Adobe Lightroom is a powerful tool for enhancing portraits, highlighting the natural beauty of the subject, correcting imperfections, and creating a unique atmosphere. In this article, we will explore the essential techniques and tips to improve your portraits using Lightroom, creating impressive and professionally finished images. 1. Preparing the Image for Editing in Lightroom Importing and Organizing Photos The first step to editing a portrait in Lightroom is to import the image into the program. Open Lightroom, click on Import in the Library module, and select the photos you want to edit. Lightroom offers effective tools for organizing your images, allowing you to classify and tag them with keywords, making it easier to work when editing many photos. Working with Virtual Copies To work non-destructively, always edit a virtual copy of your image. This keeps the original file intact and allows you to revert any changes when necessary. 2. Adjusting Exposure and Contrast Adjusting Exposure The first adjustment you should make is exposure. The goal here is to ensure the image has the right brightness. In Lightroom’s adjustment panel, the exposure slider controls the overall brightness of the image. Increase or decrease exposure until the image has a balanced brightness, without losing details in the shadows and highlights. Tip: For portraits, avoid overexposing the image to preserve skin texture and details in the eyes. Adjusting Contrast Contrast increases the difference between the light and dark areas of your photo, helping to add depth and definition. Proper contrast makes the skin appear smoother and gives more dimension to the subject’s face. Adjust the contrast slider to increase the separation between the light and dark areas. Tip: Use contrast moderately, especially in portraits. Too high contrast can make the skin look artificial. Adjusting Shadows and Highlights The shadows and highlights sliders are essential for fine-tuning exposure. You can lighten dark areas (shadows) without affecting the overall brightness or darken bright areas that are too exposed. Tip: Pay attention to detailed areas like the eyes and hair to avoid losing definition when adjusting shadows and highlights. 3. Enhancing Colors in Lightroom Adjusting Skin Tone Skin tone is one of the most important aspects when editing portraits. Lightroom offers tools to adjust white balance and color temperature, allowing you to adjust the skin tone, creating a more natural and healthy appearance. Step-by-Step: Tip: Avoid applying an overly warm or cool skin tone, as this can make the photo look unrealistic. Aim for a soft and natural tone. Adjusting Saturation and Vibrance The saturation and vibrance controls allow you to enhance the intensity of colors in the image. For portraits, it is important to enhance the skin tones without overdoing it. Vibrance is ideal for boosting the intensity of muted colors without affecting already saturated areas. Tip: If the skin color looks too dull or lifeless, increase the vibrance a little, without overdoing the saturation. Working with the HSL/Color Panel The HSL (Hue, Saturation, Luminance) panel allows for precise adjustments to each individual color in the image. For example, you can adjust the red and orange hues to correct redness or unwanted tones in the skin. Tip: To improve skin tone, adjust the luminance of red and orange hues. This will help create smoother and more natural-looking skin. 4. Using the Adjustment Brush for Specific Corrections Localized Adjustments with the Brush The Adjustment Brush in Lightroom allows you to make corrections to specific areas of the photo. This is ideal for brightening the eyes, smoothing the skin, or enhancing hair details without affecting the rest of the image. Step-by-Step: Tip: Use the brush to brighten shaded areas on the face, such as under the eyes, or to enhance the eyes and make them more vibrant. Adjusting Sharpness and Clarity The sharpness adjustment helps to increase the definition of the eyes and other important details on the face. Clarity is also useful for enhancing details, especially in skin and hair textures. Tip: Avoid overdoing the clarity adjustments, as it may make the skin look rough. Apply it moderately for a natural effect. 5. Creating the Portrait Environment and Style Vignette Effects Adding a subtle vignette to the edges of the photo can help highlight the subject’s face, creating a natural focus in the center. In Lightroom, you can apply a soft vignette, darkening the edges and lightening the center of the image. Tip: Use the vignette sparingly so the effect isn’t too obvious. A light vignette can add depth and focus to the portrait. Using Background Blur If you want to highlight the face even more, you can simulate a background blur. Although Lightroom doesn’t have a detailed background blur tool like Photoshop, you can use the Adjustment Brush to soften areas around the subject, giving the impression of a more blurred background. Tip: Apply a gentle blur around the face, but make sure the effect is gradual and natural. 6. Finalizing the Edit and Exporting the Image Final Adjustments After applying all the necessary adjustments, review the image to ensure that the subject’s appearance is natural and balanced. Make sure the skin has a smooth tone without being over-edited. Exporting the Image Once you are happy with the results, it’s time to export the image. Choose the right resolution and adjust the quality to ensure that the photo is optimized for print or social media. Tip: For social media, export your images at a 72 dpi resolution with good compression quality to avoid making the file too large. Conclusion: Enhancing Portraits with Lightroom Lightroom offers powerful and easy-to-use tools to create stunning portraits. The key is to carefully adjust exposure, colors, and details to achieve a natural and professional result. Portrait editing in Lightroom can transform your photos, bringing out the true beauty of the subject without losing the natural look.
How to Fix Skin Imperfections Using Photoshop: Step-by-Step Guide
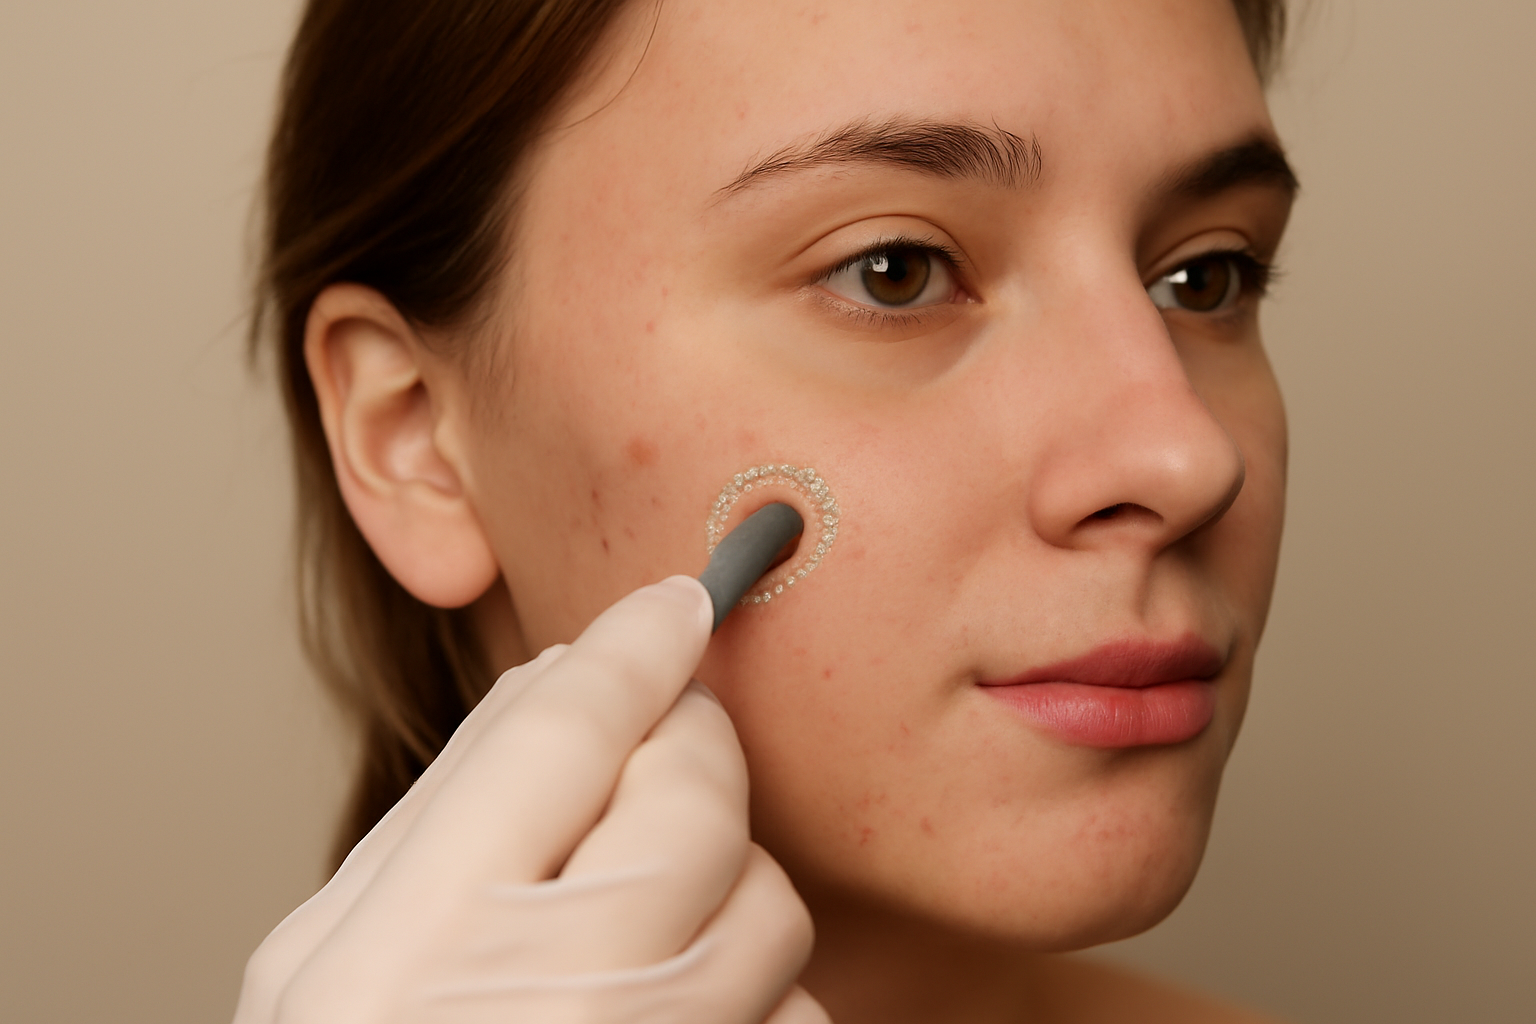
One of the essential skills for any photographer editing portraits is the ability to correct skin imperfections in a natural and realistic manner. In Adobe Photoshop, there are several powerful tools that allow you to smooth, retouch, and correct the skin without losing the essential texture details. In this article, we will show you how to use these tools to enhance the appearance of the skin while maintaining a natural and professional result. 1. Preparing the Image for Editing Importing the Image Before starting the editing process, the first step is to import the image into Photoshop. Open the program, go to File > Open, and select the image you want to edit. It’s always good to work on a copy of the original image to avoid irreversible changes. Organizing Layers When editing the skin, it’s recommended to duplicate the original layer to maintain control over the adjustments made. To duplicate the layer, select it in the layer palette, right-click, and choose Duplicate Layer. This allows you to work non-destructively and revert to the original if necessary. 2. Removing Imperfections: Basic Correction Tools Using the Healing Brush Tool The Healing Brush Tool (Spot Healing Brush Tool) is one of the most effective tools for removing small skin imperfections, such as pimples, blemishes, and marks. It automatically blends the surrounding area to fill imperfections in a natural way. Step-by-Step: Tip: Use the brush with a low hardness to avoid harsh edges in the corrected areas. Using the Clone Stamp Tool The Clone Stamp Tool allows for more precise corrections by cloning a healthy area of skin and applying it to an imperfection. Step-by-Step: Tip: Use the opacity mode to adjust the intensity of the correction and make the transition smoother. 3. Smoothing the Skin: Advanced Techniques for a Natural Finish After removing imperfections, the next step is to smooth the skin’s texture. This can be done in various ways, but it’s essential to maintain the natural texture to avoid an artificial result. Using the Gaussian Blur Filter The Gaussian Blur filter is an excellent tool for smoothing skin, but it’s important to use it sparingly so that the effect doesn’t erase the essential skin texture. Step-by-Step: Using the High-Frequency Filter The High Frequency filter is an advanced technique that allows you to smooth the skin while preserving the original texture. It separates the image into two layers: a low-frequency layer (for smoothing color and tones) and a high-frequency layer (for maintaining texture details). Step-by-Step: Tip: When using the high-frequency technique, keep the blur intensity minimal to ensure the skin texture is preserved. 4. Final Adjustments: Enhancing the Skin’s Appearance Adjusting Skin Tone Sometimes, after editing, the skin tone may appear slightly off. To fix this, you can adjust the color and tone balance using the hue and saturation tools. Step-by-Step: Using the Tone Levels Mask You can add a levels adjustment layer to lighten or darken specific areas of the skin, further enhancing the appearance of the texture. Step-by-Step: 5. Finalizing: Tips for a Natural Result Avoid Overdoing It Although Photoshop offers a wide variety of powerful tools for editing, the key to well-done skin editing is to avoid overdoing it. Keep the skin texture intact and aim to highlight the subject’s natural features. Using Zoom for Detail When editing, use 100% zoom to view and adjust small imperfections with precision. This helps ensure the edit is natural and flawless. Check the Final Result After finishing, review the image at both actual size and in a reduced size to ensure that the smoothing effect looks natural and balanced. Conclusion: How to Keep Skin Edits Natural Editing skin imperfections using Photoshop can be an easy task when you have the right tools and techniques. The key is to avoid over-editing and always maintain the skin’s natural texture. With patience and practice, you’ll learn how to make subtle corrections that enhance the image without losing the important details that make each photo unique.
Photoshop vs. Lightroom: Which Photo Editing Tool is Better for You?
Choosing the right photo editing tool is essential for photographers, whether you’re a beginner or a seasoned pro. Two of the most popular options available are Adobe Photoshop and Adobe Lightroom. Each tool has its strengths, and knowing which one to choose can make a significant difference in your workflow. In this article, we’ll explore the features, pros, and cons of both tools to help you decide which one is the best fit for your photography needs. 1. What is Adobe Photoshop? An Overview of Photoshop Adobe Photoshop is a pixel-based image editing software that offers an incredibly detailed and versatile set of tools for photo manipulation and graphic design. It’s widely regarded as the industry standard for image editing, used by professionals across various fields, from photographers to designers. Key Features of Photoshop Some of the key features of Photoshop include: 2. What is Adobe Lightroom? An Overview of Lightroom Adobe Lightroom is primarily focused on non-destructive editing, allowing photographers to make adjustments to their photos without permanently altering the original image. Lightroom is perfect for photographers who need to manage large quantities of photos and make global adjustments quickly. Key Features of Lightroom Some key features of Lightroom include: 3. Photoshop vs. Lightroom: Key Differences 1. Editing Workflow One of the major differences between Photoshop and Lightroom is their approach to editing: When to Choose Photoshop for Editing When to Choose Lightroom for Editing 2. Speed and Efficiency 3. File Management 4. Price and Value 4. Which Tool is Best for You? Choosing Based on Your Needs When Photoshop is Best When Lightroom is Best 5. Conclusion: Photoshop or Lightroom? Both Photoshop and Lightroom have unique features that serve different needs in the world of photography. Photoshop excels at detailed photo manipulation and creative control, while Lightroom shines with its ease of use, speed, and batch editing features. Ultimately, the best tool depends on your photography style and needs. If you are working on large collections of photos and want an efficient editing workflow, Lightroom is the ideal choice. If your work requires heavy manipulation and pixel-perfect edits, Photoshop is the way to go.
How to Use Lightroom to Improve Your Photos: Essential Tips for Beginners
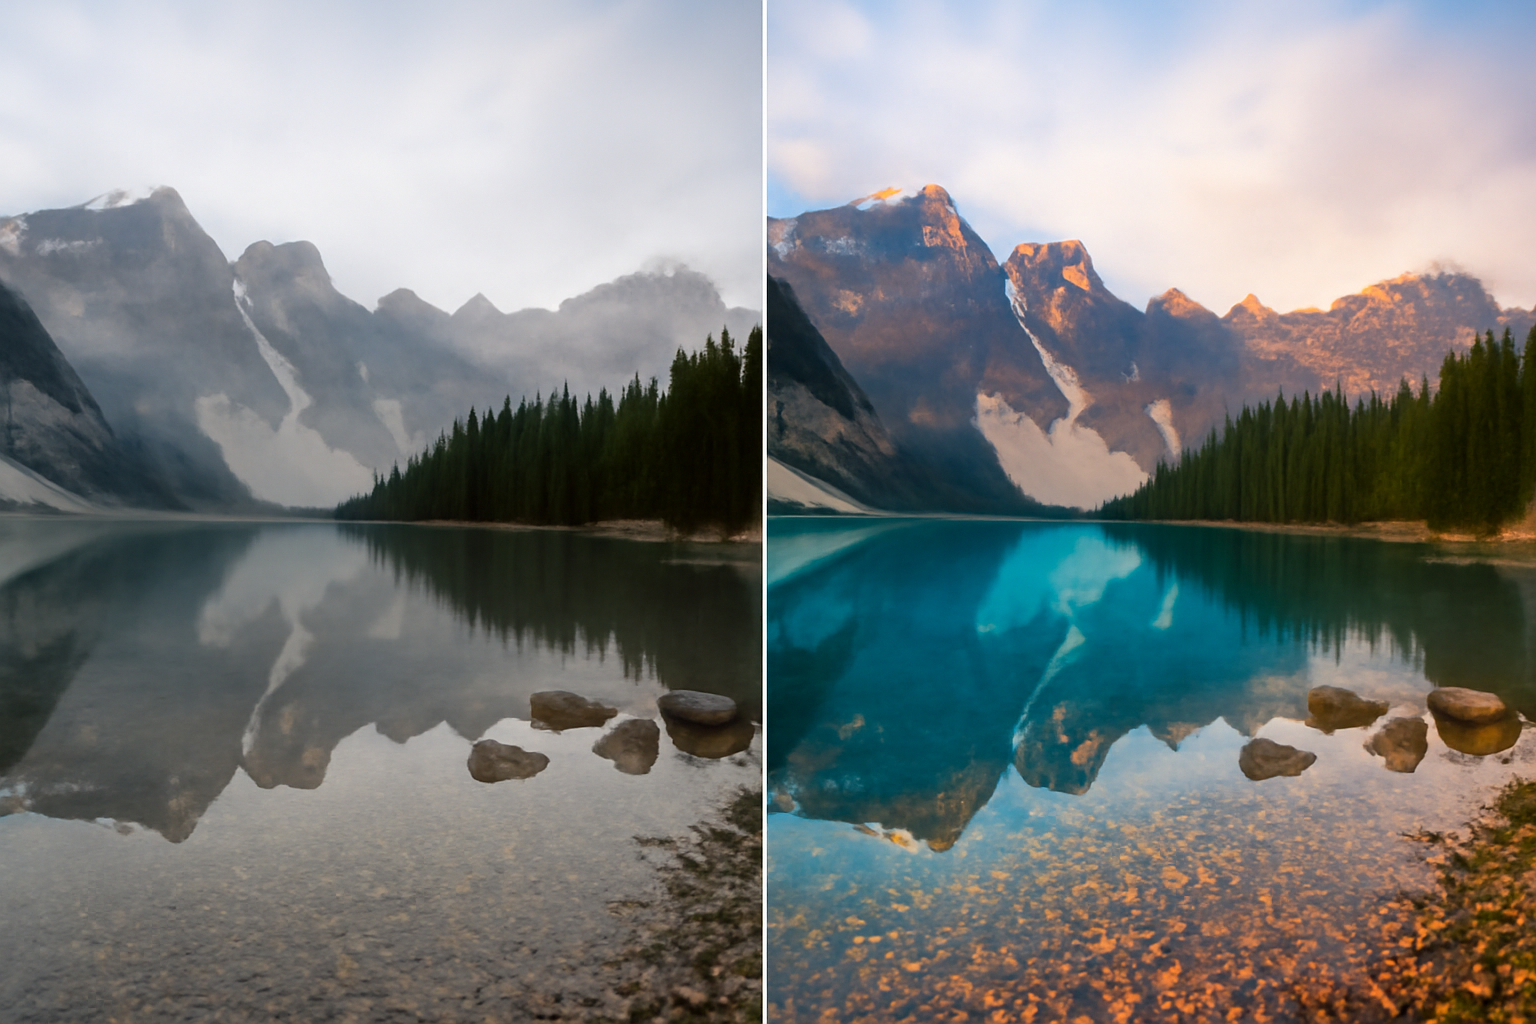
Adobe Lightroom is one of the most powerful and popular photo editing tools, widely used by both amateur and professional photographers worldwide. Its intuitive interface and powerful editing tools allow you to adjust everything from simple photo tweaks to complex transformations, all in a non-destructive way. In this article, we’ll explore how to use Lightroom efficiently to improve your photos. What is Adobe Lightroom and How Does It Work? The Role of Lightroom in Photo Editing Lightroom is not just a photo editor but also a powerful photo management tool. Unlike Photoshop, which works with pixel-level edits, Lightroom is optimized for quick global adjustments. It allows you to tweak exposure, colors, contrast, sharpness, and more without altering the original quality of the image. Organization and Workflow Before editing your photos, you need to import them into Lightroom. The program offers a library where you can organize, tag, and rate your photos. This is especially useful for photographers who work with large volumes of images, such as those shooting weddings or photo sessions. Lightroom allows you to manage everything in one place. Basic Adjustments in Lightroom: First Steps 1. Adjusting Exposure Exposure is the first adjustment you should make. When a photo is too dark (underexposed) or too bright (overexposed), the image quality can be compromised. In Lightroom, the exposure slider is simple to use—just move it until the image is balanced. Tip: While adjusting exposure, pay attention to the highlight and shadow areas to avoid losing important details. 2. Contrast: Enhancing Details Contrast is the difference between the light and dark areas of your photo. Proper contrast can add depth to an image. The contrast slider in Lightroom allows you to increase or decrease the difference between these areas. Tip: If you want more contrast, move the slider to the right, but if the image becomes too harsh, tone it down a bit to soften the effect. 3. Adjusting Highlights and Shadows Lightroom offers highlight and shadow sliders for fine-tuning your exposure. You can lighten dark areas (shadows) without affecting the overall brightness of the image or, if necessary, darken bright areas. Tip: Use the shadow control to recover details in dark areas and the highlight control to avoid bright areas from being blown out. Improving Colors in Lightroom 1. White Balance Adjustment The white balance adjusts the overall color tone of the image, giving it a warmer or cooler feel. The temperature slider in Lightroom can be adjusted easily by moving the slider left (cooler) or right (warmer). Tip: For a cozy, warm look, move the temperature to the warmer side. For cooler, calmer tones, move it towards the cooler side. 2. Saturation and Vibrance Saturation controls the intensity of all colors in the image, while vibrance adjusts the more muted colors without affecting the already saturated ones. These two controls allow you to make precise adjustments. Tip: Increase the vibrance for a livelier look without overdoing it, while saturation can be used to intensify or soften colors entirely. 3. HSL/Color: Advanced Color Control The HSL/Color panel in Lightroom allows for detailed control over the hue, saturation, and luminance of each individual color. This is useful for more specific adjustments, such as intensifying the green of plants or softening the blue of the sky. Tip: Experiment with reducing the saturation of reds or oranges in portraits for more natural-looking skin tones. Using Lightroom’s Image Correction Tools 1. Lens Correction Lightroom has a lens correction tool that automatically adjusts distortions caused by the lens used, such as vignetting (darkening of the edges) and barrel distortion. Tip: Whenever possible, enable the automatic lens correction, especially when shooting with wide-angle lenses. 2. Removing Imperfections While Lightroom isn’t as powerful as Photoshop for detailed retouching, it does have a spot removal tool that is useful for fixing small imperfections, like dust on your lens or blemishes on the skin. Tip: Use the adjustment brush tool to remove small blemishes or enhance specific areas of the photo. 3. Adding a Vignette A subtle vignette can help highlight the main subject of the photo by darkening the edges, drawing attention to the center. Use this tool in moderation to avoid overdoing the effect. Tip: Adjust the vignette style to not affect the overall balance of the image, focusing on the main subject. Exporting Your Photos in Lightroom 1. Export Settings Once your editing is complete, you can export your photos from Lightroom to various platforms. Export settings include choosing the file format (JPEG, TIFF, PNG), resolution, and quality. Tip: For social media, use a resolution of 72 dpi and adjust the quality to a level that maintains a good balance between quality and file size. 2. Export Presets If you frequently make similar edits, Lightroom allows you to save export presets. This saves time, as you can apply your favorite export settings automatically. Conclusion: The Magic of Lightroom in Photo Editing Lightroom offers a series of powerful and intuitive tools for photographers of all levels. From simple adjustments like exposure and contrast to more advanced edits like color grading and lens correction, Lightroom is essential for photographers who want to improve their images quickly and effectively. As you continue to explore all of Lightroom’s features, you’ll begin to develop your own editing style and transform your photos from good to extraordinary. Don’t be afraid to experiment, and remember that practice is key to mastering photo editing.

