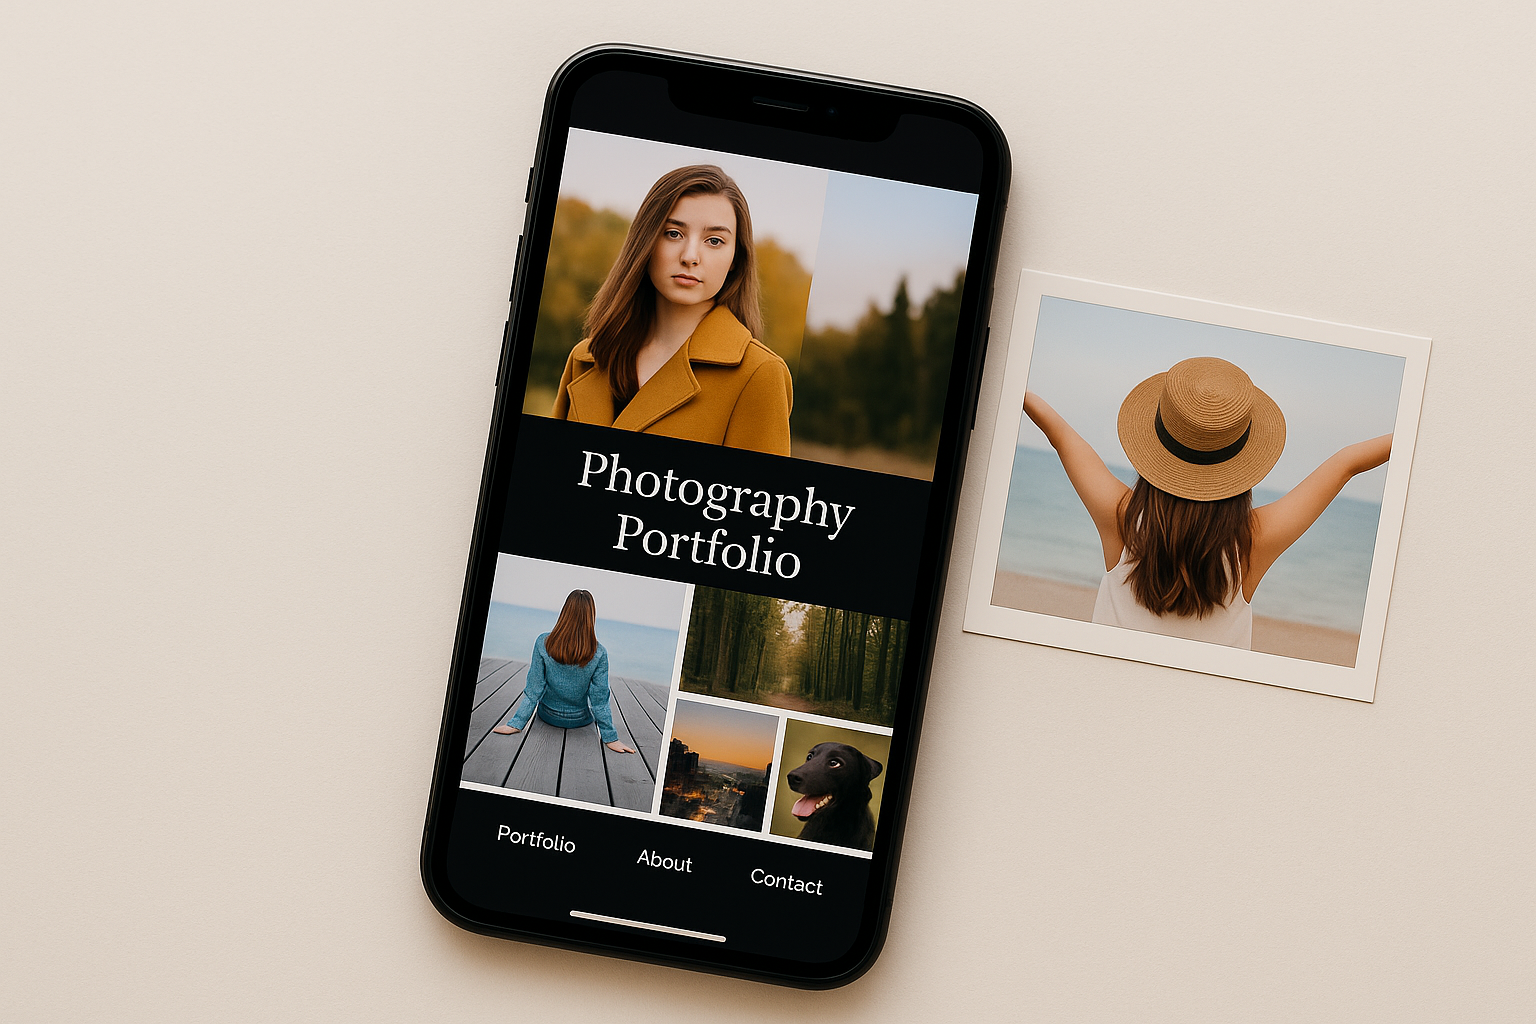
Having a well-organized portfolio is essential for any photographer — whether amateur or professional. A portfolio not only showcases your work with quality but also helps you attract clients, build credibility, and keep your best images in one place. The good news is that today, you can create impressive portfolios directly from your phone, using apps that offer modern design, easy organization, and even online sharing options. In this article, you’ll discover the best apps to create photography portfolios on your smartphone and learn how to use them strategically. 1. Why have a photography portfolio? A portfolio is more than just a gallery of photos — it’s your professional showcase. With it, you can: And the best part: with the right apps, you can create everything without a computer. 2. Best Apps to Create Portfolios on Your Phone 📱 1. Adobe Portfolio 📌 Requires a paid Adobe plan. 📱 2. Canva Perfect for full visual control without complications. 📱 3. Pixieset 📌 Free version available with storage limits; paid plans also offered. 📱 4. Behance Great for photographers who want to showcase their work globally. 📱 5. Google Sites Lightweight, easy-to-use option for anyone who wants something straightforward. 3. What to Include in Your Portfolio Regardless of which app you choose, be sure to organize your content effectively: ✅ Choose your best photos Quality over quantity. Show variety, but keep a consistent style. ✅ Categorize your work Portraits, events, landscapes, products — organize clearly. ✅ Add photo details Date, location, project type, camera used, creative concept — these add context and value. ✅ Include your contact info Links to WhatsApp, social media, or email are essential. ✅ Keep it updated Always refresh your portfolio with new, relevant work. 4. Extra Tips to Impress Conclusion: Your Portfolio in the Palm of Your Hand With the right apps, you can build a photography portfolio that’s modern, elegant, and functional — without a computer or technical skills. Whether you want to impress clients, showcase your talent, or simply organize your work with care, apps like Canva, Pixieset, Behance, and Adobe Portfolio make the process easier and highlight your value as a photographer. The world will judge your photos by how they’re presented.Take care of the window that shows who you are as an artist.
Apps to Make Collages with Your Photos
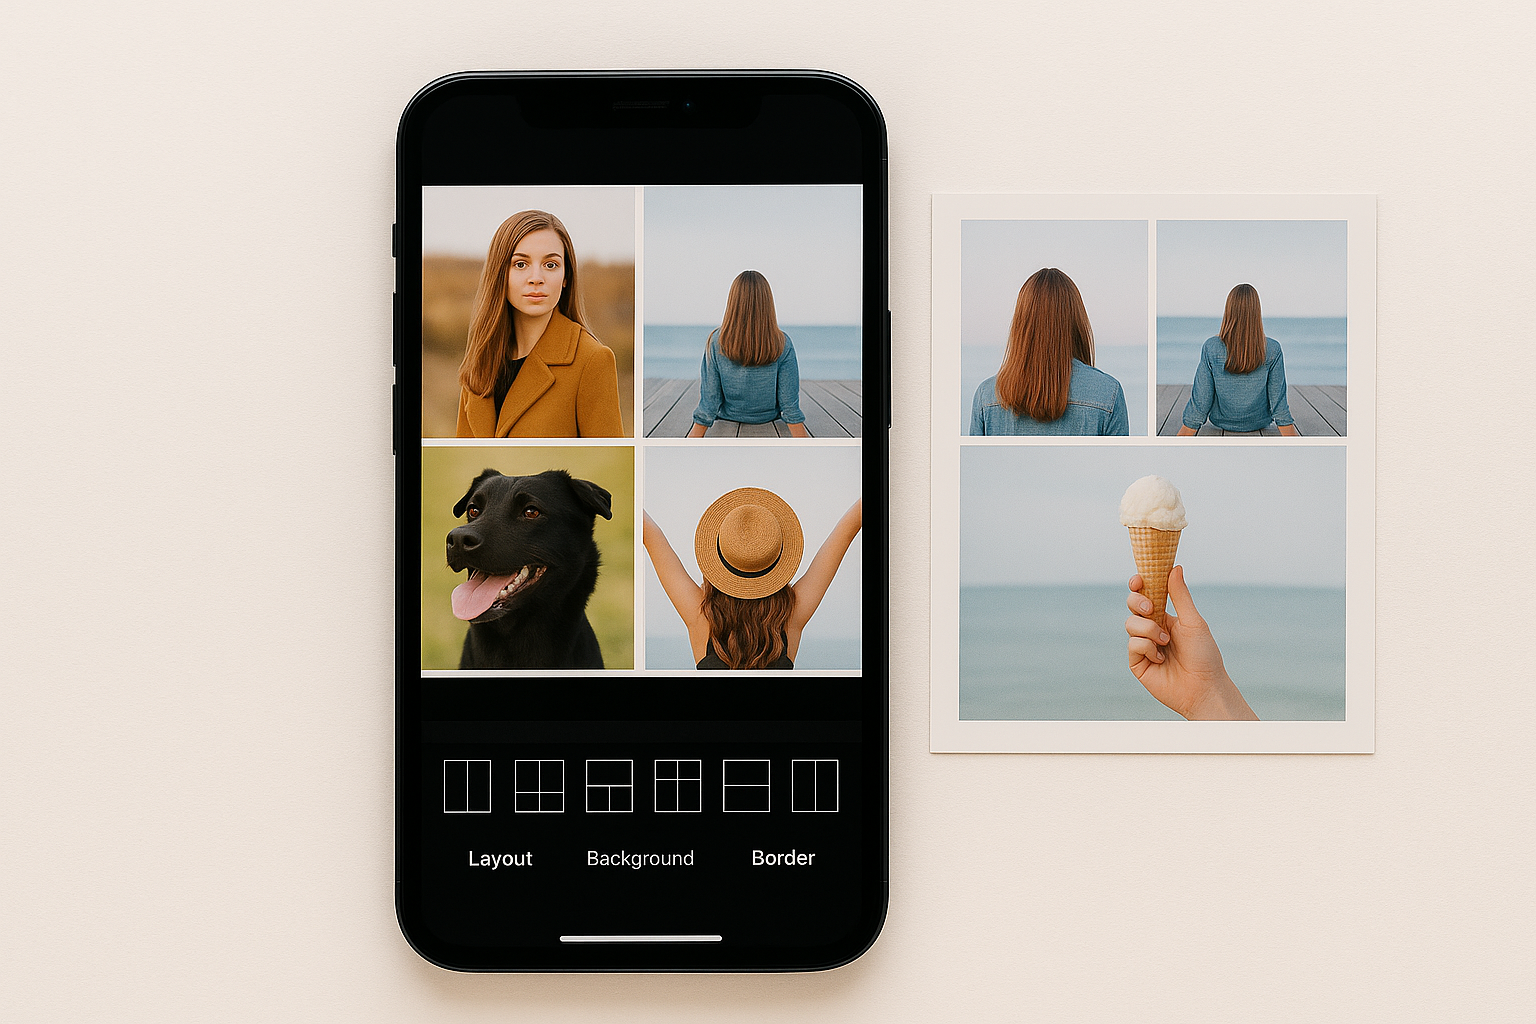
Photo collages are a creative, fun, and visually appealing way to tell stories, highlight special moments, or create content for social media, albums, invitations, and more. The best part? You don’t need any graphic design skills or complex software to make a great-looking collage. With the right apps, you can do everything directly from your smartphone in just a few taps. In this article, you’ll discover the best apps to make photo collages, learn about their key features, and get tips to create eye-catching layouts easily. 1. Why use photo collages? Collages are great for: And best of all: you can do it all in style and high quality, even without design experience. 2. Best Apps to Make Photo Collages 📱 1. Canva One of the most complete apps for collages and graphic design in general. Ideal for anyone looking for convenience, customization, and a professional look. 📱 2. PicsArt A popular app for its variety of creative tools. Great for users who love creativity and unique layouts. 📱 3. PhotoGrid As the name suggests, it specializes in grid-based collages. Perfect for quick and visually engaging collages. 📱 4. Layout from Instagram Instagram’s official app for making simple collages. Ideal for creating collages for Stories or feed posts. 📱 5. Fotor A photo editing app that also offers a great collage maker. Great for users seeking elegant and minimalistic collage designs. 3. Tips to Make Creative Photo Collages ✅ Choose photos that go together Use images with similar tones, themes, or from the same event to keep visual harmony. ✅ Keep visual balance Avoid overcrowding the layout. Less is more. ✅ Try different layouts Don’t stick only to grid formats — explore freestyle and unique compositions. ✅ Add meaningful text Short phrases, dates, or titles help add context and meaning. ✅ Use frames and backgrounds carefully They can enhance your collage, but shouldn’t overpower the photos. 4. When to Use Photo Collages Collages are perfect for: Conclusion: Tell Visual Stories with Creativity Creating photo collages is an accessible, practical, and powerful way to communicate memories, ideas, and emotions through images. With apps like Canva, PicsArt, PhotoGrid, and others, you can turn ordinary photos into beautiful, eye-catching compositions — no design skills needed. Experiment with different styles, explore your creativity, and share your collages with the world — all from your phone.
Apps to Remove Unwanted Objects from Your Photos
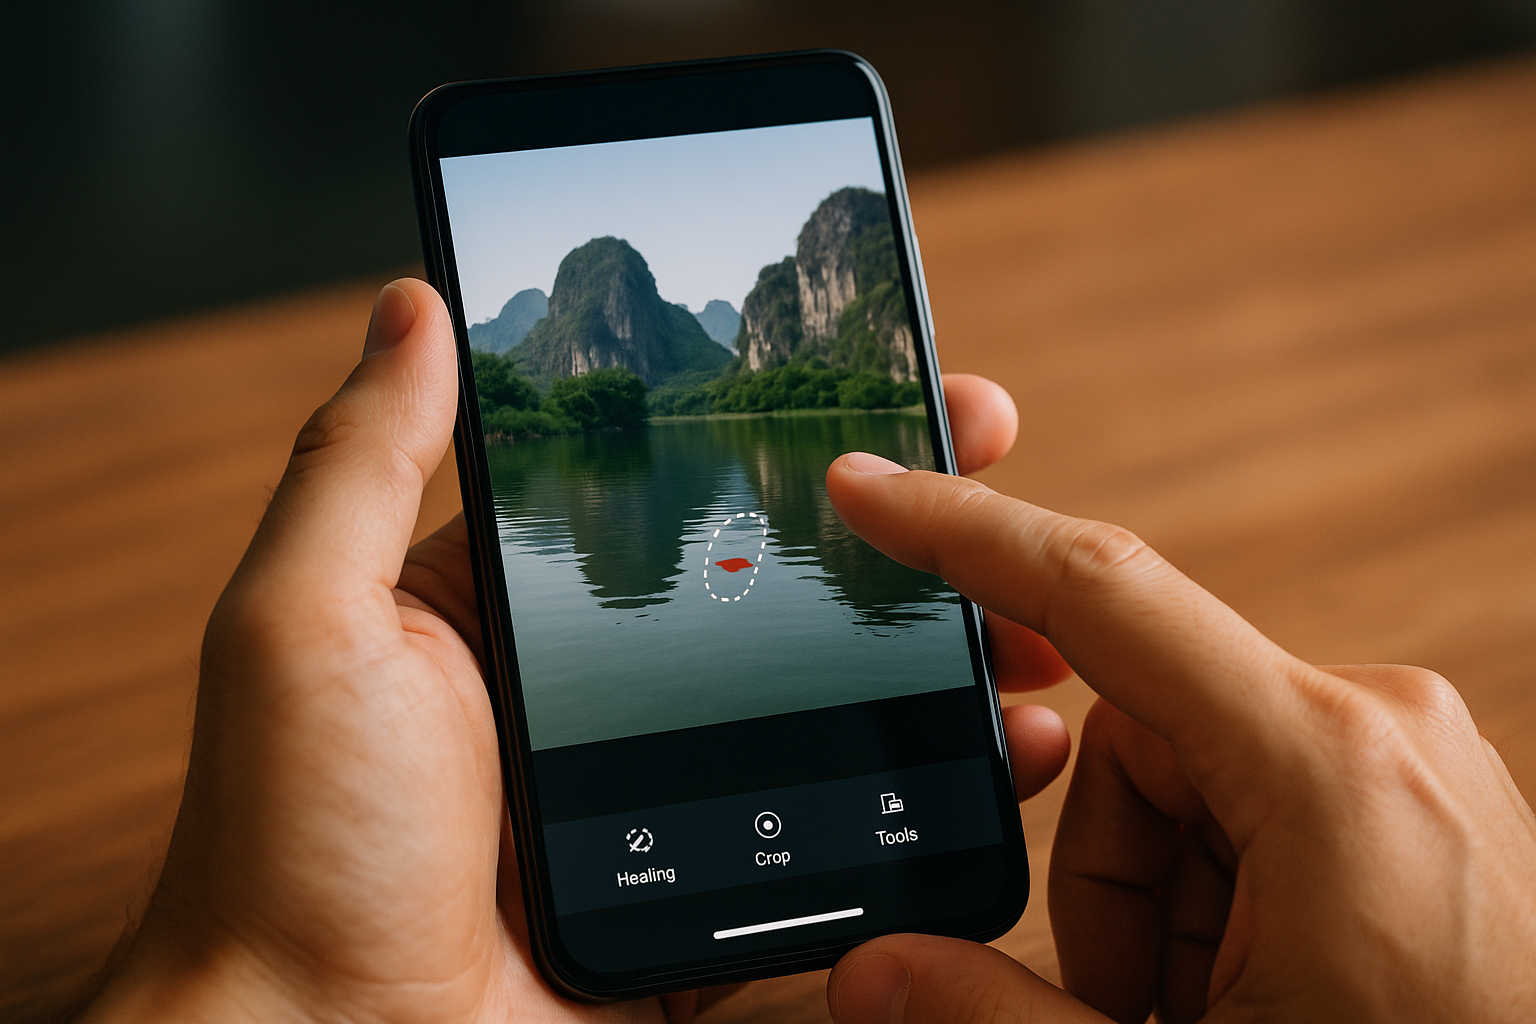
Have you ever taken a great photo, only to notice later that there’s a pole, a stranger, or an unwanted detail in the background? Fortunately, you no longer need to retake the photo or know how to use Photoshop to fix it. Today, there are many mobile apps that let you remove unwanted objects with just a few taps — right from your phone. In this article, you’ll discover the best apps for removing elements from photos, how to use them effectively, and tips to achieve a clean, professional result. 1. Why remove objects from photos? Removing unwanted objects or distractions helps to: With the right tool, this can be done in seconds, even by beginners. 2. Best apps to remove unwanted objects from photos 📱 1. Snapseed (Tool: Healing) 📌 Tip: Zoom in and apply slowly to avoid visible distortions. 📱 2. Adobe Photoshop Express One of the most reliable apps for erasing details while maintaining image quality. 📱 3. Remove Unwanted Object (Android) Simple but surprisingly powerful. 📱 4. TouchRetouch Available for both iOS and Android. It’s a paid app, but highly praised by photographers. 📱 5. PhotoRoom Excellent for e-commerce and online store images. 3. Tips for removing objects naturally Even with good apps, these practical tips will help you get cleaner and more professional-looking results: ✅ Zoom in Zooming allows for more precise selections. ✅ Remove in small sections If the object is large, erase it piece by piece. ✅ Match surrounding texture Some apps let you clone surrounding areas for a more seamless result. ✅ Combine with other edits After object removal, adjust light and color to help unify the image. 4. When not to remove objects Even though it’s tempting, it’s important not to overdo it: The goal is to enhance the image, not make it look artificial. Conclusion: fewer distractions, more impact Removing unwanted objects is a powerful editing technique for anyone who wants cleaner, more professional and visually pleasing photos. And the best part: you don’t need to master complex software to do it. With apps like Snapseed, TouchRetouch, or Photoshop Express, anyone can edit their photos easily and get stunning results — all from a mobile device.
How to Blur the Background of Photos Using Apps
Blurring the background of a photo is one of the simplest and most effective ways to give your images a professional look. This effect helps highlight the main subject, reduces distractions in the background, and adds depth to your composition — all without needing a professional camera. The good news is that there are several free and easy-to-use apps that simulate the blur (bokeh) effect right on your phone. In this article, you’ll learn how to apply this effect using the best apps and get tips for making it look natural and polished. 1. What is the blur effect? Also known as the bokeh effect, this soft background blur is commonly seen in DSLR camera photos. It helps isolate the subject from the background, creating a cleaner, more artistic, and elegant look. Today, anyone can apply this effect with just a tap, using artificial intelligence, auto-select tools, or manual adjustments — all through mobile editing apps. 2. Best apps to blur the background of photos 📱 1. Snapseed Tool: Lens Blur 📌 Tip: Use the effect for portraits or close-up subjects to enhance depth. 📱 2. AfterFocus Great for portraits, product shots, and scenic photos. 📱 3. Lightroom Mobile (Blur Masking) In the premium version, you can use subject selection or manual masking tools: Perfect for users with some editing experience looking for professional results. 📱 4. PicsArt A popular choice for fast and stylized edits. 📱 5. AirBrush Perfect for casual users who want to quickly enhance personal photos. 3. How to apply the blur effect naturally Even with powerful apps, the way you apply the blur makes a big difference. Here are some practical tips: ✅ Don’t overdo it Too much blur can make the photo look fake. Keep it soft and gradual. ✅ Use well-lit photos Good lighting helps emphasize the subject and makes the blur look more natural. ✅ Combine with color adjustments Blurring the background along with adjusting contrast and saturation helps direct the viewer’s attention. ✅ Experiment with focal points In some apps, you can manually reposition the focus. Try placing it off-center for more interesting compositions. 4. When is it worth blurring the background? Blurring the background can be helpful in many situations: 5. Comparing photos with and without blur See how the blur effect can completely change the feel of a photo: Type of Photo Without Blur With Blur Portrait Background distracts Face stands out clearly Product Competes with background Product is the focus Selfie Cluttered scene Clean and polished Urban landscape Visual noise Depth and elegance Conclusion: Enhance Your Photos with a Touch of Focus Blurring the background is a simple but powerful editing technique. With the right apps and some creative control, you can create more elegant, professional, and visually impactful images — right from your smartphone. Start with Snapseed or AfterFocus and gradually explore other tools until you find the style that best represents your photography.
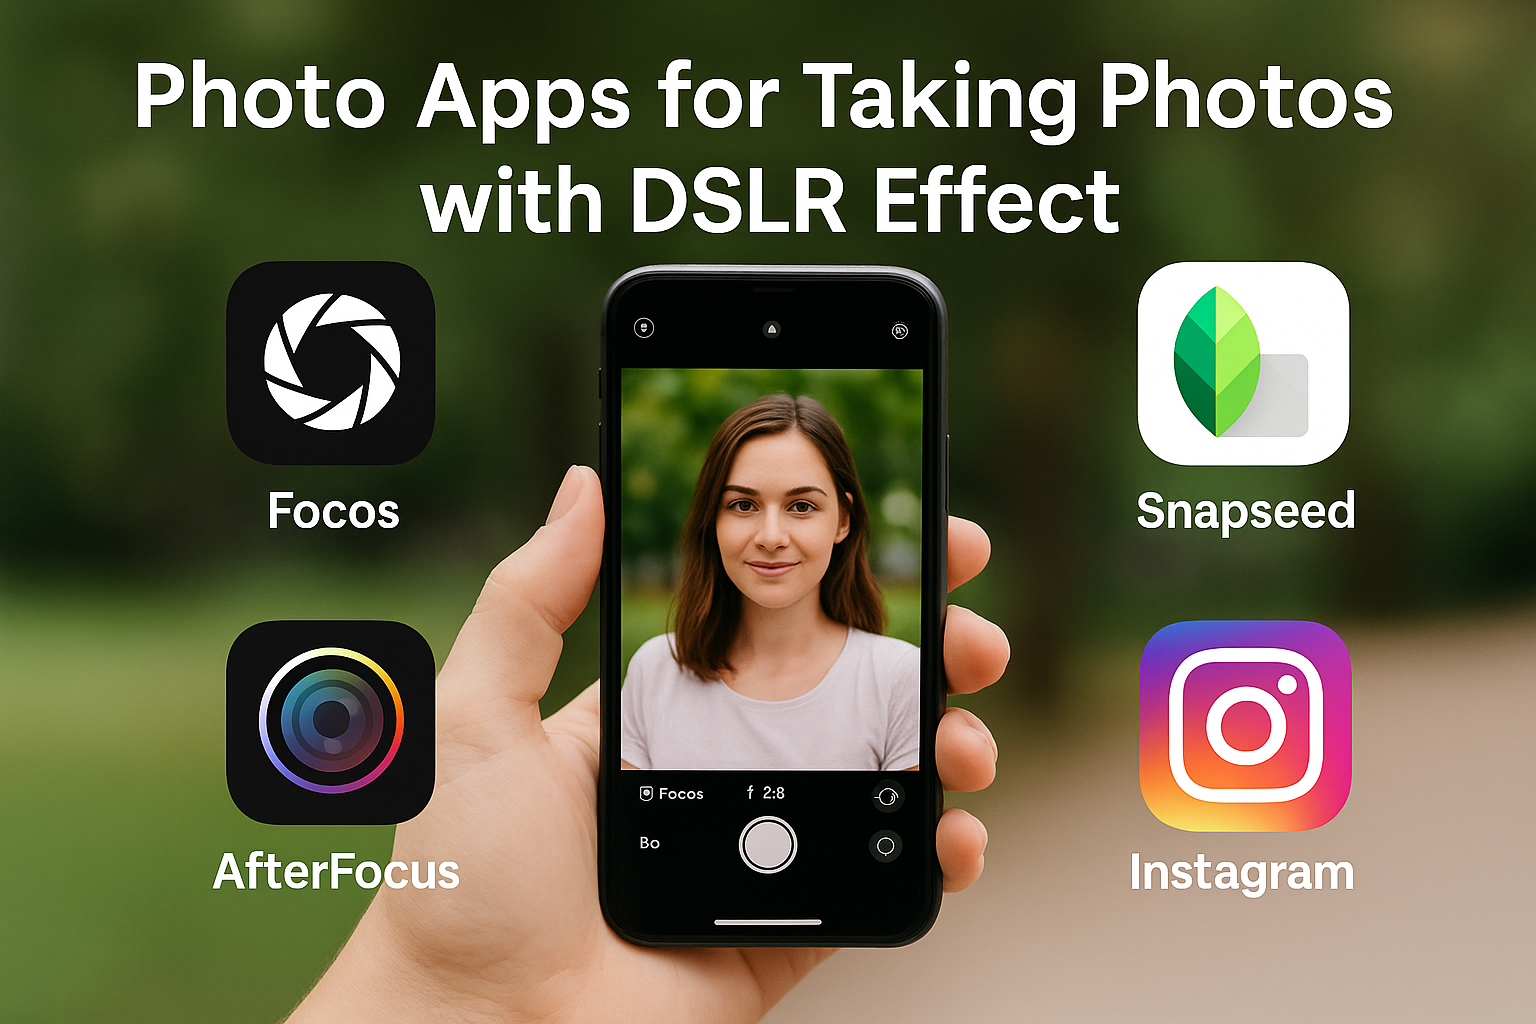
Apps to Take Photos with a DSLR Effect on Your Phone
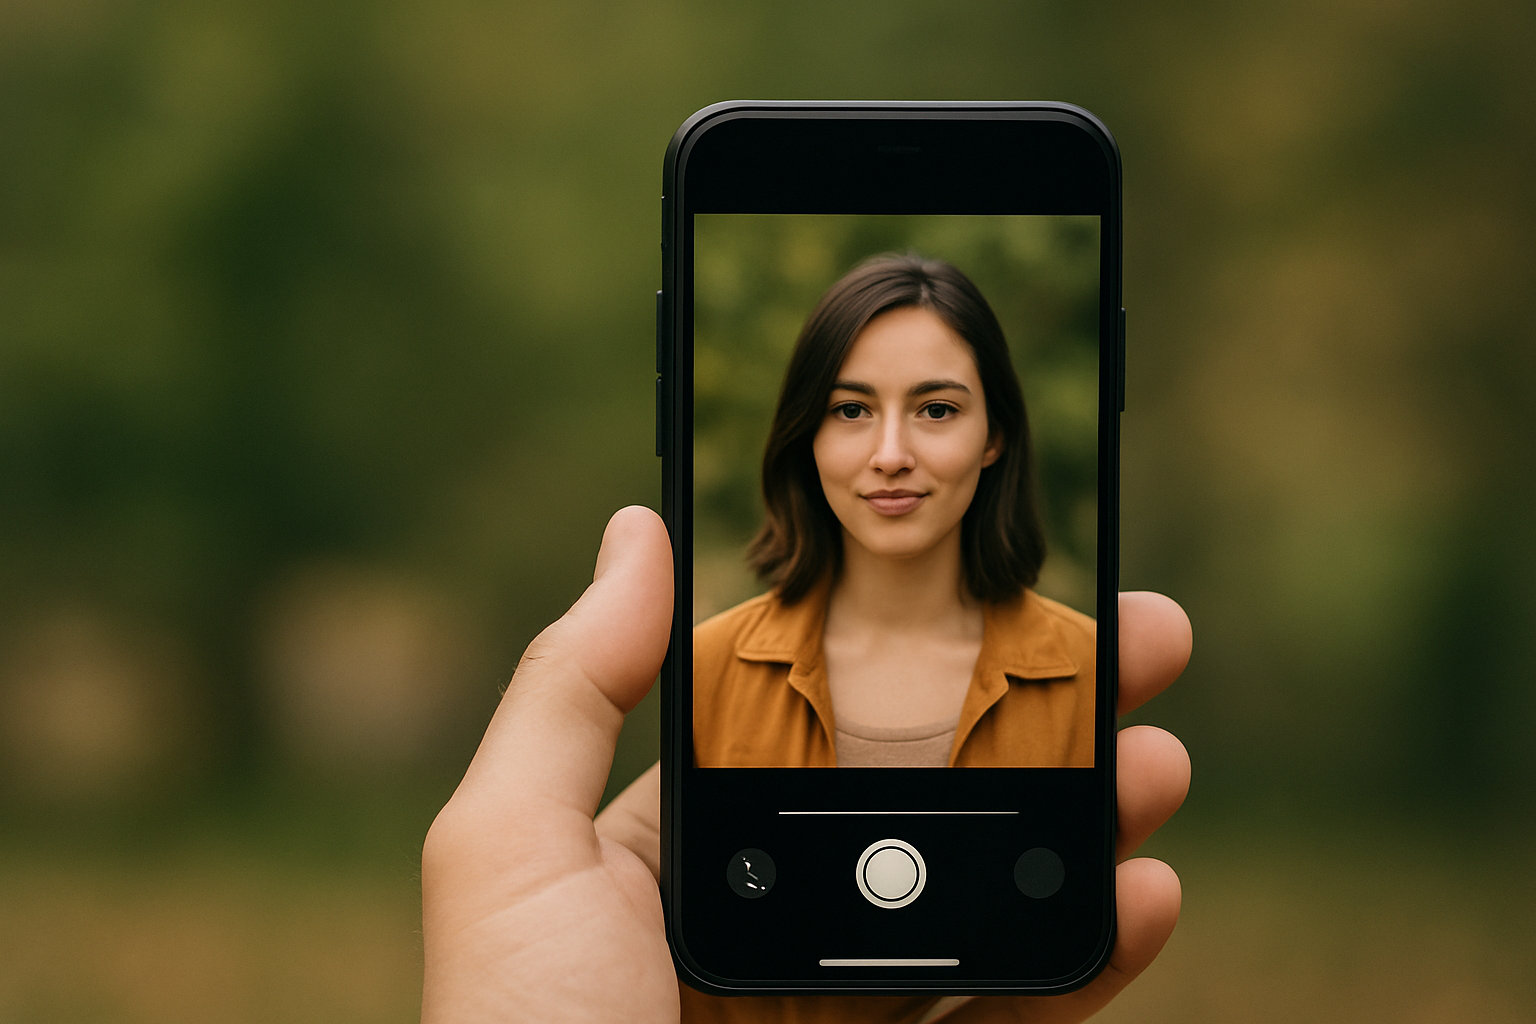
One of the most iconic features of DSLR cameras is the background blur, also known as the bokeh effect, which highlights the subject and creates a professional, artistic look. The good news is, you no longer need an expensive camera to achieve this result. Thanks to technology, it’s now possible to simulate the DSLR effect right on your smartphone using specific apps. In this article, you’ll discover the best apps to take DSLR-style photos with your phone, how to use them, and tips to get a natural and beautiful blur. 1. What is the DSLR effect? DSLR stands for Digital Single-Lens Reflex, a type of camera that uses large sensors and interchangeable lenses. This allows it to capture images with controlled depth of field. The blurred background effect, which clearly separates the subject from the background, is highly valued in portraits, product photography, and even everyday snapshots. This effect gives photos a professional and focused look. 2. How to simulate the DSLR effect on your phone There are two main ways to achieve this effect: Let’s take a look at the best apps available! 3. Best Apps to Take Photos with DSLR Effect 📱 1. Focos One of the most advanced apps to simulate depth of field. Available for iOS and Android. 📱 2. Snapseed Although not specifically for DSLR effects, Snapseed has a powerful Lens Blur tool: It’s free and packed with other professional-grade editing features. 📱 3. AfterFocus A dedicated app designed specifically for creating depth of field. Great choice for users who want detailed control over the result. 📱 4. Lightroom Mobile (Pro Mode) For more advanced users, Lightroom Mobile offers selective blur capabilities: While not automatic, Lightroom enables high-level custom edits when used properly. 📱 5. Instagram (Focus mode in Stories) Yes — even Instagram offers a way to create this effect: While it doesn’t replace a dedicated app, it’s handy for casual use. 4. Tips to Improve the DSLR Effect on Your Phone Even with good apps, some tricks will help enhance the result: ✅ Use textured backgrounds Leaves, distant lights, or decorative elements can help create a more attractive bokeh. ✅ Create distance between subject and background The more space between them, the more natural the blur will look. ✅ Light the subject well Good lighting improves the contrast between subject and background. ✅ Use the rear camera It usually offers better quality and depth simulation than the front camera. ✅ Keep your phone stable Use both hands or a tripod to avoid blurring the focused area. 5. When to Use the DSLR Effect This type of blur is ideal for: 6. Conclusion: Professional Quality in Your Pocket The DSLR effect is no longer exclusive to professional cameras. With the right apps and a few smart techniques, you can easily take beautiful, realistic, and stylish blurred-background photos right from your smartphone. Whether you’re posting on Instagram, building a portfolio, or just capturing memories in a more polished way, these tools will take your mobile photography to the next level.
How to Use VSCO to Transform Your Photos
If you’re looking for photo editing with a professional look and an artistic touch, VSCO is one of the most creative and complete apps you can have on your phone. More than just applying filters, the app allows you to create a consistent visual identity with smooth edits inspired by analog film and simple, intuitive tools. In this article, you’ll learn how to use VSCO step by step to transform your photos, from importing the image to exporting the final result — plus tips to make your edits even more impactful. 1. What is VSCO? VSCO (Visual Supply Company) is a photo and video editing app available for Android and iOS. It’s famous for its retro, cinematic filters, widely used by content creators, amateur photographers, and users who want a more harmonious social media feed. It also functions as a visual social network, where you can share your photos and explore the work of other users — without likes or comments. The focus is entirely on visual art. 2. Getting Started with VSCO a) Download and install the app You can find VSCO on the Google Play Store and App Store. It’s free to use, with many tools available, but there’s also a paid version with premium filters and advanced features. b) Create an account Sign up using your email, phone number, or Google/Apple account. You’ll need an account to save edits and access the community. c) Import a photo Once inside the app, tap the “+” symbol to import a photo from your gallery. You can also select multiple images to edit in sequence. 3. Applying Filters in VSCO Filters are what make VSCO stand out. They simulate analog film styles with soft tones and elegant textures. 📌 Tip: Don’t overdo it — the beauty of VSCO is in its subtlety. 4. Using VSCO’s Editing Tools After applying a filter, you can refine your image using the app’s editing tools. Key features include: All tools use simple sliders, making customization quick and intuitive. 5. Creating a Visual Identity If you post regularly, whether on Instagram or an online portfolio, building a consistent style is key. VSCO makes this easier: 📌 Example: A travel account might use warm filters and soft grain to create a cozy, nostalgic vibe. 6. Exporting and Sharing Your Photos After finishing your edit, tap “Save” to export the image to your phone’s gallery. VSCO preserves high quality, making it great for professional use or printing. You can also: 7. VSCO X: Is the Paid Version Worth It? VSCO’s premium version, called VSCO X, offers: If you edit often and want refined, creative results, the subscription can be worth it. For casual users, the free version is already excellent. 8. Extra Tips to Get the Most from VSCO Turn Your Photos into Art with a Simple Touch VSCO is more than just a filter app — it’s a creative tool that lets you turn your photos into soft, stylish, and unique compositions. With practice and attention to detail, you can create a striking visual portfolio, worthy of a professional — all from your phone.
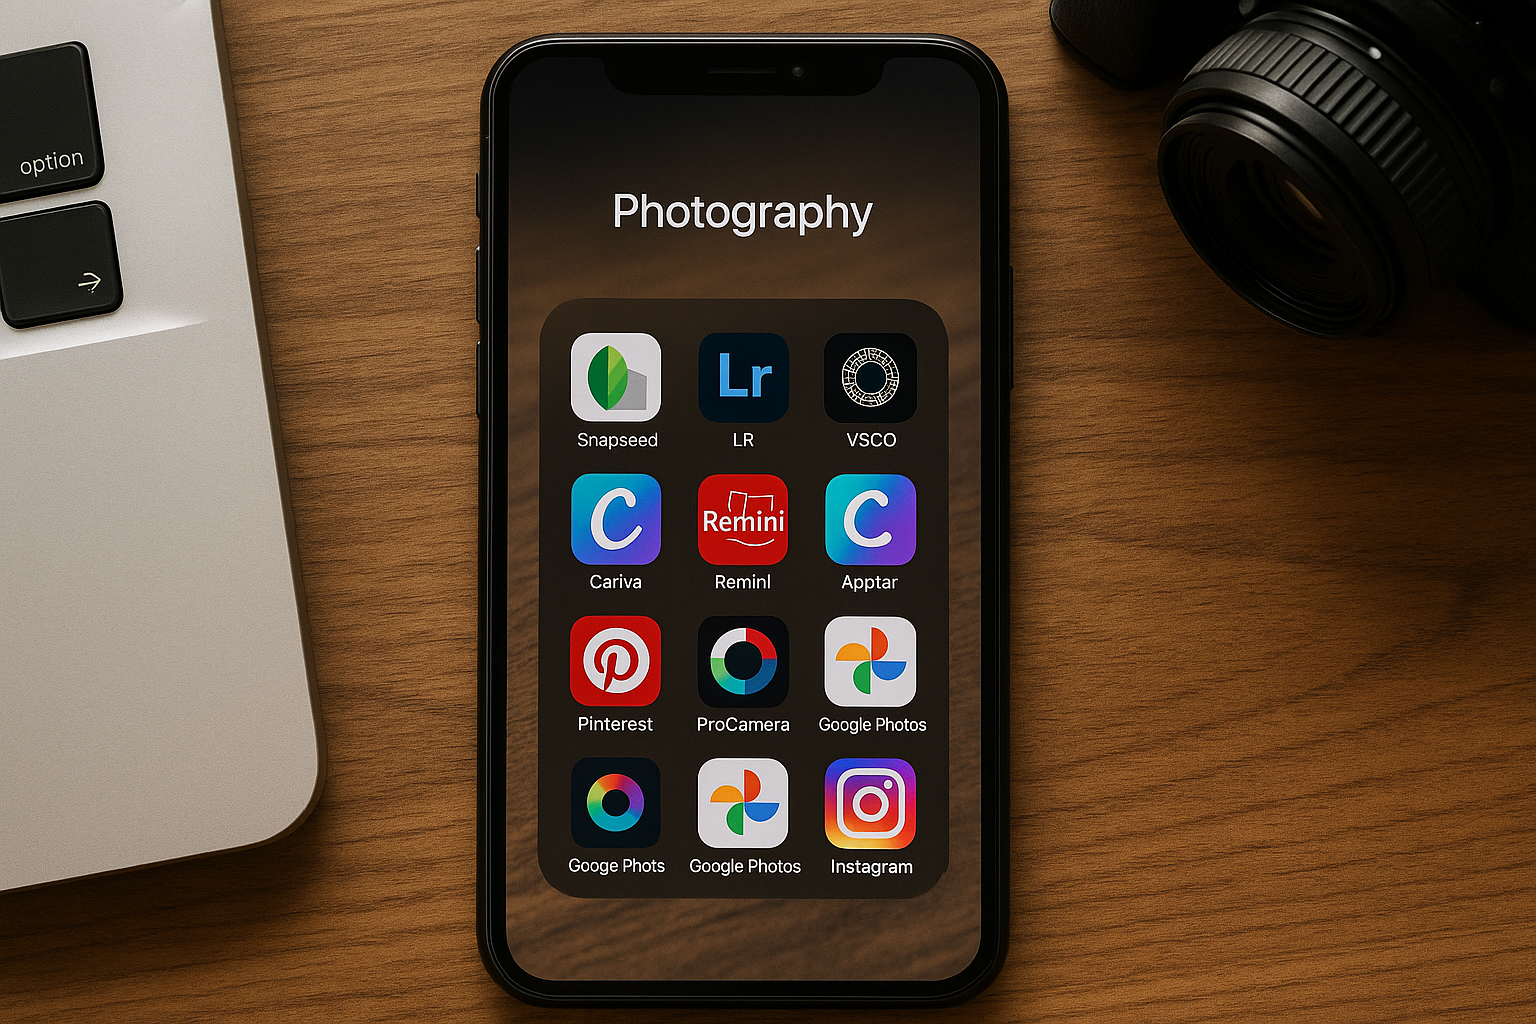
Must-Have Apps for Every Photography Lover
If you love photography — whether as a hobby, a profession, or simply as a way to capture beautiful moments — you need more than just your phone’s camera. Today, there’s a vast array of apps that can transform an ordinary photo into something truly impressive. In this article, you’ll discover the essential apps every photography enthusiast should have on their smartphone. These tools cover editing, organization, composition, inspiration, and even learning. 1. Snapseed – Powerful and Free Editing One of the most recommended apps by both beginners and experienced photographers. Snapseed, developed by Google, is free and offers: With an intuitive interface, it’s perfect for those who want high-quality editing without complications. 2. Adobe Lightroom Mobile – Professional Control in Your Pocket If you’re looking for precise edits with a professional finish, Lightroom Mobile is essential. Even in its free version, it provides: Perfect for amateur and professional photographers who want polished, refined edits. 3. VSCO – Artistic Filters and Visual Identity A favorite among content creators and users seeking a unique aesthetic, VSCO combines editing features with a photography-centered social network. Great for building a distinct visual identity, especially on social media. 4. Canva – Creative Design and Photo Editing Though Canva is widely known for design, it’s also a great tool for photo editing and creating visuals for social media. A true all-in-one app for anyone who works with images, content, or digital marketing. 5. Remini – Restoration and Enhancement with AI Remini uses artificial intelligence to improve the quality of blurry, old, or low-resolution photos. Perfect for anyone who enjoys photo restoration or enhancing archival images. 6. Afterlight – Creative Effects and Textures Afterlight offers unique effects that simulate old cameras, light leaks, and analog textures. Excellent for giving your photos a vintage or creative look. 7. Pinterest – Endless Visual Inspiration While it’s not an editing app, Pinterest is a fantastic source of inspiration for: Every photographer — beginner or pro — can find valuable visual references on Pinterest. 8. ProCamera or Halide – Full Manual Control If you want an experience close to using a professional camera, these apps offer full manual mode, including: They are paid apps but deliver high-end tools for elevating your mobile photography. 9. Google Photos – Smart Backup and Organization Editing is just part of the process. You also need to organize your photos, and Google Photos makes that easy: One of the best apps for keeping your gallery safe and well-managed. 10. Instagram – Share and Grow Your Photography Instagram remains one of the top platforms for photographers. Having the app goes beyond sharing: After all, photography is also about sharing, and Instagram is a global stage for it. Final Thoughts: Build Your Own Photography App Kit You don’t need dozens of apps. The ideal is to create a smart kit of photography tools that suit your style and needs: With these tools on your phone, you’ll have everything you need to capture, edit, and share stunning images with quality and personality.
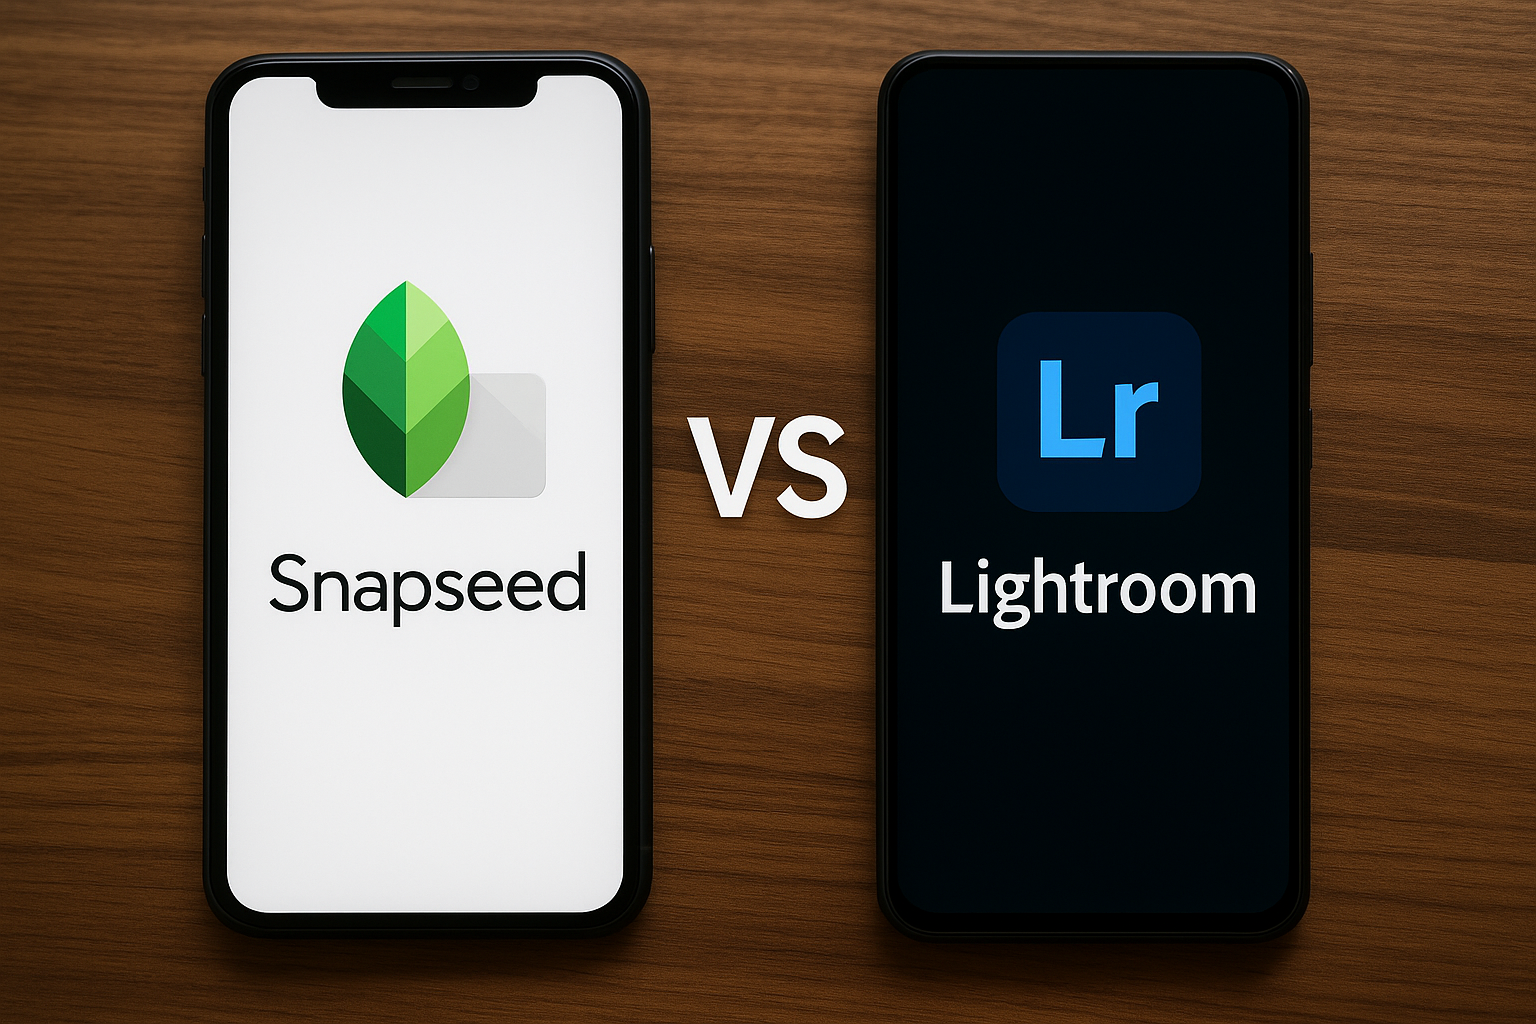
Snapseed vs Lightroom: Which Is the Best Editing App?
When it comes to editing photos on your phone, two apps truly stand out: Snapseed and Lightroom Mobile. Both are free, offer powerful features, and are trusted by millions of users worldwide. But the question is: which one is better for you? In this article, we’ll provide a complete comparison between Snapseed and Lightroom, analyzing their features, ease of use, output quality, and more — helping you decide which one suits your editing style. 1. Interface and Usability Snapseed: Snapseed delivers a user-friendly experience from the very first use. Its tools are easily accessible, and the app is lightweight, fast, and practical. Lightroom: Though it requires more time to master, Lightroom offers a logical workflow for those who want precision and full control over their edits. 2. Editing Tools Snapseed: Snapseed strikes a great balance between advanced features and simple usage. The brush and selective adjustment tools are rare gems in free apps. Lightroom: Lightroom shines in precision. Its adjustments are professional-grade, and even the free version delivers far more control than most editing apps. 3. Presets and Filters Snapseed: Lightroom: If you’re building a visual brand on platforms like Instagram, Lightroom has a strong edge with its presets. 4. Extra Features Feature Snapseed Lightroom Layer editing ❌ ❌ Object removal ❌ ✅ (paid feature) RAW editing ✅ ✅ Cloud sync ❌ ✅ (Adobe account needed) High-resolution export ✅ ✅ Photo organization ❌ ✅ While Snapseed focuses on quick and standalone editing, Lightroom provides a more robust platform for those editing large volumes of images or managing a digital portfolio. 5. Final Photo Quality Both apps allow for high-quality photo editing. The difference lies in the depth of control: 6. User Profile Recommendations User Profile Best Choice Beginner Snapseed Amateur photographer Lightroom Content creator Lightroom Casual user Snapseed Quick, simple editing Snapseed Advanced, detailed editing Lightroom Visual identity for social media Lightroom 7. Conclusion: Which App Is Better? There’s no single winner. Both apps are excellent — the ideal choice depends on your goals, experience, and editing preferences. The best strategy? Use both apps together. Use Snapseed for quick and creative enhancements, and Lightroom when you need fine-tuned edits and polished results.
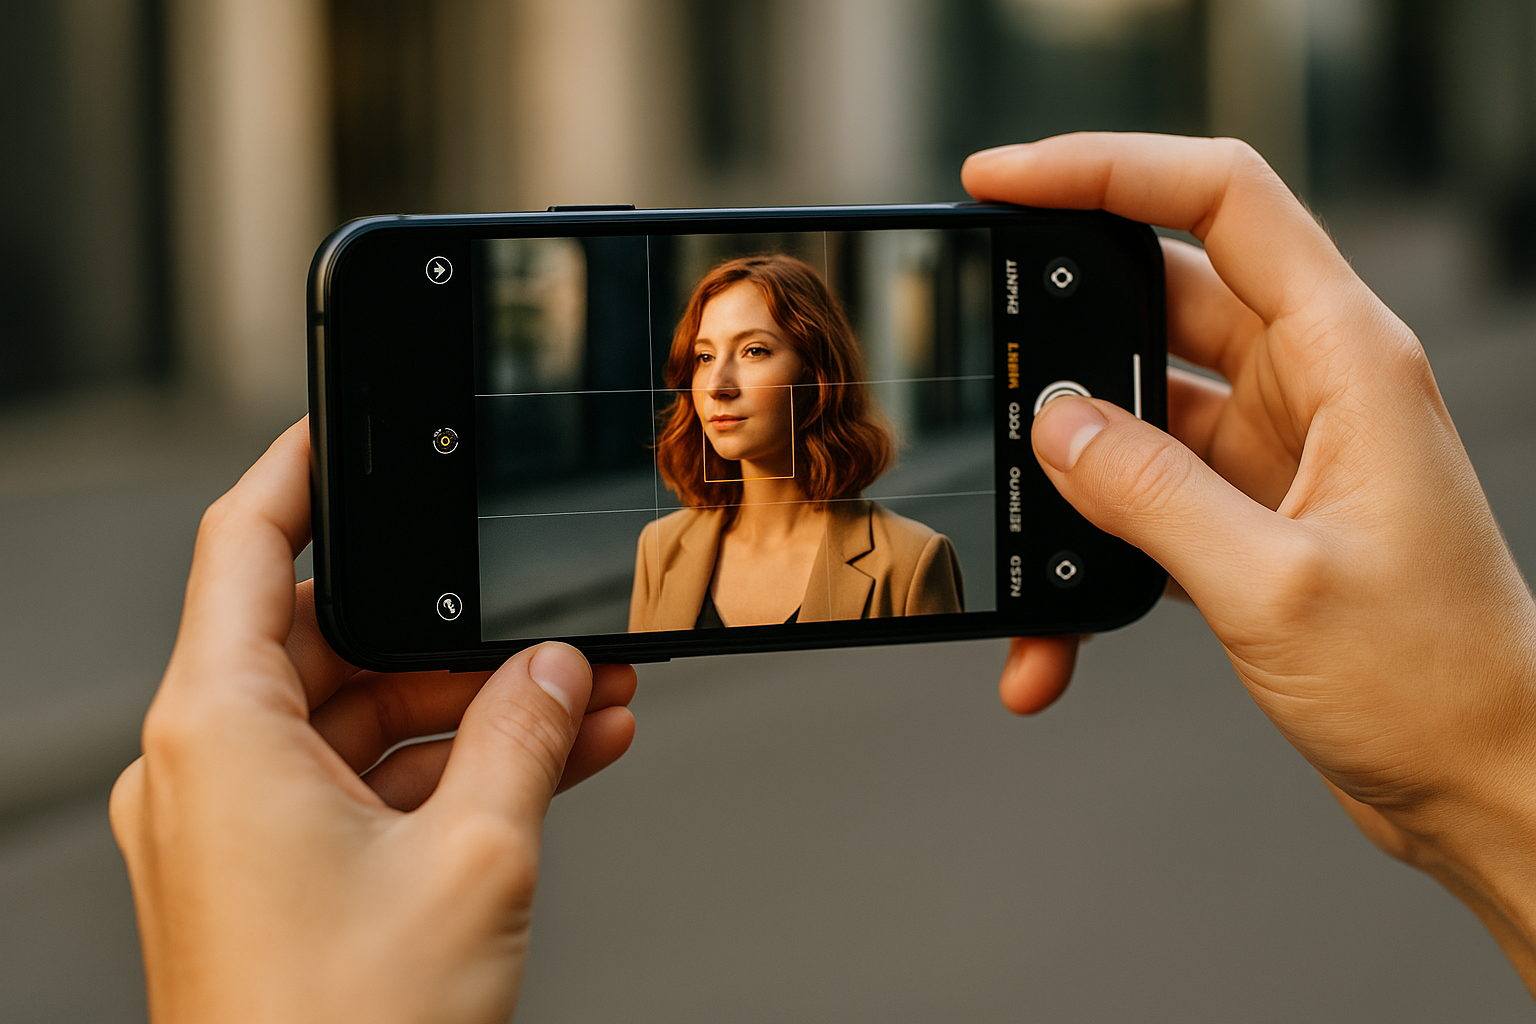
How to Take Professional Photos Using Only Your Phone
You don’t need a DSLR camera to take professional-looking photos. Today’s smartphones come equipped with high-quality lenses and sensors, plus powerful software features that, when used properly, can drastically improve your photo quality. In this article, you’ll discover practical and accessible tips to take professional-quality photos using only your smartphone, regardless of the brand or model. 1. Clean the lens before taking photos It may seem obvious, but many people overlook this detail. Phone lenses easily collect grease, dust, and dirt, which can compromise image sharpness. Before any photo session, use a clean microfiber cloth to gently wipe the lens. 2. Use natural light to your advantage Lighting is one of the most important elements in photography. Whenever possible, make use of natural light: If you’re indoors, try using lamps or light sources with soft white lighting. 3. Turn on the gridlines for composition Almost all phones have a “grid” option in the camera settings. It helps with composition using the rule of thirds, which divides the frame into 9 parts. Place your subject on the intersections of the grid for a more balanced and visually pleasing photo. 4. Manually set focus Tap the screen to focus on the desired subject. This ensures sharpness exactly where it matters. Many phones also allow manual exposure adjustment by sliding your finger up or down after tapping to focus. 5. Avoid digital zoom Digital zoom degrades image quality by simply enlarging the pixels. If you need a closer shot, physically move closer to the subject or take the photo from afar and crop it later if needed. 6. Keep the camera steady Blurry images look amateurish. To prevent this: 7. Use portrait mode wisely Portrait mode creates a blurred background effect, mimicking professional lenses. To use it effectively: This feature enhances portraits and makes subjects stand out with depth. 8. Explore different angles Most people shoot at eye level, but that’s not always the most interesting. Try different angles: Varying angles adds personality and uniqueness to your photos. 9. Use manual or Pro modes If your phone offers a “Pro” or “Manual” mode, explore the settings: These settings take practice, but give you creative freedom and professional results. 10. Edit your photos with good apps Even the best photo can look even better with light editing. Use apps like: ⚠️ Tip: Don’t overdo it. Editing should enhance the image, not distort it. Bonus: Useful accessories In addition to your phone, some simple accessories can make a big difference: These accessories are affordable and significantly boost your photography potential. Become a better photographer with what you already have The truth is: the best camera is the one you know how to use. Mastering your phone’s camera and learning to observe light, composition, and framing makes more difference than investing in expensive gear. With practice, attention to detail, and a bit of creativity, your phone photos can reach a professional level — and impress anyone on social media or in your portfolio.
The 10 Best Free Apps to Edit Photos on Your Phone
Editing photos on your phone has become a regular habit for anyone who enjoys sharing moments on social media or simply wants to enhance their personal snapshots. The good news is that you don’t need to spend any money to get amazing results. There are several free apps with incredible features that allow adjustments to light, color, sharpness, filters, and creative tools. In this article, you’ll discover the 10 best free photo editing apps available for both Android and iOS, that can transform your images with ease and quality. 1. Snapseed Developed by Google, Snapseed is one of the most complete and professional free apps available. It offers advanced features such as: Its interface is simple and intuitive, making it ideal for both beginners and experienced users. 2. Lightroom Mobile The mobile version of the well-known Adobe Lightroom allows for precise, professional-grade editing. Even in the free version, you can: It’s an excellent choice for anyone looking to learn editing with full image control. 3. VSCO Very popular among Instagram users, VSCO combines editing tools with an internal photography-focused social network. Free features include: You can create a strong visual identity using the available presets. 4. Polish – Photo Editor Polish is a lesser-known app, but it comes with powerful features and an easy-to-use interface. It allows you to: Ideal for those who want quick edits with great results. 5. PicsArt PicsArt goes beyond traditional editing. It offers a creative experience with: Perfect for those who like to add unique, personalized touches to their photos. 6. Adobe Photoshop Express Another mobile version of a classic editor, Photoshop Express is free and highly efficient. With it, you can: It has excellent usability and delivers professional results without requiring a subscription. 7. PhotoDirector PhotoDirector combines advanced tools with artificial intelligence. Features include: Even the free version delivers great results, especially for landscape photos. 8. Canva Although more famous for graphic design, Canva also offers powerful photo editing tools. You can: It’s ideal for anyone looking to combine photo editing with visual design for posts. 9. Pixlr Pixlr is a free editor with a wide variety of effects and overlays. Highlights include: Great for users looking for a balance between simplicity and creativity. 10. Fotor Fotor delivers a professional experience even in its free version. Main features include: It’s perfect for those who want quick results with a polished finish. Which Free App Is the Best? That depends on your goal. If you’re looking for professional-level editing, Snapseed or Lightroom are your best bets. If you prefer stylish filters and easy usability, VSCO and PicsArt stand out. For combining editing with content creation, Canva is a fantastic tool. The good news is that all these apps are free and easy to try out. With them, your photos will gain a professional and creative touch — right from your phone. Final Tip: Take Your Time Exploring the Tools Once you’ve installed the apps, explore the features gradually. Many users uninstall them thinking they’re too complex, but with a little patience, editing becomes second nature — and even fun. Plus, several of these apps include tutorial videos or step-by-step guides, which make the learning process easier. If you want to stand out on social media or even start a photography hobby, mastering these free apps is the first step toward achieving stunning results.


