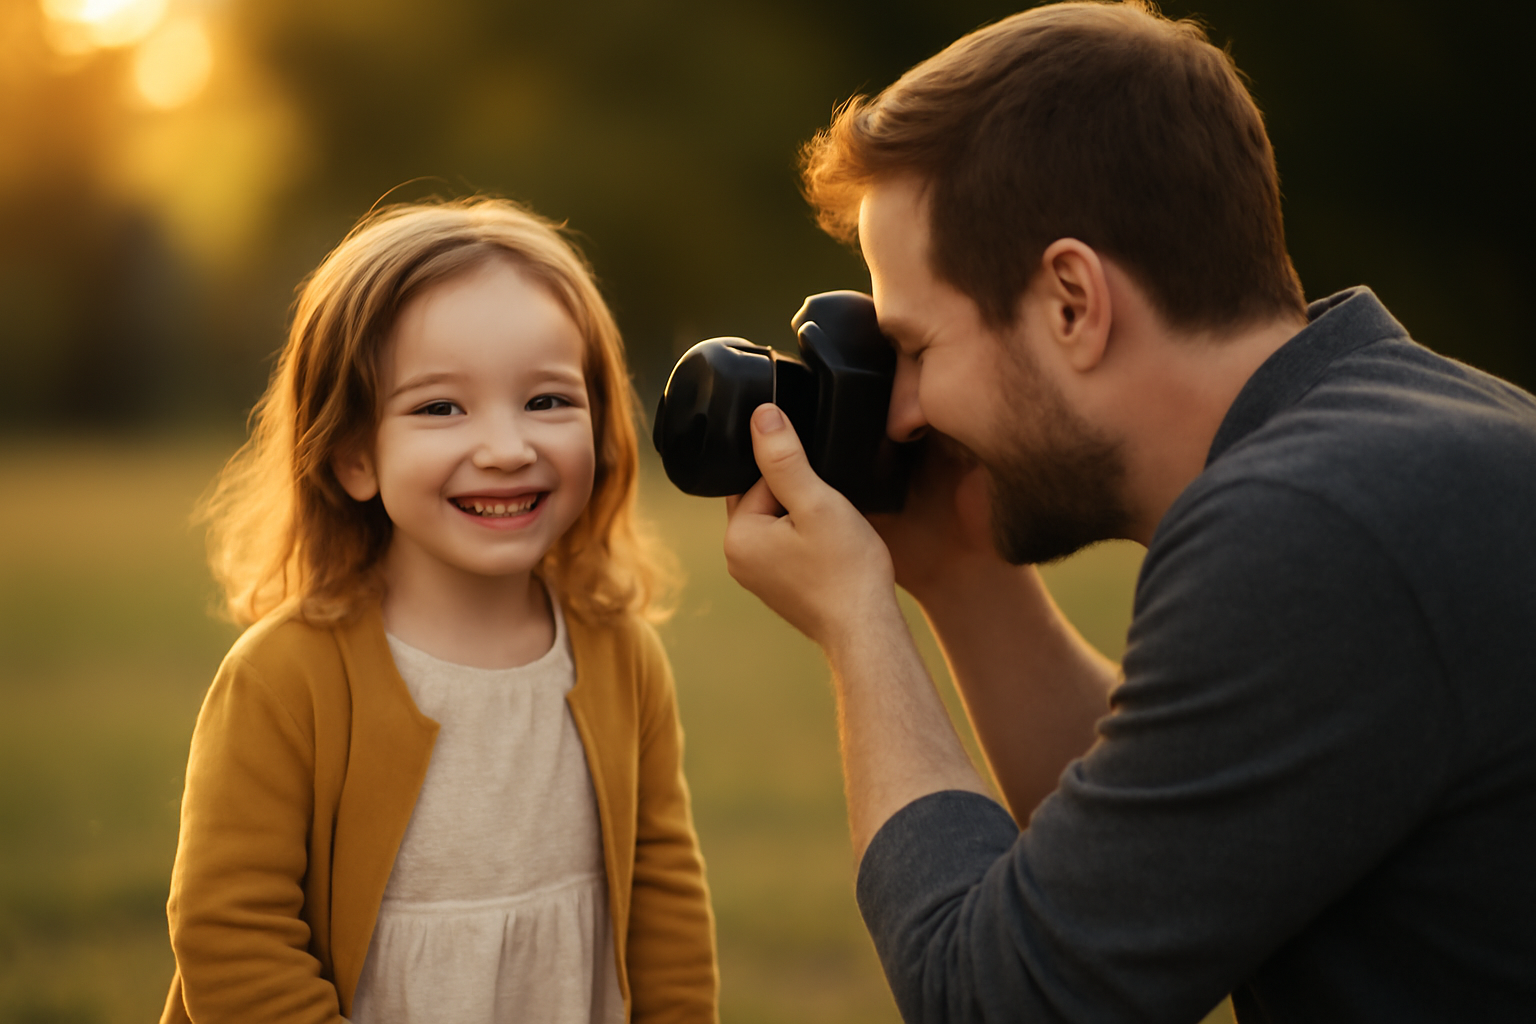
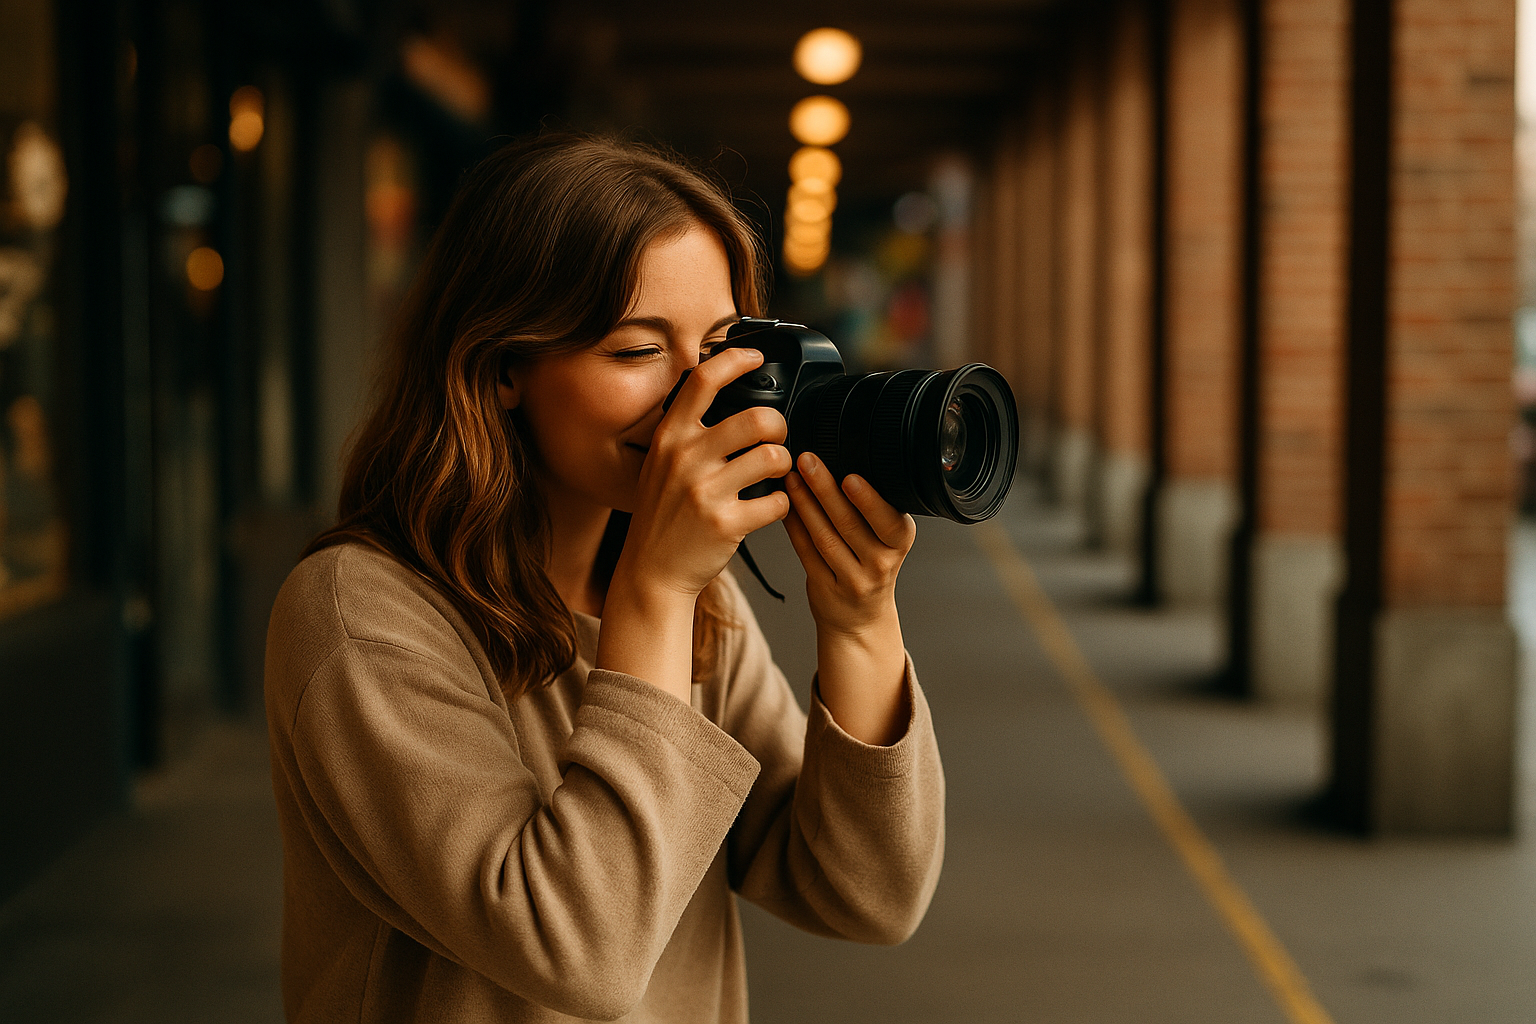
Photographing children is a unique experience. It can be chaotic, emotional, hilarious, unpredictable—and also incredibly rewarding. Whether you’re a beginner photographer looking to expand your skills or a parent who wants to capture more authentic moments of your kids, learning how to photograph children well is both an art and a process. Unlike adults, children don’t pose naturally, rarely sit still, and almost never follow instructions exactly the way you plan. And that’s what makes it beautiful. This guide is made for you, the beginner photographer who wants real, useful advice—not robotic steps or complicated gear setups. You’ll find practical tips, real-world insights, and inspiration to help you approach children’s photography with more confidence and creativity. Understand That Kids Aren’t Miniature Adults The first mindset shift you need is this: photographing kids is completely different from photographing adults. Adults will try to cooperate (even if they’re shy), but kids? They’ll test your patience, ignore your direction, and do their own thing—until they forget the camera is there. And that’s when the magic happens. Don’t try to force children into rigid poses or control every moment. Your job is to observe, guide gently, and anticipate rather than direct. Expect spontaneity. Embrace it. Tip 1: Build Connection Before You Shoot Children don’t trust strangers instantly—and that includes you, the photographer. Before you even pick up the camera: Even two minutes of friendly engagement can change the whole session. Once they see you as a fun adult, not just a camera-holder, they’ll be far more relaxed. A relaxed child = better expressions, more authenticity, less resistance. Tip 2: Use Natural Light as Much as Possible Kids move. A lot. Which means you need fast shutter speeds and forgiving light. Whenever possible, use natural light: Avoid harsh midday sun unless you’re using shade or diffusers. Indoors, turn off artificial lights to prevent mixed color temperatures and shoot near a big window. And don’t be afraid of a cloudy day—it gives you an even, soft light that’s perfect for child portraits. Tip 3: Keep It Short and Sweet Children have very short attention spans. Expect that. Plan for mini-sessions: It’s better to get 10 great images in 20 minutes than to push for an hour and end with a frustrated child (and parents). Photographing kids is like fishing: be patient, stay alert, and be ready when the moment comes. Tip 4: Let Them Move! Trying to get a child to “stand here” and “smile” is often a losing battle. Instead, incorporate movement into the shoot. Some ideas: Action brings out genuine expressions, bursts of laughter, and natural poses you couldn’t have choreographed. Set your shutter speed high (1/500 or faster) and capture the energy. Bonus: you’re also building trust because you’re allowing them to be themselves. Tip 5: Be a Silent Observer One of the most powerful approaches to child photography is becoming invisible. Instead of constantly giving direction, step back. Let the child engage with a toy, explore the environment, interact with their parent or sibling—and quietly observe. This is where you’ll catch the pure, unscripted moments: Candid moments speak louder than posed smiles. And for parents, these images hold emotional value for life. Tip 6: Shoot from Their Level One of the most common beginner mistakes? Shooting children from adult height. To create images that feel immersive and connected, get down to the child’s level. Kneel, squat, or lie on the ground if needed. When you’re on their eye line, the composition becomes more powerful, intimate, and personal. Bonus tip: also try some shots from unusual angles—overhead, behind the child, or focusing on little details like hands or feet. Variety keeps the gallery more interesting. Tip 7: Focus on the Eyes (But Be Flexible) In portrait photography, the eyes are everything—especially with children, whose expressions change in a heartbeat. Use continuous autofocus (AF-C or AI Servo) with face/eye detection if your camera allows it. Set your aperture wide enough to blur the background (around f/2.8 to f/4), but not so shallow that you risk missing focus. That said, some magical moments aren’t perfectly sharp. A blurry giggle or a motion-blurred twirl can still carry more emotion than a technically perfect image. Don’t be so obsessed with sharpness that you miss the story. Tip 8: Keep Your Gear Simple You don’t need tons of gear to photograph children. In fact, less is often more. What you need: If you’re photographing indoors, consider a reflector or a portable LED light—but only if the child is comfortable with it. Big lights or modifiers can be intimidating to little ones. Focus more on your connection than on your kit. Tip 9: Involve the Parents (But Set Boundaries) Parents can be helpful—or distracting. Before the session: During the shoot: Sometimes, including the parent in the frame (even partially) creates beautiful images full of warmth and security. Don’t be afraid to invite that interaction. Tip 10: Capture the In-Between Moments Some of the best photos happen between the “official” shots: Always keep your camera up. Watch for transitions. A yawn, a glance, a stretch—they’re all storytelling gold. This also builds a more honest and emotionally rich gallery for the family. Tip 11: Bring Distractions (the Right Kind) Kids get bored fast. Come prepared. Have a small bag of: Use them sparingly—just enough to spark laughter or surprise. You don’t want to over-stimulate the child. A well-timed giggle can create magic, but constant entertainment can ruin focus. Also, don’t forget the classic trick: ask them to show you their silliest face — and be ready to capture the real smile that follows. Tip 12: Accept Imperfection Child photography isn’t about symmetry, perfect backgrounds, or clean compositions. It’s about emotion, energy, and authenticity. You’ll have missed shots. Some photos will be crooked, noisy, or chaotic. That’s okay. What matters is that the images feel alive. Learn to love the realness. Parents aren’t hiring you for textbook technique—they want photos that remind them who their child really is. Bonus: Communicate With
Essential Photography Tips for Every Photographer: Unlocking the Secrets to Stunning Shots
Photography is an art form that blends technical skill with creative expression. Whether you’re a beginner capturing your first sunset or a seasoned photographer working on your next portfolio piece, there are always new techniques to learn and improvements to make. The beauty of photography lies in its versatility—you can shoot portraits, landscapes, wildlife, architecture, and much more, all while experimenting with different styles, settings, and compositions. In this article, we’ll explore some essential photography tips for photographers of all levels. From mastering exposure to finding your unique perspective, these tips will not only help you improve your skills but also inspire you to push the boundaries of your creativity. 1. Understand the Exposure Triangle Exposure is the foundation of any great photograph. It controls how light or dark an image appears, and understanding the relationship between three key settings—aperture, shutter speed, and ISO—is essential to creating well-exposed images. Together, these elements form what’s known as the exposure triangle. Aperture: The opening in your lens that controls how much light enters the camera. A wider aperture (a lower f-number like f/1.8) lets in more light, which is great for low-light conditions or creating a shallow depth of field. A smaller aperture (higher f-number like f/16) lets in less light, ideal for bright conditions or when you want more of your scene in focus. Shutter Speed: The length of time the camera’s sensor is exposed to light. A fast shutter speed (like 1/1000) is perfect for freezing fast motion, such as a bird in flight. A slow shutter speed (like 1/30) allows you to capture motion blur, such as flowing water or moving traffic. ISO: The sensitivity of your camera’s sensor to light. A lower ISO (e.g., 100 or 200) produces less noise and is ideal for bright conditions. Higher ISOs (e.g., 1600 or 3200) allow you to shoot in low light, but they can introduce noise into the image. 2. Master Composition Techniques Composition is key to creating visually compelling photographs. It’s not just about taking a picture—it’s about arranging the elements in your frame to tell a story, evoke emotion, and capture the viewer’s attention. Here are some key composition techniques to elevate your images: The Rule of Thirds One of the most widely known and effective composition rules is the rule of thirds. Imagine dividing your image into a 3×3 grid, both horizontally and vertically. The most important elements in your frame should be placed along these lines or at their intersections. This creates a sense of balance and makes your image more dynamic. Leading Lines Leading lines guide the viewer’s eye through the image, creating depth and drawing attention to the subject. Roads, rivers, fences, or architectural features can all act as leading lines. Framing the Subject Framing involves using elements in your environment to encircle or partially cover your subject. This technique helps focus attention on the subject and adds a layer of depth to the photo. 3. Use Natural Light to Your Advantage Lighting can make or break a photograph, and while artificial lighting offers flexibility, nothing compares to the beauty and warmth of natural light. Understanding how to use natural light to your advantage will elevate your photos, especially when shooting outdoors or in natural settings. Golden Hour and Blue Hour The golden hour is the time shortly after sunrise and before sunset, when the sunlight is soft, warm, and diffused. This is the ideal time for shooting portraits or landscapes, as the light creates long shadows and a beautiful glow. Blue hour, on the other hand, happens just before sunrise and after sunset, when the light takes on a cooler, more dramatic tone. This period is perfect for capturing cityscapes, landscapes, and even star trails. Avoid Harsh Midday Sun While the midday sun is often too harsh, it can create dramatic shadows that can add interest to certain subjects. However, if you want soft, flattering light for portraits or nature shots, aim to shoot early in the morning or late in the afternoon. 4. Experiment with Different Perspectives and Angles Changing your perspective can completely transform a scene. Instead of shooting from eye level, experiment with different angles and viewpoints to give your images more depth and intrigue. Get Low or High Shoot from ground level to capture the texture of the foreground or give your subject a larger-than-life feel. Alternatively, shooting from a higher angle can offer a broader view of the scene and create interesting patterns or compositions. Use Reflections Reflective surfaces like water, windows, or even mirrors can create striking symmetry and add interest to your shots. Look for opportunities to include reflections in your photos, especially when shooting landscapes or architecture. 5. Focus on the Details While wide shots and grand landscapes are beautiful, sometimes the magic is in the details. Macro photography allows you to explore the world up close, capturing intricate textures, patterns, and small subjects that might otherwise go unnoticed. Capture Textures and Patterns Look for interesting textures and patterns in nature, architecture, or everyday objects. The subtle details, like the lines on a leaf, the rough surface of a rock, or the repeating shapes in a building, can make for captivating photos. Isolate Your Subject Isolating your subject against a simple background can create powerful and impactful images. Use a shallow depth of field to blur the background, allowing your subject to stand out. This technique works especially well in portrait, still life, and nature photography. 6. Edit Your Photos with Purpose Once you’ve captured your images, the next step is editing. Post-processing is where you can fine-tune your photos to bring out the best in them. Whether you’re using Photoshop, Lightroom, or a mobile editing app, editing allows you to enhance colors, adjust exposure, and refine details. Don’t Overdo It While editing is important, it’s easy to get carried away with filters and adjustments. Aim for a natural look that enhances the image rather than transforming it into something unrecognizable. Crop and Straighten
Outdoor Photography Tips: What Every Beginner Should Know
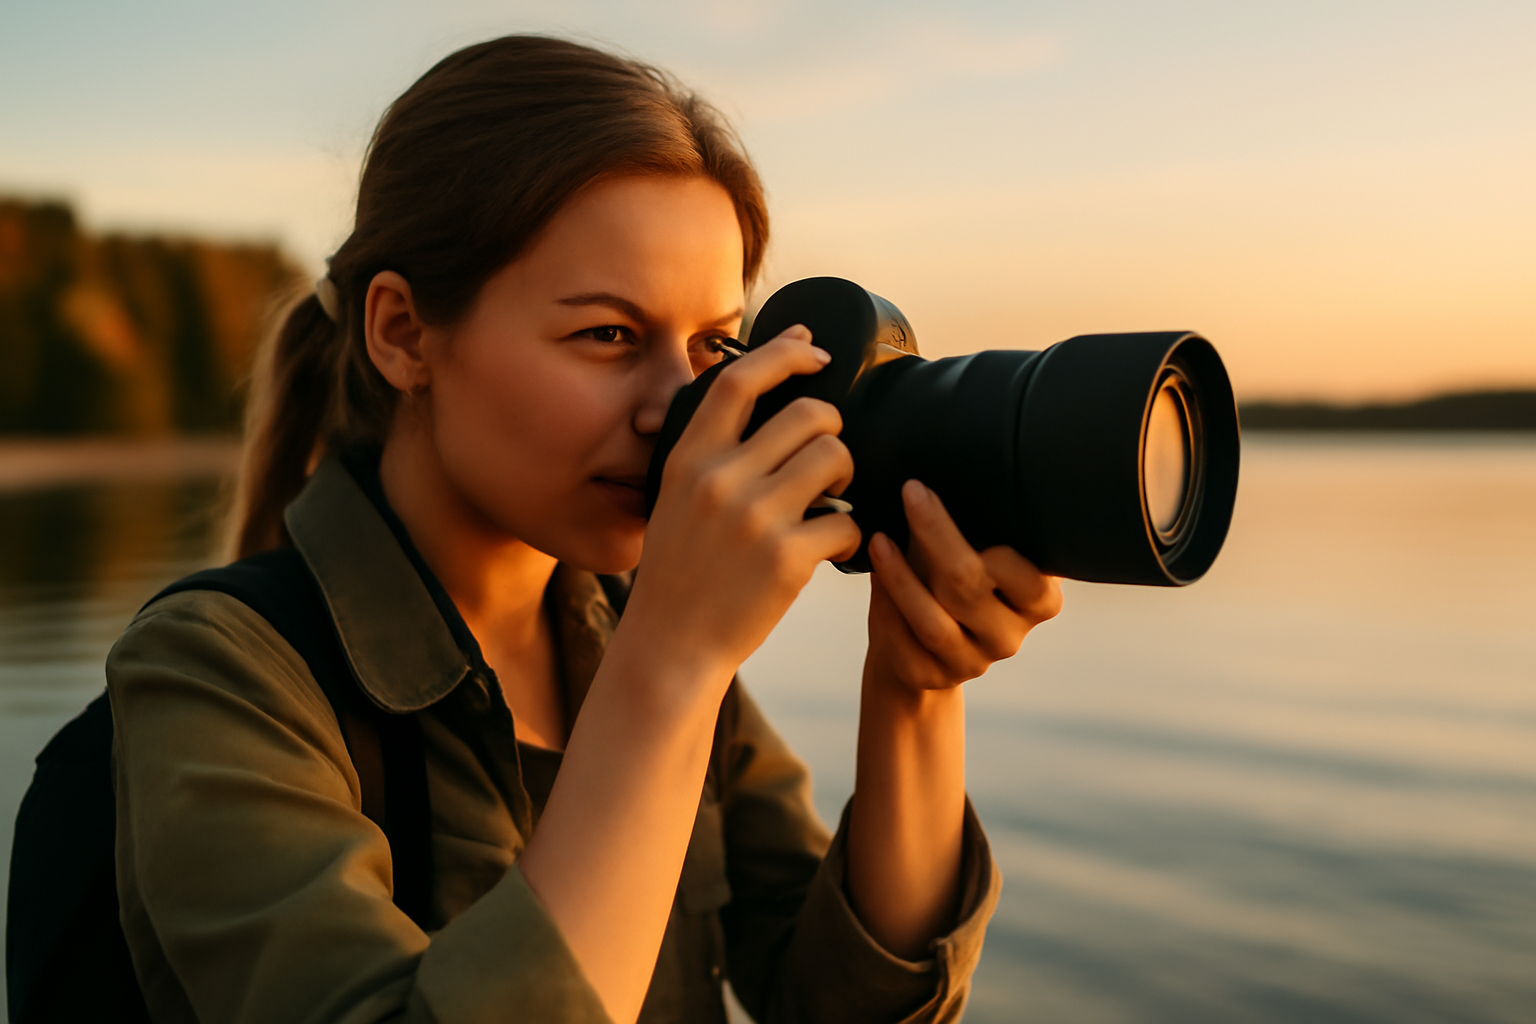
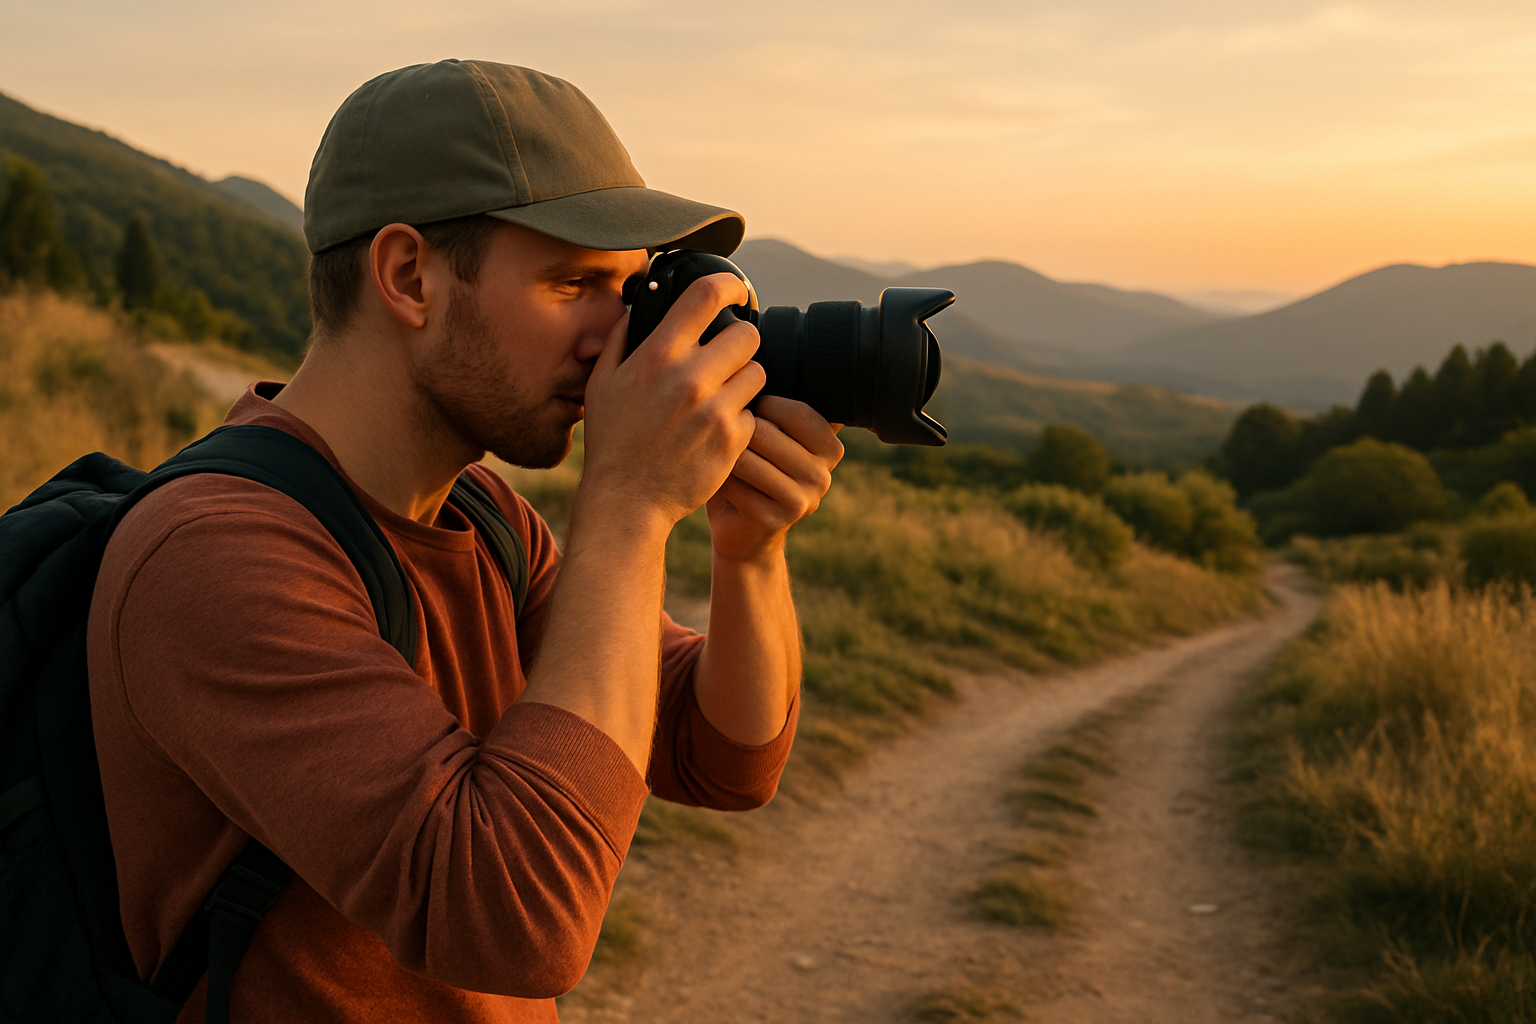
Outdoor photography is one of the most captivating ways to explore photography. Natural light, open environments, and the unpredictability of the world outside make every shot a unique experience. But for beginners, all these variables can feel overwhelming. How do you deal with light? What’s the best time of day? How do you compose a solid image without fancy gear? This guide is for you — someone starting out in outdoor photography and looking to avoid common mistakes while growing with confidence and creativity. Natural Light: Your Best Friend (or Worst Enemy) The first thing every beginner needs to understand is that natural light is everything in outdoor photography. But it can either be your best friend or your worst nightmare. Golden Hour: This is the time just after sunrise and just before sunset. The light is soft, warm, and diffused — perfect for portraits, landscapes, nature shots, and any scene with emotional impact. Midday: Avoid it when you can. The light is harsh, direct, and creates strong shadows — especially unflattering for portraits. If shooting at midday is unavoidable, find open shade under trees or buildings to soften the light. Cloudy Days Are Gold: It might seem counterintuitive, but cloudy skies act as natural diffusers. The light becomes even and shadowless. Great for portraits and detail shots. Pro Tip: Even with limited light, it’s better to learn to work with it than to rely too heavily on editing afterward. Shift your angle, reposition your subject, or wait for the right moment. Know Your Gear (Even If It’s a Phone) Many beginner photographers think they need an expensive camera to take great photos. That’s a myth. What you really need is to master what you already have. Modern smartphones have incredible cameras. Learn how to use the manual or “pro” mode if available. Understand your gear’s limits. Knowing what your equipment can and can’t do saves frustration. Invest in a small tripod — especially helpful in low light or when exploring long exposure shots. Real-World Example: A beginner with a phone and a good eye can easily take better photos than someone with a $2,000 DSLR who doesn’t know what they’re doing. Composition: The Eye Behind the Lens Composition is what transforms an ordinary image into a memorable photograph. The good news is: you can train your photographic eye. Some essential techniques: Rule of Thirds: Divide the frame into 9 parts (two vertical and two horizontal lines). Place your main subjects at the intersections or along these lines. Leading Lines: Use paths, roads, fences, or rivers to guide the viewer’s eye through the image. Natural Frames: Branches, windows, doorways — use them to frame your subject. Fill the Frame: Don’t be afraid to get close. Sometimes, less background creates more impact. Golden Rule: Go beyond “pretty scenery.” Ask yourself: What do I want the viewer to feel when they see this? Understand the Scene Before You Shoot Too many beginners arrive at a location and start shooting right away. But pausing for five minutes to observe the light, movement, and surroundings can make all the difference. Walk around without your camera up to your eye. Watch how light hits different surfaces. Listen to the environment. Feel it. Imagine the photo before taking it. Personal Insight: My best outdoor shots came from patience and observation, not speed. Practice Anywhere — Literally You don’t need a magical forest or an international trip to improve. Sometimes, all it takes is a park bench, a well-lit plant, or a bike leaning against a wall at sunset. Train yourself to see the extraordinary in the ordinary. Shoot from different angles: from above, below, the side, far, or close. Shift your perspective. Get low. Climb higher. Challenge your viewpoint. Keep Your Gear Clean and Safe This might seem basic, but many beginners forget it: outdoor photography means dirt, dust, moisture, sand, wind. Take care of your gear. Always carry a dry microfiber cloth. Use waterproof bags or plastic covers if there’s any chance of rain. Don’t change lenses in windy or dusty areas (if using DSLR/Mirrorless). Bring extra batteries — especially in cold weather, which drains them faster. Learn From Your Mistakes (And Celebrate the Wins) You’re going to mess up. That’s a good thing. Mistakes mean you’re trying. But even more importantly: learn why something didn’t work. Is the photo blurry? Your shutter speed may have been too slow. Is the image too dark? Maybe you needed to adjust exposure. Is the scene boring? Consider changing the composition. Photographer’s Advice: Review your shots after every session. Identify what worked, what didn’t. Over time, you’ll make fewer mistakes — and shoot with more purpose. Shoot With Intention, Not Just Technique A good photo isn’t just technically correct. It should say something. The sky can be perfectly blue, the focus razor-sharp… but if the image doesn’t evoke anything in the viewer, it falls flat. Think about emotion, story, and connection. A photo of an elderly woman walking alone down an old street can be more powerful than a postcard-perfect sunset. Let your photos show how you see the world. Streamline Your Outdoor Workflow Beyond the shoot itself, beginners often overlook that photography is also about process: Plan your session in advance. Bring the right tools. Save your photos safely. Select your best shots. Edit with purpose. Pro Tip: Organize your files from the beginning. Create folders with clear names like: /Photos/2025-09-03-CityPark/RAW and /Edited. Staying organized early will save you hours later. Post-Processing Matters (Even Just a Little) Some beginners think editing is cheating. It’s not. Post-processing is part of the art — even a minimal edit can make a huge difference. Fix exposure issues. Enhance contrast and colors. Crop intentionally for better composition. Remove distractions in the background. Beginner-friendly tools: Snapseed (mobile), Lightroom Mobile, Lightroom or Capture One (desktop). Even subtle edits can elevate your image from decent to striking. Develop Your Style — Slowly and Honestly It’s normal at first to imitate photos you admire.
Mobile Photography: How to Take Amazing Pictures with Your Phone
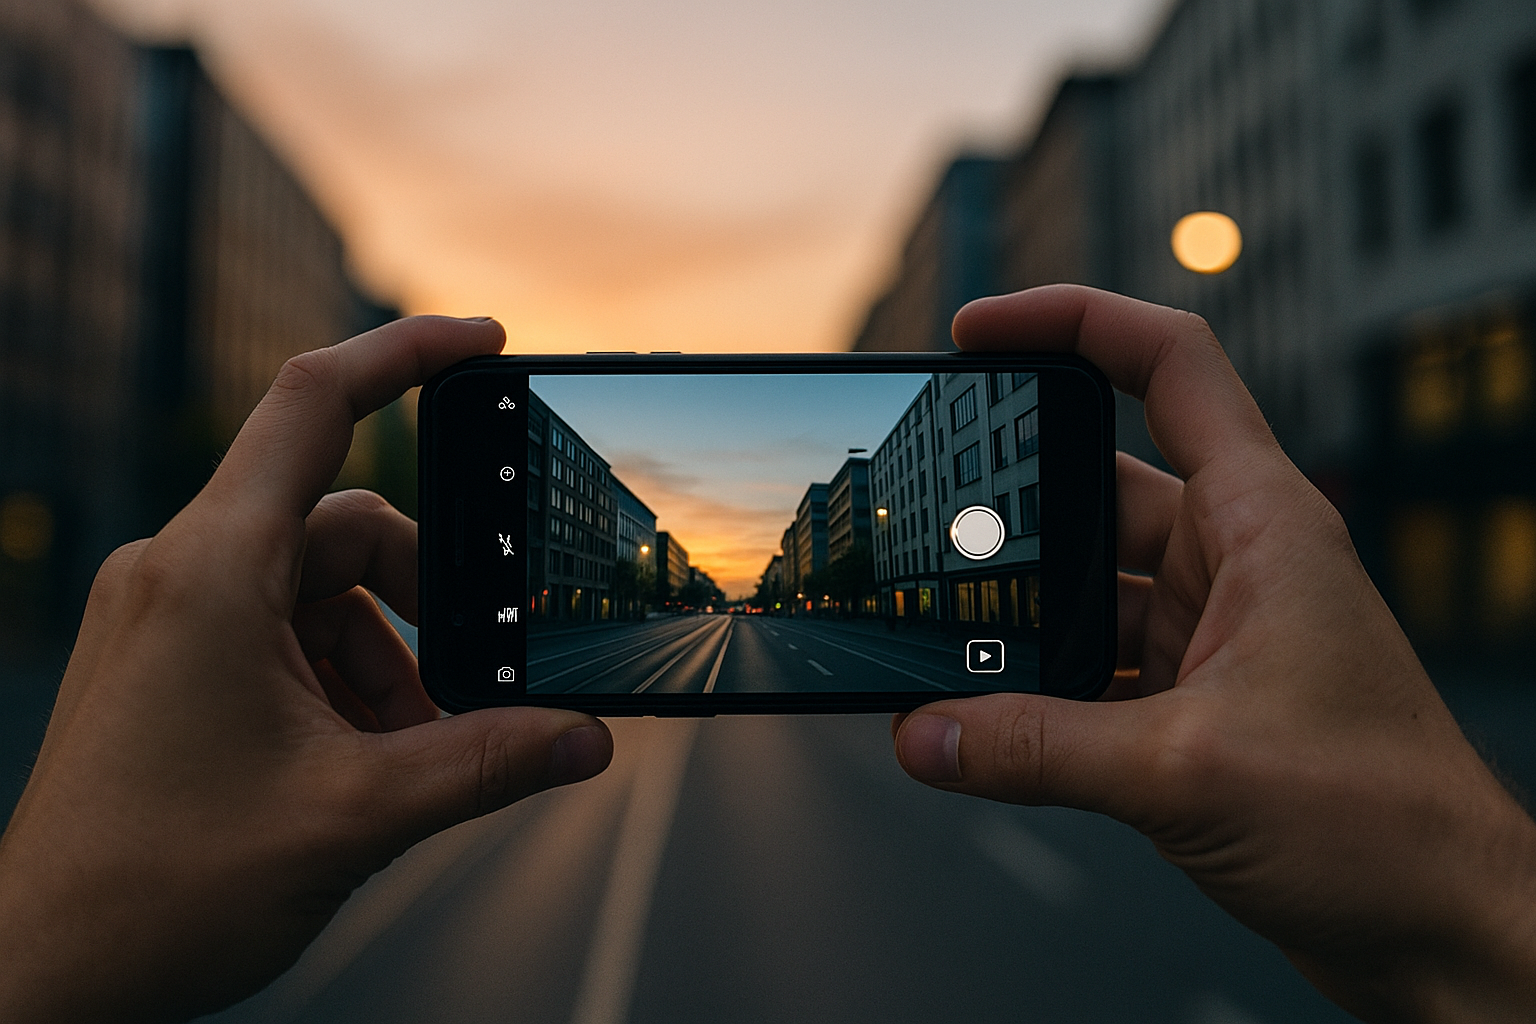
Not so long ago, taking professional-looking photos required expensive cameras and bulky lenses. Today, your smartphone has the power to capture stunning images that rival dedicated cameras. Mobile photography has become an art form in itself—accessible, creative, and always within reach. The key, however, isn’t just having the latest phone. It’s learning how to see like a photographer and use your device to its fullest potential. In this guide, I’ll share practical tips, real-world examples, and personal insights to help you take amazing pictures with nothing more than your phone. Why Mobile Photography Matters The best camera is the one you have with you. Smartphones are always in your pocket, making them perfect for capturing: With mobile photography, you don’t need to wait for the perfect setup. You can act on inspiration instantly. Know Your Phone’s Camera Features Before diving into tips, get familiar with your phone’s camera settings. Many beginners stick to automatic mode, but modern smartphones offer much more. Spend time experimenting with these modes. The more you understand your camera’s features, the more control you’ll have over your shots. Lighting Is Everything Great photography starts with light. Phones have smaller sensors, so lighting makes an even bigger difference. Tips for Better Lighting: Pro tip: Always be mindful of the direction of light. Front lighting flattens features, while side lighting adds depth and drama. Composition: Think Before You Tap Smartphone photography is as much about composition as it is about gear. Apply classic techniques: Exercise: Next time you’re out, take three photos of the same subject using different compositions. Compare and see which one tells the best story. Keep It Steady Blurry shots are a common issue in mobile photography. To improve sharpness: If your phone has night mode, combine it with a tripod for impressively sharp low-light images. Get Closer Instead of Zooming Digital zoom reduces quality, so avoid pinching to zoom. Instead: Exception: If your phone has multiple lenses (wide, telephoto, ultra-wide), switch between them instead of relying on digital zoom. Experiment with Angles Changing your perspective can transform an ordinary subject into something striking. Try photographing everyday objects from unexpected viewpoints—it’s a simple way to train your eye. Use Portrait Mode Wisely Portrait mode can make photos look professional, but use it carefully: Test portrait mode in different conditions to understand when it enhances your shots and when it doesn’t. Pay Attention to Backgrounds A cluttered background can ruin a great subject. Before taking a shot, scan the frame: Editing: The Secret Ingredient Editing is where good photos become great. Apps like Lightroom Mobile, Snapseed, and VSCO make it easy to polish your shots. Key Edits: Important: Don’t overdo it. Subtle edits maintain a natural look. Use Grids and Leading Lines in Urban Photography City environments are full of strong shapes, patterns, and lines. Train your eye to spot: These elements add structure and interest to your shots. Embrace Minimalism Sometimes less is more. A single flower on a table, a lone figure walking in an empty street, or a shadow on a wall can make a powerful image. Minimalist photos allow viewers to focus on the essence of the subject, making them memorable and striking. Storytelling with Your Phone Great photos don’t just show—they tell. With mobile photography, think about the narrative behind your shots. When you infuse storytelling into your photos, even a simple phone snapshot becomes meaningful. Practice with Challenges To keep improving, try photography challenges: These exercises build discipline and push your creativity. Learn from Mistakes Not every shot will be perfect—and that’s okay. The beauty of mobile photography is that mistakes cost nothing but time. Look at your missed shots and ask: Mistakes are stepping stones toward developing your unique style. Use Accessories to Elevate Your Shots While a phone alone is powerful, a few inexpensive accessories can take your images to the next level: These small tools can make a big difference, especially if you’re serious about mobile photography. Mobile Photography for Different Situations 1. Travel Capture wide landscapes with your phone’s ultra-wide lens. Use leading lines like roads or rivers to create depth. Don’t forget to turn the camera on yourself too—self-portraits during travel add personality to your memories. 2. Food Photography Natural light is your best friend. Shoot near a window, and avoid harsh overhead lights. Use portrait mode carefully to make the dish pop, but keep enough detail in the surroundings to tell a story. 3. Street Photography Blend in by keeping your phone low and discreet. Capture candid expressions and everyday life. Try shooting from the hip for unposed, authentic moments. 4. Portraits Always prioritize the eyes—tap to focus on them. Use natural light whenever possible, and experiment with side lighting for more dramatic effects. Common Mobile Photography Mistakes to Avoid Avoiding these mistakes will make your photos look instantly more professional. Quick Exercises to Train Your Eye with a Phone If you want to sharpen your vision as a photographer, here are some simple phone-only exercises: These exercises not only train your eye but also help you discover new ways of seeing with the device you already use every day. Final Thoughts: Your Phone, Your Vision Taking amazing pictures with your phone isn’t about owning the latest model. It’s about being intentional, observant, and creative with the tool you already have. Your smartphone is more than a gadget—it’s a gateway to storytelling, memory-making, and personal expression. With practice and awareness, you can transform ordinary moments into extraordinary images. So, keep your phone handy, your eyes open, and your imagination active. The world is waiting for your perspective. And with every photo you take, you’re not just recording life—you’re shaping how it’s remembered.
How to Take Creative Photos in Everyday Places
You don’t have to travel to exotic destinations or wait for perfect sunsets to create stunning photographs. Some of the most compelling images are born from the everyday—moments that most people overlook, scenes that seem too familiar to notice. The magic of photography is not just in what you see, but in how you see it. Whether you’re a seasoned traveler stuck at home or a beginner eager to improve your skills, learning to take creative photos in everyday places will challenge your eye, sharpen your creativity, and open up a whole new world of photographic possibilities. Here’s how to make the mundane extraordinary—one photo at a time. Shift Your Mindset: See with Fresh Eyes Creativity begins with curiosity. Before you even pick up your camera, train yourself to look at your environment differently. Ask: Challenge yourself to see your surroundings as if you were visiting for the first time. That hallway, coffee mug, or rainy window may hold more photographic potential than you think. Don’t underestimate the emotional value of what’s familiar. Often, our most nostalgic memories are tied to everyday visuals. Use Constraints to Fuel Creativity Sometimes, limitations bring out the best in us. Instead of waiting for ideal conditions, embrace the constraints of your environment: These restrictions force you to get inventive and think beyond the obvious. Creative photography often comes from problem-solving—not from perfection. You can even try time-based constraints: five minutes to shoot, or one photo an hour. Boundaries foster creative breakthroughs. Explore Light Like a Painter Light transforms ordinary scenes into extraordinary compositions. Learn to study how light interacts with surfaces, textures, and shadows in your space. Even artificial light sources like lamps or refrigerator lights can create moody or cinematic effects if used intentionally. Experiment with long exposures during low-light conditions to discover creative patterns. Focus on Composition Over Subject You don’t need a grand subject to make a great photo. Composition is key. Think in terms of lines, shapes, colors, and balance. Train your eye to find order in chaos—or beauty in minimalism. A well-composed image of a doorknob can be more impactful than a poorly shot landscape. Also, don’t be afraid to break traditional composition rules once you understand them. Try isolating your subject completely against a simple backdrop for added impact. Get Low, High, or Weird Perspective changes everything. Shoot from your knees. Stand on a chair. Press your camera to the ground. Explore reflections in puddles or glass. These shifts in perspective inject novelty and emotion into even the most familiar settings. Try shooting from behind translucent surfaces or using objects in the foreground to create depth. Play with mirrors, door peepholes, or reflections on metal surfaces for surprising effects. Find Texture and Detail Zoom in. Way in. Macro or close-up shots reveal the world in a way our eyes don’t usually perceive. Use shallow depth of field to isolate textures and let the background blur into softness. Experiment with unusual surfaces, such as condensation, frost, or dust, to add emotion to your textures. Textures tell tactile stories. They evoke sensory memories that words often can’t. Tell Micro-Stories A photograph doesn’t need to be sweeping to be meaningful. Try telling micro-stories—small visual narratives captured in a single image. These simple moments can evoke mood, memory, and atmosphere. Use captions or titles sparingly, just enough to spark curiosity or emotional connection. Each image becomes a short poem—visually minimal, emotionally rich. Embrace Imperfection and Spontaneity Creative photography isn’t about technical perfection—it’s about expression. Let go of control. Let accidents happen. Blur, grain, off-center framing—these can add emotion and honesty to your image. Don’t be afraid to break rules when the moment calls for it. Try setting your camera on burst mode to catch candid expressions and spontaneous interactions. Even a failed shot can spark your next creative idea. Use Color Intentionally Color is one of your most powerful storytelling tools. Use it to create mood, contrast, or cohesion. Even a single pop of bright color in a neutral setting can draw the eye and elevate a simple composition. Consider how colors influence mood—warm colors often energize, while cool tones may calm. Deliberate color grading in post-processing can also enhance your creative intent. Create Photo Series or Themes Sometimes, a single photo can’t fully express an idea—but a series can. Choose a theme and build a small project around it. Ideas: Photo series train your creative muscle and help you see with intent. They also build a stronger visual story when shared together. Consider presenting your series as a visual diary or seasonal journal. Think of themes not just as visuals, but as emotions—create a series around “quiet,” “melancholy,” or “joy.” Play With Motion Movement adds life to stillness. Explore slow shutter speeds or intentional camera movement. Even subtle movement, like a curtain in the wind, adds dynamism and rhythm to your composition. Experiment with time-lapse or GIFs to extend the impact of motion in your creative workflow. Try using motion to contrast stillness—mix blurred motion with a static subject. Include People—Even Yourself Everyday places feel more relatable with human presence. Include friends, family, or self-portraits to add narrative and emotion. You don’t always need faces. A silhouette, hand, or posture can speak volumes. Capture your own reflection in mirrors, windows, or shadows to add a poetic layer. The personal becomes universal when shared honestly. Practice Daily (Even for 10 Minutes) Creativity thrives with consistency. Make photography part of your daily routine—even if just for 10 minutes. Daily practice not only improves skill but also rewires your brain to see photographically. Over time, these tiny moments accumulate into a meaningful body of work. Keep a folder of your daily shots and review them monthly—you’ll be surprised at your growth. Edit With a Light Touch Post-processing is part of creative expression—but it’s not about over-editing. Enhance your vision, don’t mask it. Let your edits reflect your intention, not trends. Batch edit your images for consistency in your series or thematic posts. If
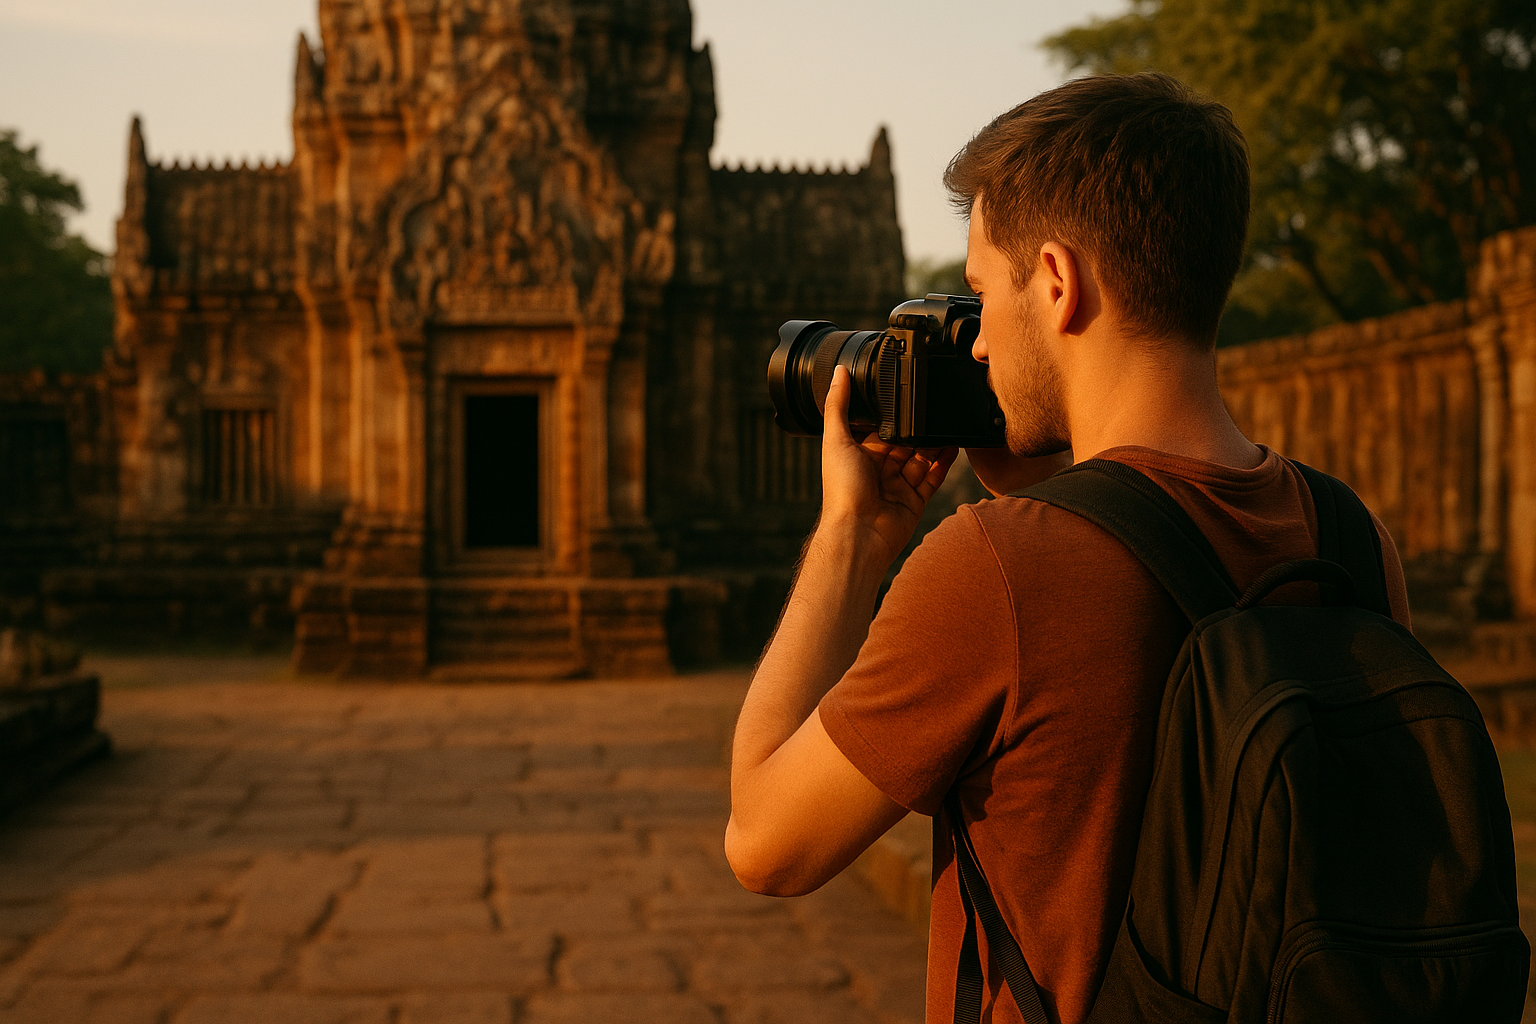
How to Photograph in Cultural Locations: Tips for Capturing History and Heritage
Photographing cultural locations is one of the most rewarding challenges for travel photographers. These places are more than just visual experiences—they are repositories of memory, identity, and human achievement. From ancient ruins and sacred temples to vibrant festivals and historic neighborhoods, cultural sites offer the rare opportunity to capture stories that span generations. But photographing in these places requires more than just technical skill. It demands sensitivity, respect, awareness, and a thoughtful approach to composition and storytelling. Whether you’re documenting a centuries-old cathedral or the traditions of a local festival, your lens becomes a bridge between the past and the present. In this article, we’ll explore how to photograph in cultural locations with authenticity and artistry—bringing history and heritage to life in a way that informs, moves, and inspires your audience. Research Before You Arrive One of the most important steps in photographing cultural sites begins long before you take your camera out of the bag. Learning about the location’s history, religious significance, and social context will help you approach the space with the care and understanding it deserves. Read guidebooks, watch documentaries, or follow local historians on social media. Ask yourself: Understanding these nuances allows you to tell a deeper story through your images—one that goes beyond pretty architecture and into the heart of what the place represents. Always Respect Local Rules and Customs Cultural photography walks a fine line. While you’re aiming to capture history and tradition, you’re also often entering sacred, solemn, or private spaces. Many historical sites, places of worship, or heritage locations have strict photography policies, and these must be respected at all times. Some important things to keep in mind: When in doubt, put your camera down and observe. The stories you tell later will be richer because you took the time to understand the moment. Go Beyond the Postcard Shot Many cultural landmarks are photographed millions of times every year. The Eiffel Tower. The Colosseum. The Taj Mahal. It’s easy to fall into the trap of taking the same photo as everyone else. But meaningful cultural photography goes far beyond postcard clichés. Instead of just pointing your camera at the structure and clicking, ask: Try shooting from unexpected angles. Frame the building through a stone arch, capture a reflection in a puddle, or focus on the patterns of wear in centuries-old flooring. Use your composition to create a sense of presence—a feeling that someone viewing your photo could step into the scene. Incorporate People Thoughtfully Cultural heritage is not just about architecture and artifacts—it’s about people. Locals and visitors alike shape the atmosphere of these locations. Including people in your shots can add life, scale, and emotion. A monk sweeping the temple grounds. A grandmother lighting candles in a cathedral. Children running past colonial ruins. These interactions are real moments that show how history and modern life intertwine. But photographing people in cultural contexts requires great sensitivity. If someone is praying, mourning, or engaging in a ritual, put your camera away. There is no photo worth invading someone’s sacred moment. When photographing individuals up close, always ask permission. A smile and a respectful gesture often go a long way. And when people agree, take the time to thank them properly, maybe even show them the photo and offer to send a copy. Use Natural Light to Enhance Atmosphere Cultural locations often have dynamic natural lighting—shafts of light in ancient cathedrals, golden sun over stone temples, flickering candles in dark sanctuaries. These light sources create mood and help convey a sense of time and reverence. When photographing indoors, avoid flash. It can flatten the image and disturb the environment. Instead, raise your ISO, use a wide aperture, and steady your camera. In dark settings, embrace the shadows—they can add drama and authenticity. During sunrise or sunset, cultural buildings bathed in soft light often reveal texture and depth that’s invisible during midday. Plan your shoot to coincide with these golden hours for the most emotionally rich images. Pay Attention to Small Details Sometimes, the soul of a place is hidden in the tiny things others overlook—a cracked tile, a faded mural, the texture of a carved wooden door. These details speak volumes about the passage of time, the hands that built it, and the traditions still alive today. Zoom in on patterns, textures, symbols, and signs. Photograph the offerings left at a shrine, the carvings on an old bench, the embroidery on traditional clothing. These fragments tell the quiet stories that complete the larger cultural narrative. When combined with wide shots and portraits, detail shots help create a well-rounded visual story of the location and its heritage. Capture the Surrounding Community Cultural heritage doesn’t exist in a vacuum. Often, the towns, markets, and people surrounding a cultural site are just as vital to the story as the site itself. Don’t just shoot the monument—wander the streets, talk to locals, visit the nearby cafés and shops. You might discover a local artisan making hand-crafted souvenirs, or a musician playing traditional songs in a plaza. These candid moments often reflect the living, breathing culture that gives the site its true significance. This kind of photography is also a wonderful way to show how history is still alive today—not frozen behind ropes and glass, but part of daily life. Use Composition to Evoke Emotion Composition is a powerful tool for expressing how a place feels, not just how it looks. When photographing cultural locations, think about how lines, space, and framing can affect the emotional tone of the image. Cultural sites are full of emotional resonance. Your composition can help amplify that energy, making the photo not just a record, but a reflection of your personal experience there. Be a Storyteller, Not Just a Photographer Great cultural photography isn’t just about technique—it’s about storytelling. Ask yourself: What story do I want to tell with this image? Is it about the resilience of a people? The sacredness of tradition? The beauty of decay? Every photo you take should
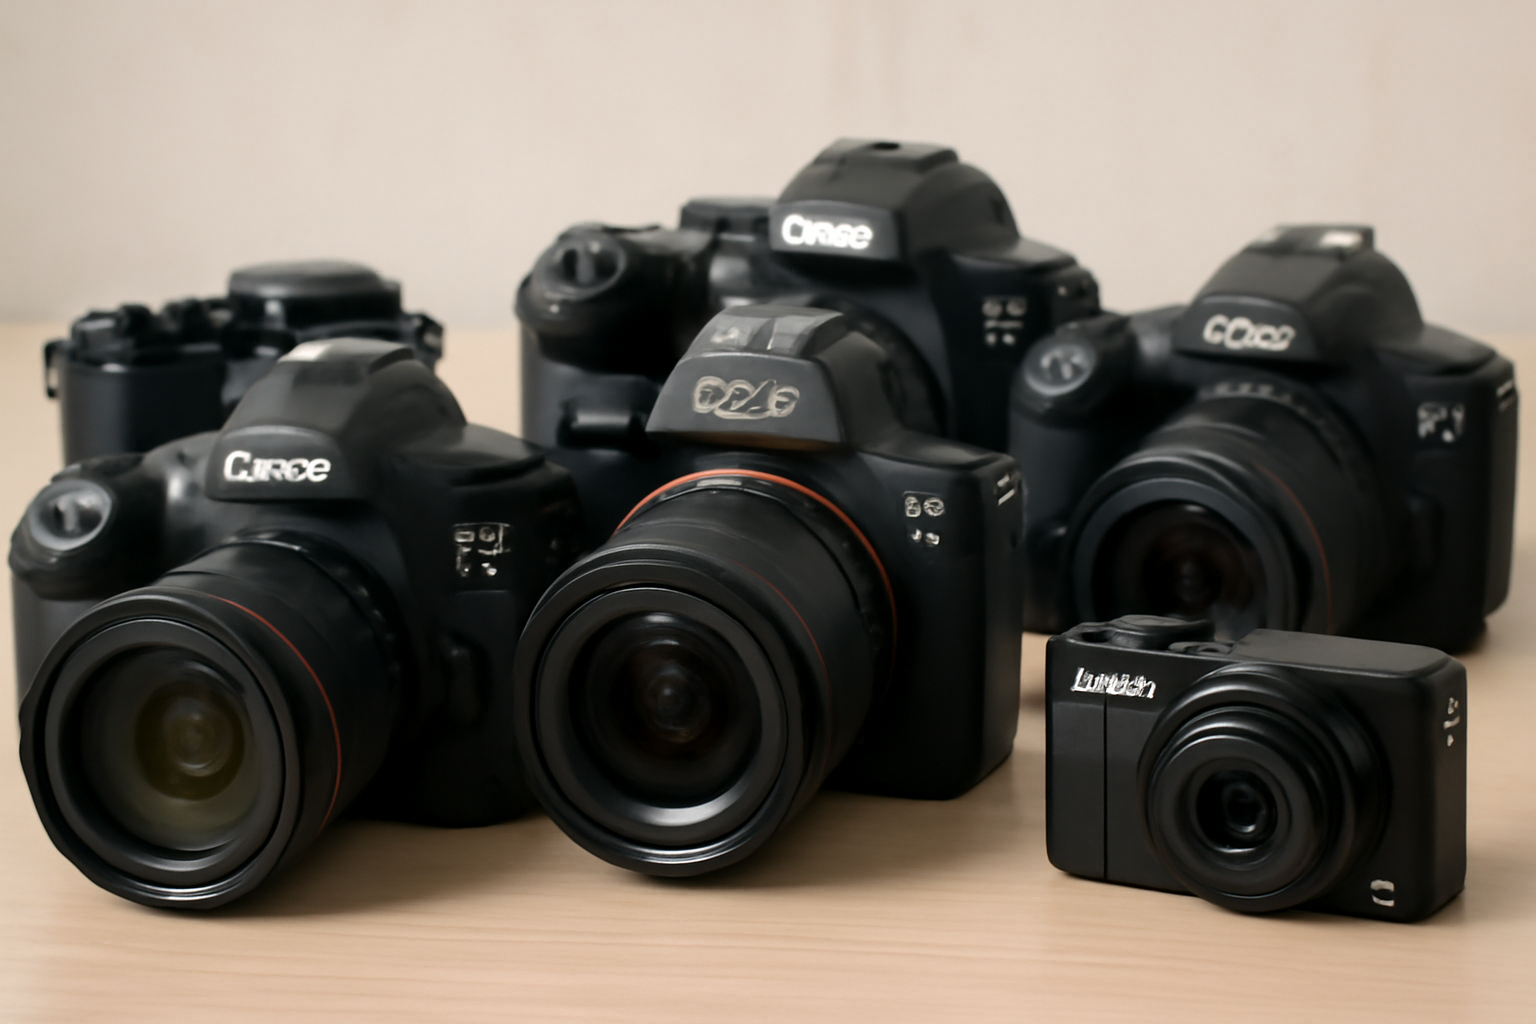
How to Choose the Ideal Camera for Your Photography Journey
Photography is more than just capturing images; it’s about telling stories, freezing moments in time, and expressing your creativity through the lens. But before you can dive into the world of photography, one of the most crucial decisions you need to make is choosing the right camera. With so many options on the market, how can you ensure you pick the one that fits your needs? Whether you’re a beginner just starting out or an experienced photographer looking for an upgrade, selecting the right camera can be a daunting task. This guide will help you navigate the process with ease, offering practical advice, real-world examples, and expert tips to help you make an informed choice. Understanding Your Needs: What Will You Use Your Camera For? Before you even start comparing brands and models, it’s essential to ask yourself: what do I want to achieve with this camera? The right choice depends on the type of photography you plan to pursue. Here are some examples to help you define your needs: Types of Cameras: DSLR, Mirrorless, or Compact? When it comes to camera types, there are three main categories to consider: DSLRs (Digital Single-Lens Reflex cameras), Mirrorless cameras, and Compact cameras. Let’s break them down: 1. DSLR Cameras DSLRs have been the go-to choice for professional photographers for years. They offer excellent image quality, a vast selection of lenses, and robust features. The major advantage of DSLRs is the optical viewfinder, which gives you a real-time, lag-free image preview. However, DSLRs tend to be bulkier and heavier, which might not be ideal for casual users or travelers. DSLRs have their advantages, but they also come with a few drawbacks. For instance, the optical viewfinder can be limiting when trying to frame shots in tricky lighting conditions. Additionally, while the build quality of DSLR cameras is often robust, they can become heavy and cumbersome during extended shooting sessions, especially when carrying multiple lenses and accessories. 2. Mirrorless Cameras Mirrorless cameras have gained significant popularity due to their lightweight, compact design and excellent video capabilities. As the name suggests, they don’t have a mirror, which makes them smaller and quieter. Most mirrorless cameras also offer live view on the LCD screen or electronic viewfinder, allowing you to see a preview of your shot before clicking. Mirrorless cameras, especially in recent years, have closed the performance gap with DSLRs. They offer incredible autofocus systems, excellent image quality, and a compact size that makes them more portable. The downside? The battery life can be shorter than that of DSLRs, as mirrorless cameras rely heavily on electronic viewfinders and LCD screens, which drain power faster. 3. Compact Cameras Compact or point-and-shoot cameras are the simplest and most budget-friendly option. They are portable, user-friendly, and typically come with built-in lenses that cover a wide range of focal lengths. While they don’t offer the same level of image quality or versatility as DSLRs or mirrorless cameras, they are perfect for beginners or casual photographers. Compact cameras, while easy to use, are typically limited in terms of control and customization. You won’t have the same level of manual control over settings like exposure, aperture, and shutter speed as you would with more advanced models. However, for users who simply want to take great photos without much hassle, a compact camera is an excellent choice. Key Features to Consider When Choosing a Camera Once you’ve decided on the type of camera that suits your needs, it’s time to dive into the specifications. There are several key features you should pay attention to when choosing your camera: 1. Sensor Size The size of your camera’s sensor plays a crucial role in the quality of your images. Larger sensors capture more light, which leads to better image quality, especially in low-light conditions. Full-frame sensors, found in many professional DSLRs and mirrorless cameras, offer the best performance, but they also come with a higher price tag. APS-C sensors, found in most entry-level models, provide great quality at a more affordable price. Full-frame sensors are often favored by professionals because of their shallow depth of field, which allows for beautiful bokeh effects (the out-of-focus areas of a photo). If you’re shooting portraits, a full-frame sensor is great for isolating your subject from the background. However, APS-C sensors, while smaller, are still capable of producing stunning images and are ideal for those starting in photography. 2. Megapixels Megapixels refer to the resolution of the images your camera can produce. While it’s tempting to opt for the camera with the highest megapixel count, it’s important to note that higher megapixels don’t always translate into better image quality. A higher megapixel count is useful for large prints or cropping, but a well-rounded camera with a good sensor and lenses is often more important than sheer megapixel count. For most photographers, 20–24 megapixels is more than enough for daily use. If you’re planning to print large photos or crop your images extensively, a higher megapixel count might be beneficial. But for casual users, it’s more about getting a balanced system that works for your needs. 3. Autofocus For many types of photography, fast and accurate autofocus is a must-have feature. Look for a camera with a reliable autofocus system, especially if you’re photographing fast-moving subjects like wildlife or sports. Mirrorless cameras, in general, tend to have faster autofocus systems, though some DSLRs also perform exceptionally well in this area. It’s worth noting that autofocus technology is advancing rapidly, and some cameras now come with eye autofocus—a feature particularly useful for portrait photographers who want to ensure the subject’s eyes are in perfect focus, even if they’re moving. If you’re into action or wildlife photography, look for a camera with continuous autofocus and fast subject tracking capabilities. 4. Video Capabilities If you plan to use your camera for video work, consider its video specifications. Look for cameras that offer at least 1080p resolution (Full HD), but 4K video is becoming a standard in more advanced models. You’ll also


